Replacement
.
A worn or damaged cutting unit should only be
replaced with an original Philips cutting unit.
1
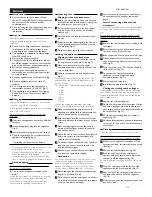
Push the middle part of the cutting unit
upwards with your thumb until it opens and
then pull it off the appliance (fig. 19).
2
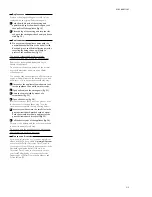
Place the lug of the cutting unit into the slot
and push the cutting unit back until you hear a
click (fig. 20).
Environment
.
◗
Do not throw the appliance away with the
normal household waste at the end of its life,
but hand it in at an official collection point for
recycling. By doing this you will help to
preserve the environment (fig. 21).
The built-in rechargeable battery contains
substances which may pollute the environment.
Remove the rechargeable battery when you
discard the appliance.
Do not throw the battery away with the normal
household waste but hand it in at an official
collection point.
You can also take the appliance to a Philips service
centre, which will remove the battery for you and
will dispose of it in an environmentally safe way.
1
Disconnect the appliance from the mains and
let the appliance run until the motor stops.
2
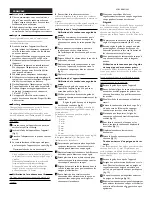
Open and remove the cutting unit (fig. 22).
3
Remove the metal clip by means of a
screwdriver (fig. 23).
4
Open the housing (fig. 24).
Insert a screwdriver into one of the grooves next
to the socket for the appliance plug. Turn the
screwdriver to separate the two housing halves.
5
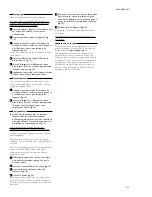
Insert a screwdriver into the small slot in the
printed circuit board marked with an arrow.
Push the screwdriver down until part of the
printed circuit board breaks off (fig. 25).
6
Pull the battery out of the appliance (fig. 26).
Dispose of the battery and the other components
in an environmentally safe way.
Do not connect the appliance to the mains again
after the battery has been removed!
Guarantee & service
.
If you need information or if you have a problem,
please visit the Philips website at
www.philips.com
or contact the Philips Customer Care Centre in
your country (you will find its phone number in the
worldwide guarantee leaflet). If there is no
Customer Care Centre in your country, turn to
your local Philips dealer or contact the Service
Department of Philips Domestic Appliances and
Personal Care BV.
4203 000 31942
3/5


