Hardware Repair
MCP9360i
12.
EN 55
12.14. CPU Heat Sink
12.14.1. CPU Heat Sink Removal
1.
Remove the top cover. See paragraph 12.1.1.
2.
Remove the main bezel. See paragraph 12.2.1.
3.
Remove the HDD subassembly. See paragraph 12.3.1.
4.
Remove the ODD. See paragraph 12.4.1.
5.
Remove the riser card subassembly. See paragraph 12.5.1.
6.
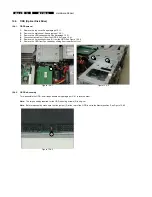
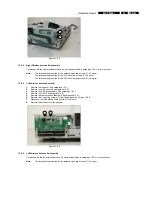
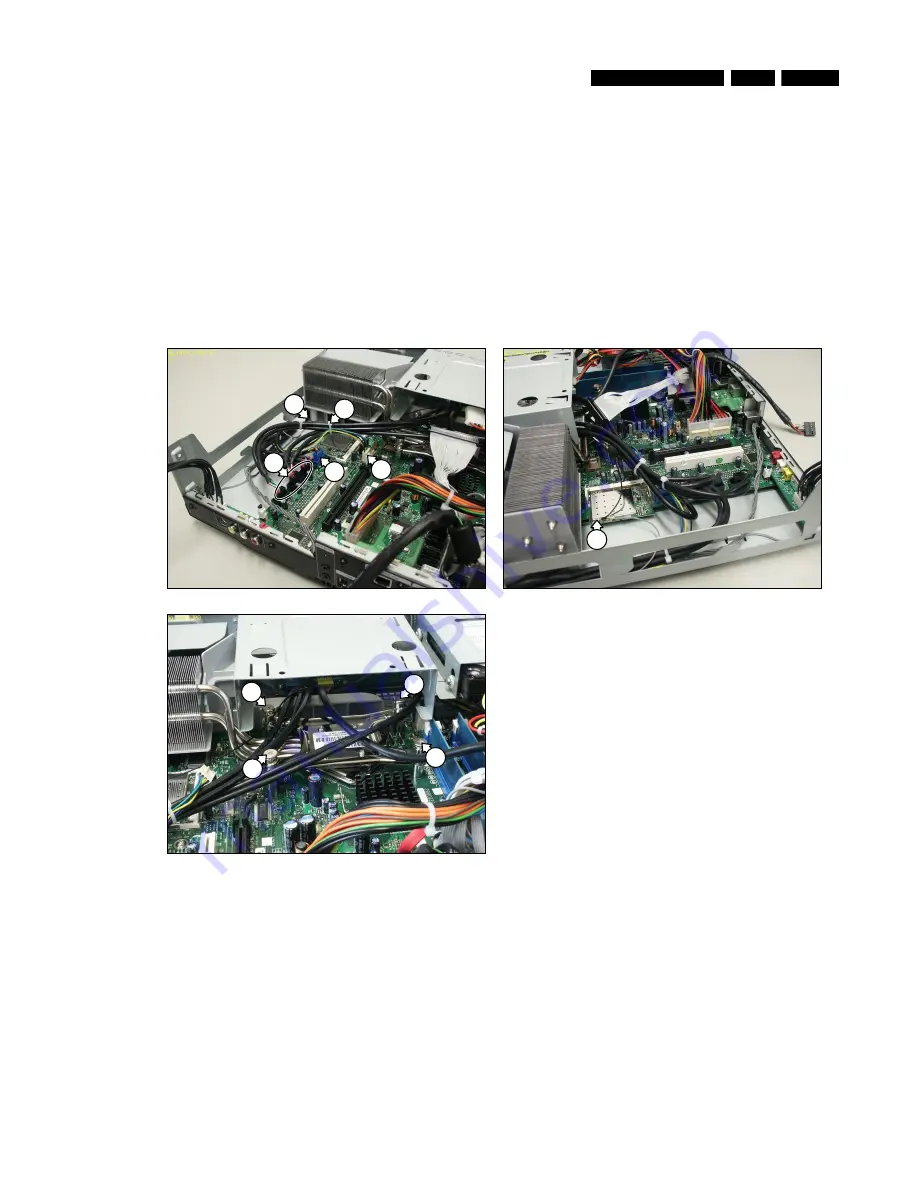
Disconnect the 3 USB cables (1) from the motherboard. See Figure 12.14-1.
7.
Disconnect the 1394 cable (2) from the motherboard. See Figure 12.14-1.
8.
Disconnect the CPU fan cable (3) from the motherboard. See Figure 12.14-1.
9.
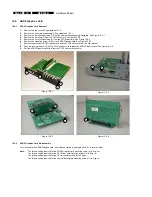
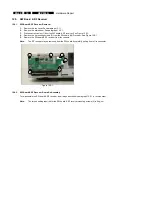
Disconnect the left WLAN antenna cable (4) from the WLAN card. See Figure 12.14-2.
10.
Move the cables aside to allow access to the CPU heat sink.
11.
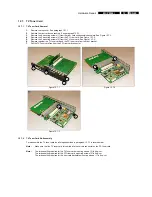
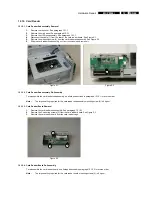
Undo the 4 mounting screws (5) of the CPU heat sink. See Figure 12.14-3.
12.
Remove the CPU heat sink and duct from the motherboard, taking care not to catch any cables.
Figure 12.14-1
Figure 12.14-2
6
7
2
1
3
4
Figure 12.14-3
5
5
5
5
12.14.2. CPU Heat Sink Re-Assembly
To re-assemble the CPU heat sink, do all steps described in paragraph 12.14.1 in reverse order.
Note:
Remove and re-apply fresh thermal compound between the CPU and the heat sink.
Note:
Make sure that the CPU heat sink duct is correctly seated on the chassis locating point (6). See Figure 12.14-1.
Note:
The torque setting required for the CPU heat sink mounting screws (5) is 6 kg-cm.


