Alignments
EN 25
SK5.1L CA
8.
8.
Alignments
Index of this chapter:
8.1 General Alignment Conditions
8.2 Hardware Alignments
8.3 Software Alignments
8.4 Factory Mode Settings
8.1
General Alignment Conditions
8.1.1
Default Alignment Settings
Perform all electrical adjustments under the following
conditions:
•
Power supply voltage: 230 V
AC
/ 50 Hz (
±
10%).
•
Connect the set to the mains via an isolation transformer
with low internal resistance.
•
Allow the set to warm up for approximately 20 to 30
minutes.
•
Measure voltages and waveforms in relation to chassis
ground (with the exception of the voltages on the primary
side of the power supply).
Caution:
never use heatsinks as ground.
•
Test probe: 100: 1, Ri > 10 Mohm, Ci < 3.5 pF.
•
Use an isolated trimmer/screwdriver to perform
alignments.
8.2
Hardware Alignments
For this TV set there are no hardware alignments.
8.3
Software Alignments
Put the set in its MENU mode (factory mode) as follows (see
also figure “Factory Mode” on the next page):
•
Press the keys [i+], “smart sound” and “smart picture” to
enter the factory menu.
•
Press the keys [i+] again and “ADJUST” appear on screen.
•
Press the number keys to enter the adjust page, press
B
/
y
to choose the items that to be adjusted, Press
z
/
A
to
adjust its value.
•
Press [i+] to quit factory mode.
The different alignment parameters are described further on.
8.3.1
Rf AGC Voltage Adjust
1.
Provide a 294.25 MHz, 60 dB half colour bar signal.
2.
Enter factory mode and press key 1.
3.
Measure tuner AGC point voltage, adjust AGC item till the
voltage is 2.2 V, or till picture noise just disappears. (typical
value is at 32).
8.3.2
Focus Fine Adjust
1.
Provide a cross-hatch pattern signal.
2.
Set state to “Rich” mode.
3.
Adjust flyback transformers Focus knob till picture is clear.
8.3.3
Screen Voltage Adjust
1.
Set picture to “Standard” mode, without signal input.
2.
Press the keys [i+], “Smart sound” and “Smart picture” to
enter the factory menu. When in “B/W BALANCE” page,
press “mute” on the RC. There will be a level light line
displays.
3.
Adjust flyback transformers Screen knob till the level bright
line just can be seen.
4.
When in the light-line screen, CUT R and CUT G can be
adjusted if needed with the following RC key mapping:
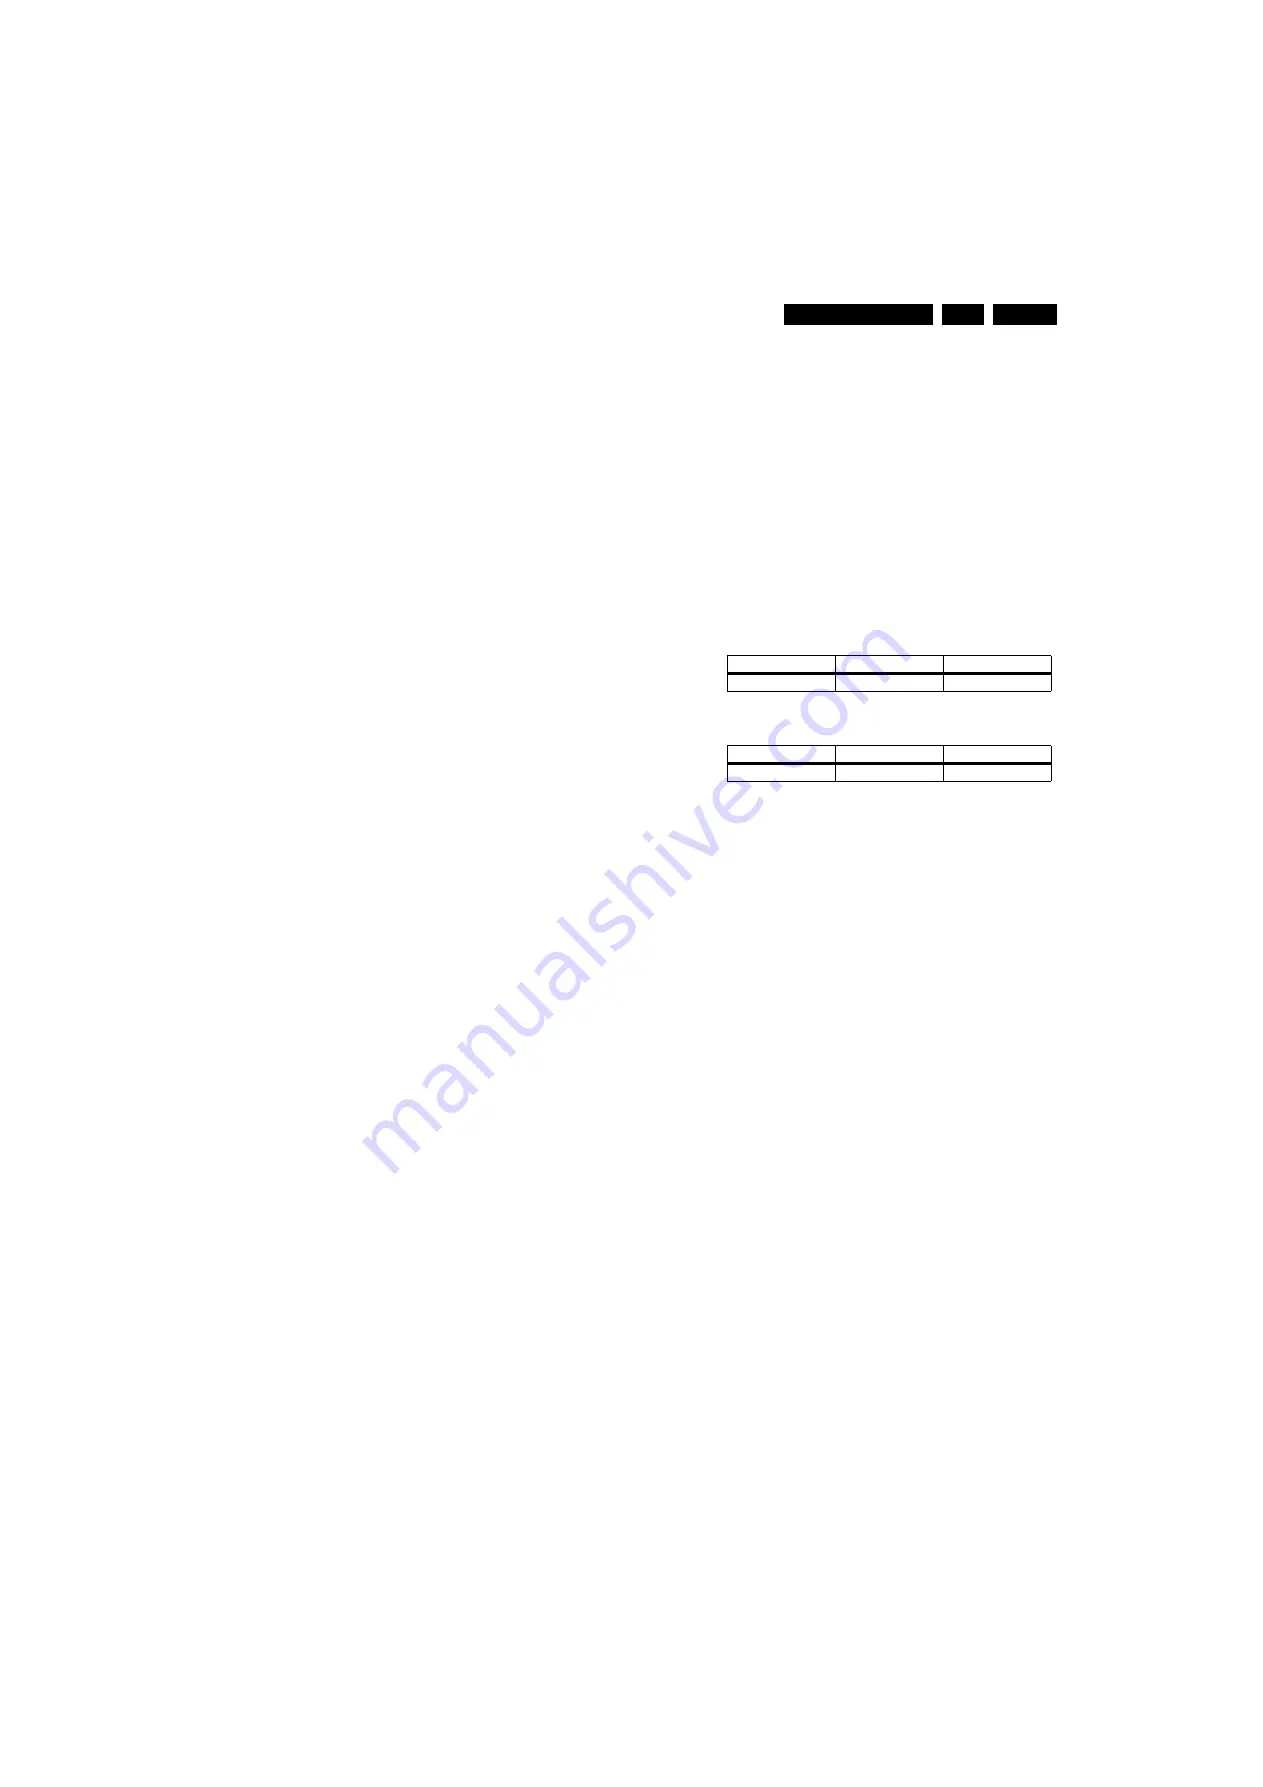
To increase /decrease CUT R (See table 8-1)
To increase /decrease CUT G (See table 8-2)
5.
Press “MUTE” key to return to the “B/W BALANCE” page.
Table 8-1 To increase /decrease CUT R
Table 8-2 To increase /decrease CUT G
8.3.4
Horizontal Adjustment (Key 1)
1.
Provide a 50 Hz monoscope pattern.
–
Press the keys [i+], “Smart sound” and “Smart picture”
to enter the factory menu.
–
Press the keys [i+] again and “ADJUST” appear on
screen.
2.
Press key “0” and adjust “HPH” to set picture horizontal
centre to CRT horizontal centre.
8.3.5
Vertical & YUV/RGB Horizontal Adjust (Key 2)
1.
Provide a 50 Hz cross hatch signal, set TV to standard
mode. Adjust VSL so that half picture of the pane cross
appears. The picture’s vertical line is just at the bottom of
the half picture. Adjust VSL to make the centre of the
picture’s vertical line and the kinescope are in
superposition.
2.
Adjust VSI to obtain picture’s vertical re-display ratio more
than 90%.
3.
Provide a 60 Hz cross hatch signal, do step 1 and 2 again
to adjust.
4.
If necessary, fine adjust above items.
8.3.6
OSD Position (Key 4)
1.
Menu OSD position adjustment: Provide a 50/60 Hz cross
hatch pattern. Put the set in MENU mode.
–
Press the keys [i+], “Smart sound” and “Smart picture”
to enter the factory menu.
–
Press the keys [i+] again and “ADJUST” appears on
screen.
2.
Press key 4 to enter the factory mode. Adjust VP and HP
item, to obtain menu OSD at the centre of CRT screen.
3.
Provide a RGB or YUV cross hatch signal, set the TV in the
standard mode, adjust “YUV OSD HS” till picture horizontal
centre is at the CRT centre (optional).
Function
CUT R+
CUT R-
RC key
1
4
Function
CUT G+
CUT G-
RC key
2
5


