22
Enjoy
Enjoy your Philips NAS
Need help?
Refer to the documentation that came with your operating system for information about:
How to install programs on your PC
1.
Make sure your NAS is connected to your
router
2.
Make sure your NAS has completely finished
its startup procedure (the status LED is
continuously on)
3.
If the NAS is not powered, press the power
button to switch it on.
Starting takes around 1 minute.
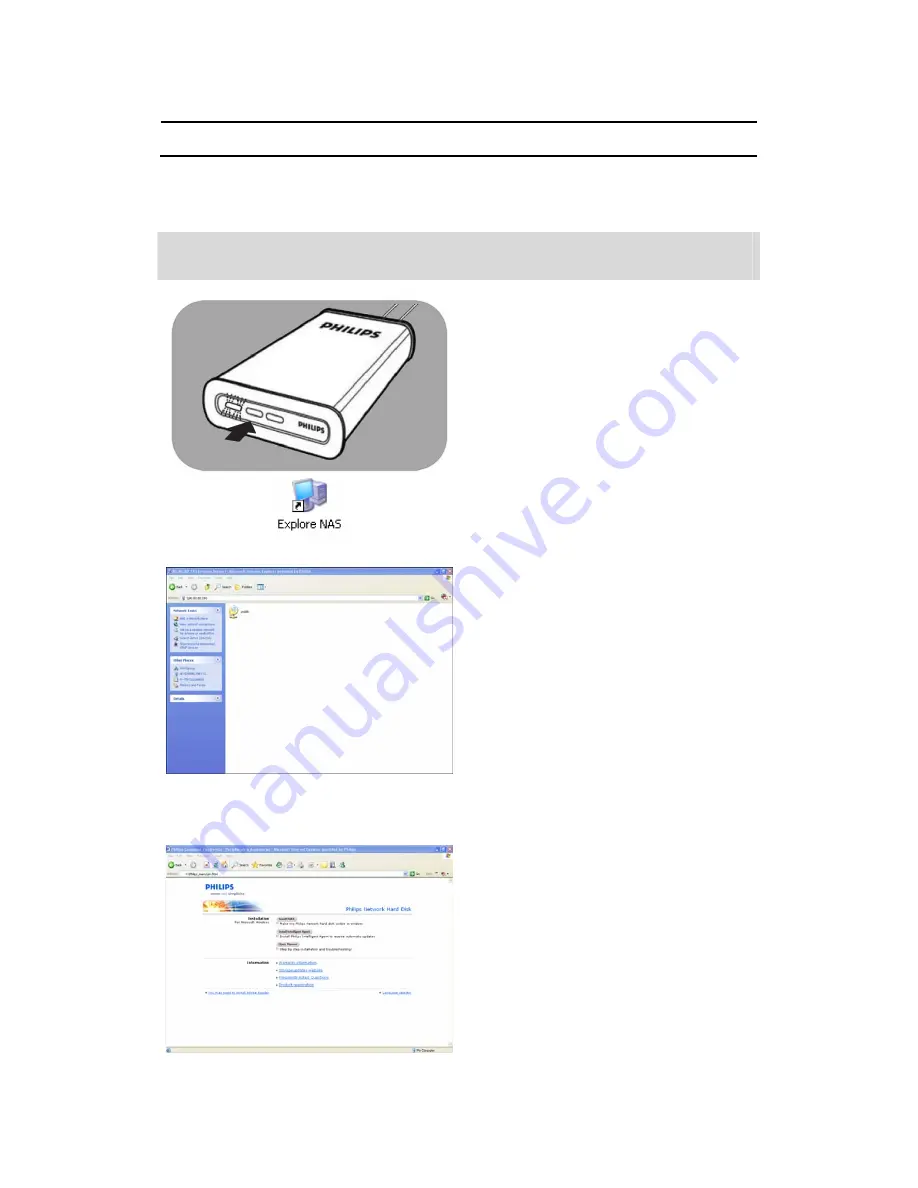
Explore the content of your NAS
1.
Use the ‘Explore’ button in the Philips
network storage wizard to explore the
content of your NAS
Or use the ‘Explore’ shortcut on your desktop
If no shortcut was created during installation, run
the installation wizard as mentioned in the
chapter ‘How to install your NAS’, and make
sure that you select the first and second option
to create a desktop icon to manage and explore
your NAS after mapping it.
2.
Fill in your ‘File sharing’ password and login
when ‘Protect Shared Folder’ has been
enabled
See subchapter ‘File sharing’ on how to set /
reset your password
3.
Explore the content of your NAS
Explore the content of your NAS installation CD
1.
Insert the NAS installation CD
2.
The application ‘Philips network storage
wizard’ will automatically start
Please run philips.html on the NAS installation
CD, if installation does not automatically start.
3.
After language select, a menu will appear
where you can find: the NAS installation
software, Philips Intelligent Agent software,
this manual, warranty information and
information on where to find online help
4.
Make your selection


