9
User manual
4
Use your SpeechMike
This chapter describes how to use the
SpeechMike with
Philips SpeechExec
dictation
software. If the SpeechMike is used with third-
party software other than
Philips SpeechExec
,
some features may not be present or function
differently. For detailed information, refer to the
documentation delivered with the software.
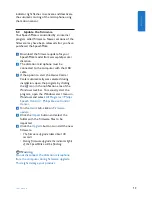
4.1 Create a recording
1
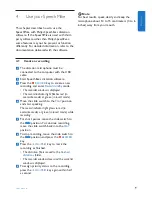
The dictation microphone must be
connected to the computer with the USB
cable.
2
Start SpeechExec dictation software.
3
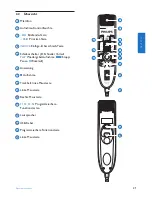
Press the
d
RECORD
key to create a new
recording and enter
Record standby
mode.
• The recorder window is displayed.
• The record indicator light flashes red (in
overwrite mode) or green (in insert mode).
4
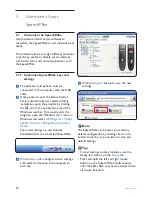
Move the slide switch to the
PLAY
position
and start speaking.
The record indicator light glows in red (in
overwrite mode) or green (in insert mode) while
recording.
5
For short pauses, move the slide switch to
the
f
position. To continue recording,
move the slide switch back into the
PLAY
position.
6
To stop recording, move the slide switch to
the
f
position and press the
d
RECORD
key.
7
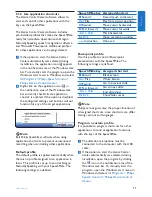
Press the
• EOL/• • PRIO
key to mark the
recording as finished.
• The dictation file is moved to the
Finished
dictations
folder.
• The recorder window closes and the work list
window is displayed.
8
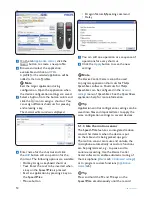
To assign priority status to the recording,
press the
• EOL/• • PRIO
key again within half
a second.
D
Note
For best results, speak clearly and keep the
microphone about 10 to 15 centimeters (4 to 6
inches) away from your mouth.
ENGLISH
Summary of Contents for SPEECHMIKE PREMIUM LFH3520
Page 2: ......
Page 16: ...16 User manual ...
Page 30: ...30 Benutzerhandbuch ...
Page 44: ...44 Manuel de l utilisateur ...
Page 58: ...58 Manual del usuario ...
Page 72: ...72 Manuale di istruzioni ...
Page 86: ...86 Gebruikershandleiding ...
Page 100: ...100 Användarhandbok ...


