NOTE
Make sure to upgrade your device together
with all the accessories you are commonly
using, including the docking station (or for
some devices the optional remote control). If
you are using your device together with the
optional Philips AirBridge, make sure to also
upgrade any other hardware you are com-
monly using with your device (e.g. the dock-
ing station).
2. Start Philips Device Control Center:
• If the option to start the Philips Device Control Center
automatically was selected during installation, open
the program by clicking the icon in the notification
area of the Windows task bar.
• To manually start the program, open the Windows
start menu in Windows and select Philips Speech
Control > Philips Device Control Center.
NOTE
Make sure that you're using the
of Philips Device Control Center
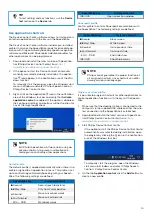
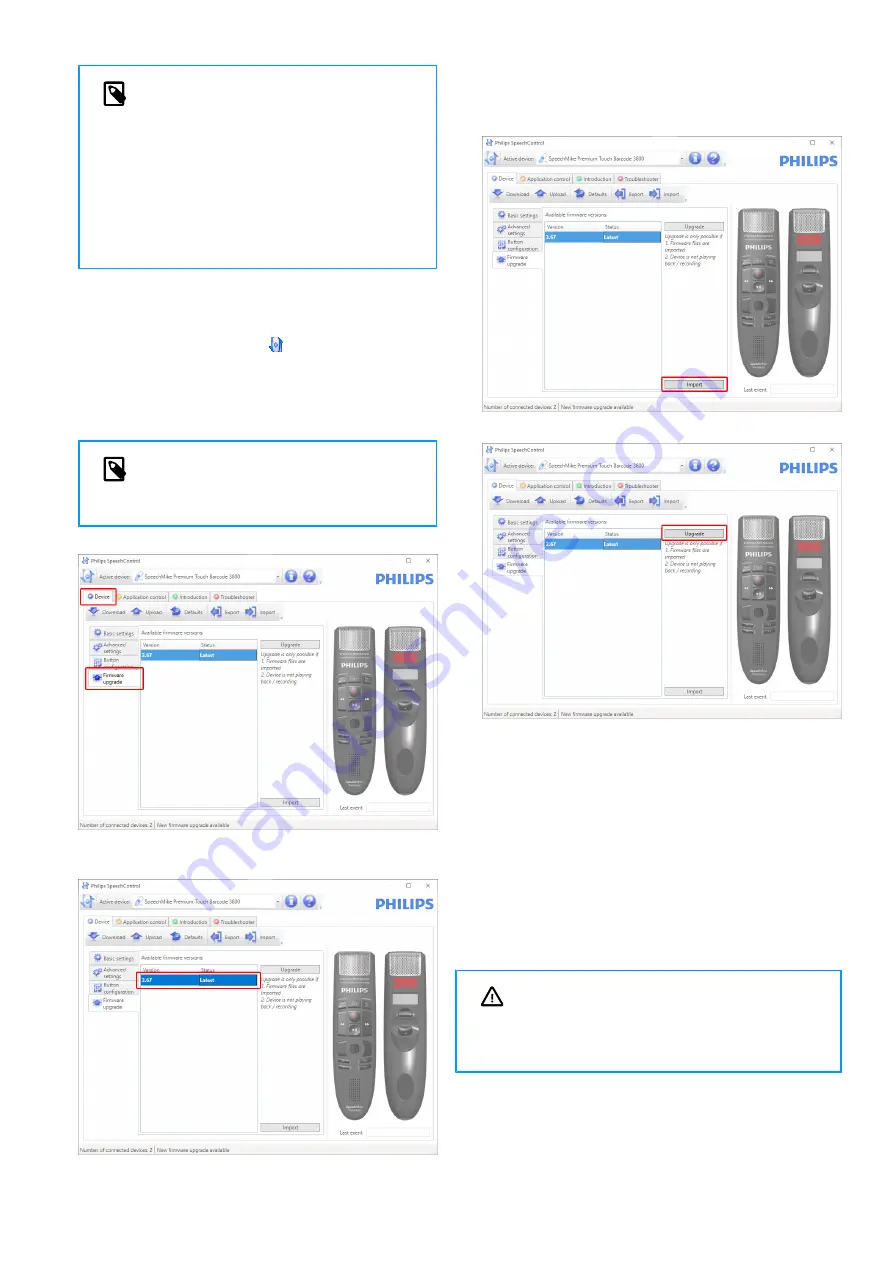
3. On the
Device
tab, click on
Firmware upgrade
.
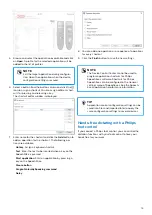
4. Click on the desired upgrade version from the
Available
firmware versions
list.
If the
Available firmware versions
list is empty, you can
also manually check our website for firmware upgrades.
Download the firmware update for your SpeechMike
model from
.
Click the
Import
button and select the folder with the
firmware files to be imported.
5. Click the
Upgrade
button.
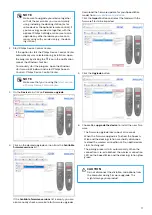
6. Choose
Yes, upgrade the device
to install the new firm-
ware.
• The firmware upgrade takes about 30 seconds.
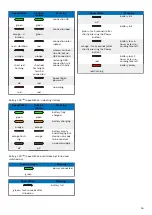
• When the firmware upgrade is finished, the Speech-
Mike and the docking station are shortly disconnec-
ted and the wireless connection LED on both devices
starts flashing red
• The pairing process starts automatically. When the
connection is re-established, the wireless connection
LED on the SpeechMike and the docking station glow
green.
CAUTION
Do not disconnect the dictation microphone from
the computer during firmware upgrade. This
might damage your product.
17

