Instructions for Use | Device Operation
About Prescriptions
38
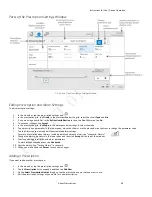
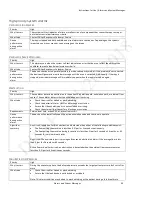
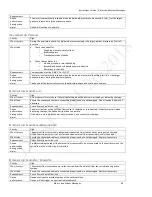
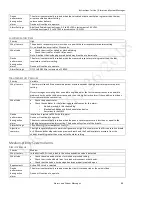
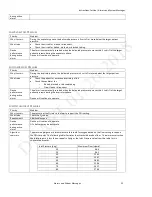
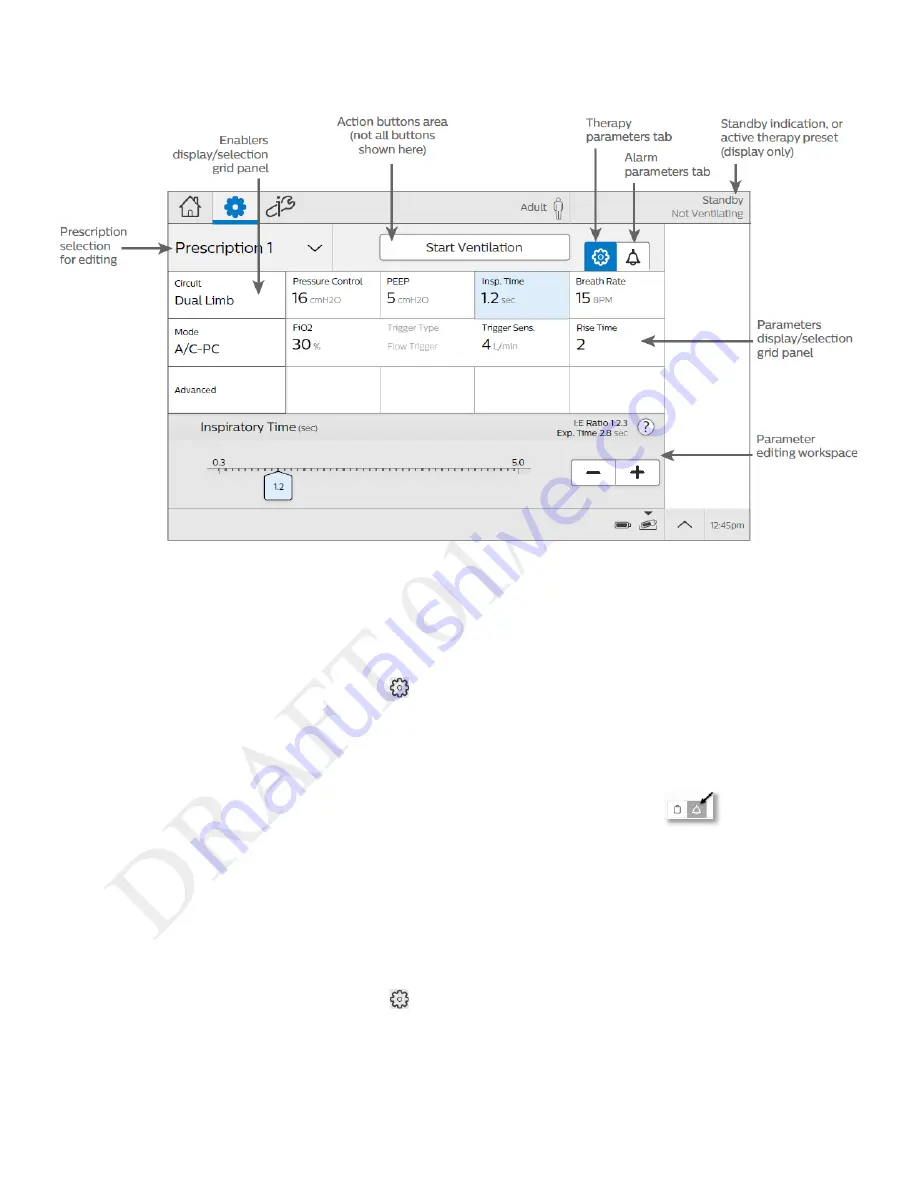
Parts of the Prescription Settings Window
7-1: Parts of the Prescription Settings Window
Editing Prescription and Alarm Settings
To edit prescription settings:
1.
In the menu bar, tap the prescription settings icon.
2.
In the prescription grid, tap
Circuit
. In the workspace below the grid, select the circuit
Type
and
Size
.
3.
If you are using a humidifier, in the
Active Humidification
section, tap
Yes
. Otherwise, tap
No
.
4.
To save your changes, tap
Accept
.
5.
In the prescription grid, tap
Mode
. In the workspace below the grid, select the mode.
6.
Tap a prescription parameter. In the lower pane, move the slider or use the plus and minus buttons to change the parameter value.
7.
Tap the Alarm tab to view and edit the associated alarm settings.
For more information about alarms, including details about each alarm, see “chapter 6: Alarms.”
8.
Change the alarm parameters in the lower pane and then click
Accept
at the top of the window.
9.
Continue editing prescription and alarm parameters.
To work with advanced options, tap
Advanced
.
10.
Test the alarms. See “Testing Alarms” in chapter 6.
11.
When you are finished, tap
Accept
to save your changes.
Adding a Prescription
If you want to add another prescription:
1.
In the menu bar, tap the prescription settings icon.
2.
Tap the
Prescription
list to expand it and then tap
Add New
.
3.
On the
Select Prescription Name
dialog box, tap the prescription name that you want to use.
4.
Edit the prescription settings as you would for a new prescription.


