Hardware and Software Installation
19 VSM Pro User Guide
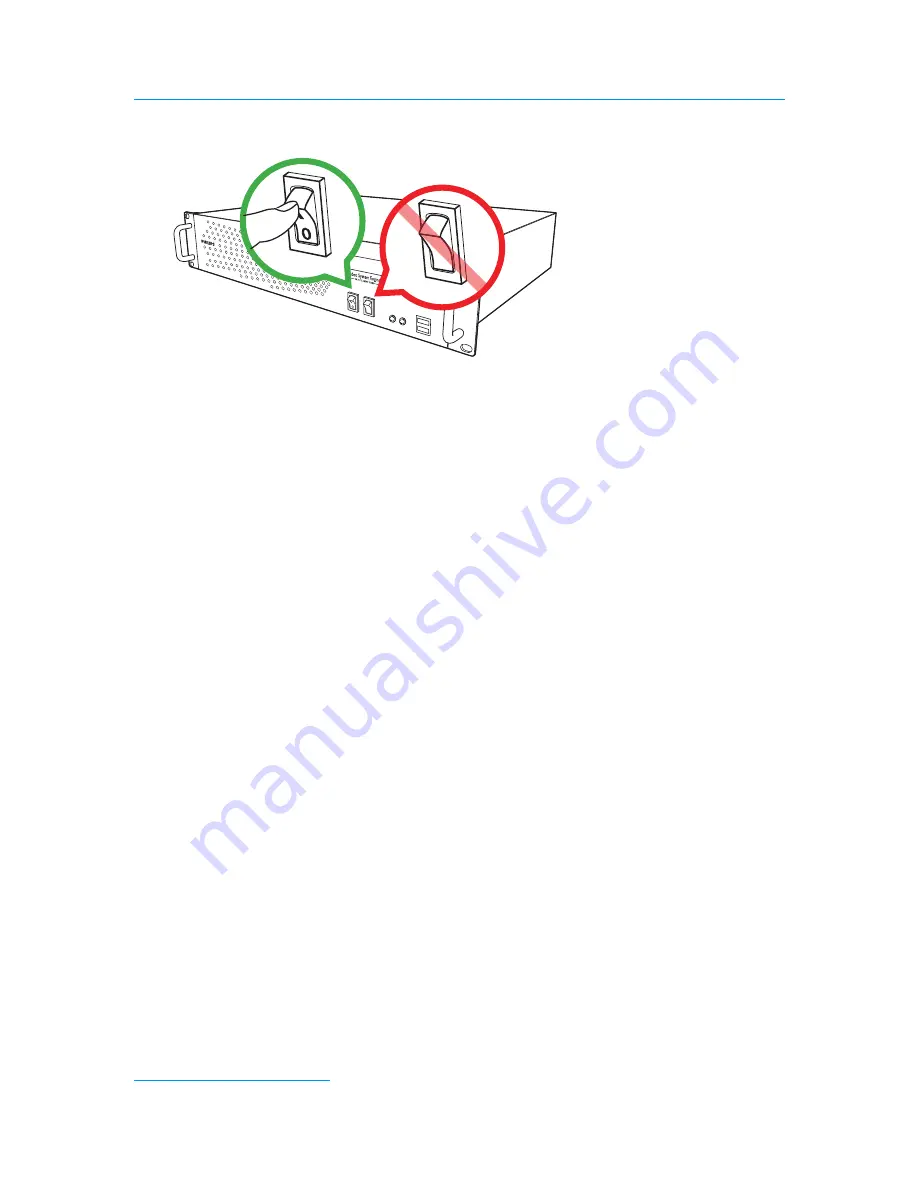
Step 4: Turn on the Power
•
To power on the controller for the first time, turn on the master power switch on the back
of the device.
•
Once powered on, you can connect to the VSM Pro User Interface from any computer
installed on the dedicated lighting network.
•
Once powered on, use only the POWER button on the hardware panel of the VSE Pro to
shut down and restart the device. To maintain data integrity, when the VSE Pro is running, do
not use the RESTART button or the master power switch to shut down.
You are now ready to install a computer (PC or Mac) on the dedicated lighting network. The
computer you use on the network enables you to connect to the VSM Pro User Interface via a
web browser and upload or download VMT maps.
System Requirements
Windows
®
Mac OS X
Windows
®
XP / Vista
Mac OS X 10.4.9 or greater
256 MB RAM
256 MB RAM
40 MB free disk space
40 MB free disk space
CD-ROM or DVD drive
CD-ROM or DVD drive
Network Address Configuration
Once connected to the dedicated lighting network, the VSE Pro controller manages all network
traffic. Additionally, to simplify installation, VSE Pro functions as a dynamic network
address server (DHCP) that automatically sends an IP address to any computer (PC or Mac)
on the network.
When you connect a computer to the lighting network, VSE Pro automatically assigns an IP
address to that computer, if the computer is configured for dynamic network addressing. By
default, the VSE Pro reserves 10.1.3.101 as its IP address and then assigns any computer an IP
address in the 10.1.3.20 to 10.1.3.50 range.
POWER
RESET
POWER
RESET


