11
5.3
Time and Date
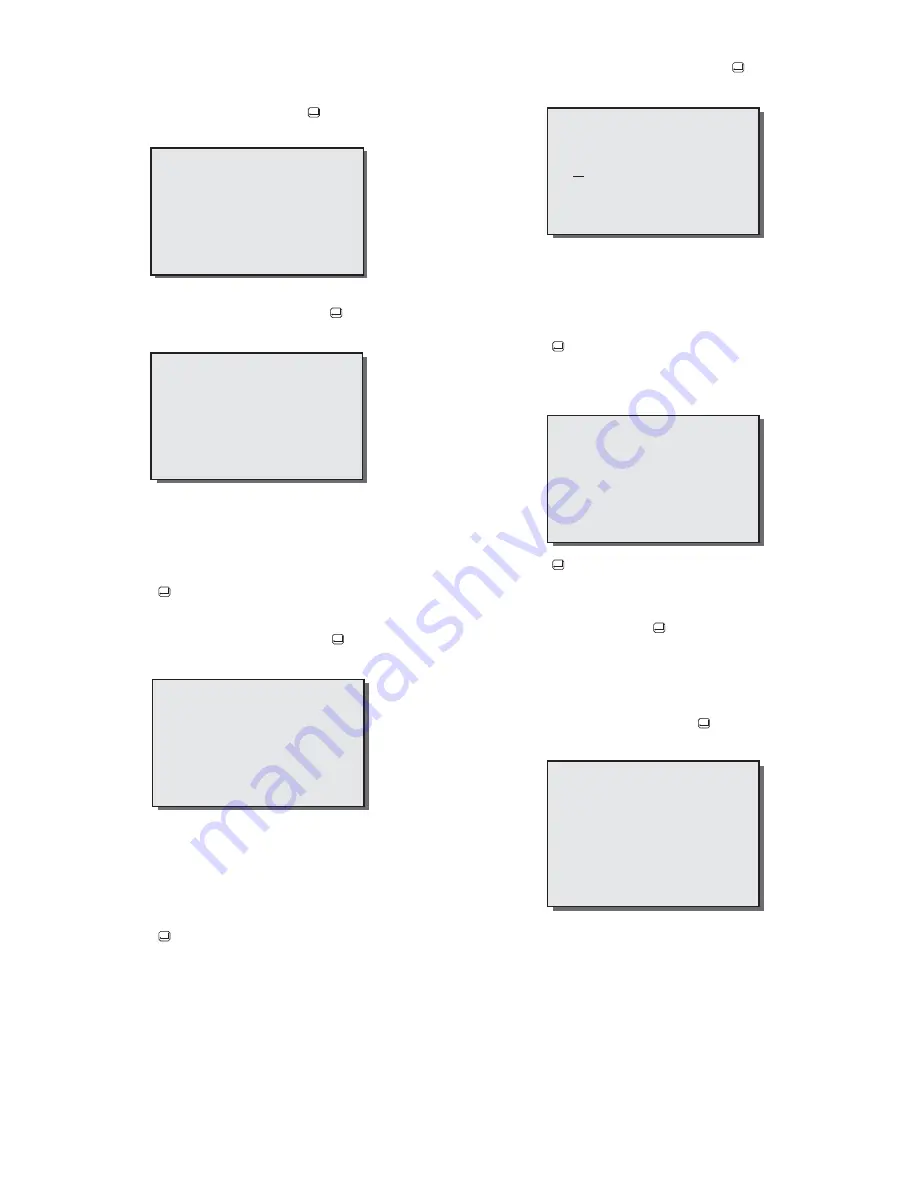
This menu allows you to set the date and time format, the
current time/date, and the displayed position on the monitor.
•
Select
TIME/DATE
and press the
key. The following
menu is displayed:
5.3.1
Time Format
•
Select
TIME FORMAT
and press the
key. The
following menu is displayed:
•
Press the
1
key, and toggle to select the required format.
Options are as follows:
12 HOURS (AM/PM)
24 HOURS (0000-2359).
•
Press the
key.
5.3.2
Date Format
•
Select
DATE FORMAT
and press the
key. The
following menu is displayed:
•
Press the
1
key, and toggle to select the required format.
Options are as follows:
MM/DD/YEAR
DD/MM/YEAR
YEAR/MM/DD
•
Press the
key.
5.3.3
Time/Date Set
•
Select
TIME/DATE SET
and press the
key. The
following menu is displayed:
•
Press the
and
keys to move the cursor to the
required position.
•
Press the
and
keys to establish the necessary digit
(calenders until the year of 2097 are in this menu).
•
Press the
key.
5.3.4
Display Mode Set
•
Select the DISPLAY function.
•
Press the
key to toggle through
BOTTOM
,
TOP
, and
OFF
. The Date/Time will be displayed on the monitor in
the selected position.
•
Select
EXIT
and press the
key to exit the menu.
5.4
Camera Sequence Setup
This menu allows you to adjust the dwell times of the 4 camera
video and the Quad screens.
•
Select
SEQ SETUP
and press the
key. The following
menu is displayed:
•
Press the
and
keys to move the cursor to the
required channel.
>
>
>
>
>
<
(1) TIME FORMAT
(2) DATE FORMAT
(3) TIME/DATE SET
(4) DISPLAY : BOTTOM
(5) EXIT
TIME FORMAT
12 HOURS (AM/PM)
DATE FORMAT
MM/DD/YEAR
TIME/DATE SET
12:00:00 AM 12/31/1999
HH:MM:SS MM/DD/YEAR
TO EXIT PRESS ENTER KEY
(1) TIME FORMAT
(2) DATE FORMAT
(3) TIME/DATE SET
(4) DISPLAY : BOTTOM
(5) EXIT
DWELL TIME
(1) CAMERA 1 : 9 SEC
(2) CAMERA 2 : 9 SEC
(3) CAMERA 3 : SKIP
(4) CAMERA 4 : 9 SEC
(5) QUAD : 9 SEC
(6) EXIT


