A
DVANCED
O
PERATIONS
(
CONTINUED
)
— 20
—
○ ○ ○ ○ ○ ○ ○ ○ ○ ○ ○ ○ ○ ○ ○ ○ ○ ○ ○ ○ ○ ○ ○ ○ ○ ○ ○ ○ ○ ○ ○ ○ ○ ○ ○ ○ ○ ○ ○ ○ ○ ○ ○ ○ ○ ○
• DAILY or WEEKLY programming are not available
on Turbo Timer.
• Tape speed can be selected by pressing the ALT/
SPEED button anytime during steps 1 through 4.
The speed appears on the display for about 5
seconds.
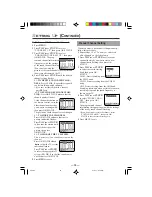
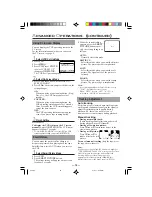
Useful function for Timer Recording:
Auto Tape Speed
With this function activated, the VCR can change
the tape speed and record the programme in LP
or SLP mode if not enough tape remains for
recording in SP mode.
1 Press
VCR
.
2 Press
MENU
.
3 Press
PLAY
5 or
STOP
∞ to select “VCR
SET UP” then press
OK/STATUS
.
4 Press
PLAY
5 or
STOP
∞ to select “TIMER
REC SPEED.”
5 Press
FF
3.
Each time you press the button, the setting
changes.
AUTO:
Select this to allow the VCR to change the
tape speed from SP to SLP when there is not
enough tape length remaining.
MANUAL:
Select this not to allow the VCR to change
the tape speed.
6 Press
MENU
to exit from the menu operations.
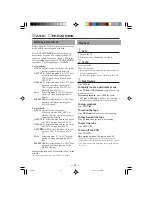
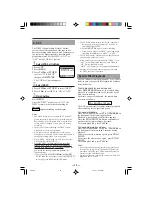
To check, edit or erase the
programmes
1 Turn on the VCR and TV.
2 Press
VCR
.
3 Press
TIMER
.
4 Press
PLAY
5 or
STOP
∞ to select
“PROGRAM REVIEW” then press
OK/STATUS
.
The list of the timer recording programmes
appears.
5 Press
OK/STATUS
repeatedly to view the more
detailed programme information.
• When you press the button
for the first time, the detailed
programme information for
Programme 1 appears. By
pressing this button repeated-
ly, you can review the detailed information of all
other programmes.
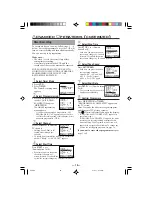
6 If you want to change the programme
setting shown on the TV screen, press the
following buttons:
CH
5/∞
:Changes the channel.
START +/–
:Changes the start time.
STOP +/–
:Changes the stop time.
SPEED
:Changes the tape speed.
DATE +/–
:Changes the date.
If you want to erase the programme setting
shown on the TV screen, press
CLEAR
. The
detailed information of the next programme
appears.
7 If necessary, press
TIMER
to exit from the
menu operations.
Notes:
• This function does not work for OTR (One Touch
Recording).
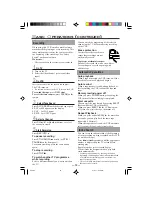
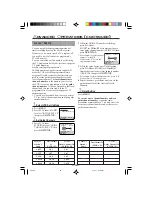
How to see the programme list
1 Programme numbers
2 Preset channel numbers
3 Start time
“A” stands for “AM,” and “P” stands for
“PM.”
4 Stop time
5 Start date
“D” stands for “DAILY,” and “W” stands for
“WEEKLY.”
• If the programme has worked once for the
Daily recording, “DAILY” will be shown
instead of the start date.
• If the programme has worked once for the
Weekly recording, the day of the week (in
this example, “MON”) will be shown
instead of the start date.
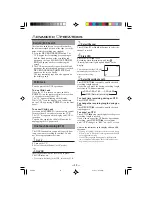
Note:
• Even if a power failure occurs, the VCR keeps your
timer programs. However, the clock time and other
menu settings are lost if it lasts for more than 3
minutes. As a result, when the power is supplied
again to this VCR after the power failure, set the
clock time and turn off the VCR.
Each timer program you have made will start unless
its start time already passes.
PR CH START STOP DATE
1 12 08:00P 10:00 W10/06
2 25 10:00A 10:45 MON
3 03 03:00P 03:15 D16/10
4 45 11:30P 01:00 DAILY
5
6
7
8
SELECT: CONFIRM: OK
W indicates a
Weekly Recording
D indicates a
Daily Recording
ONE TIME PROGRAM
PROGRAM 1
/–
START +/– 08 : 00 PM
STOP +/– 10 : 00 PM
REC SPEED SP
DATE +/– 20/07/01
FRIDAY
ERASE: CLEAR
NEXT: OK
END: TIMER
12
PR CH START STOP DATE
1 12 08:00P 10:00 W10/06
2 25 10:00A 10:45 MON
3 03 03:00P 03:15 D16/10
4 45 11:30P 01:00 DAILY
5
6
7
8
NEXT: OK END: TIMER
1
2
3
4
5
220/75
01.5.11, 4:16 PM
20

