Direction for use
GB 32
VR120
3.
I
IR
satellite
control
This
auxiliary
device
allows
you
to
change
the
TV
channels
(programme
numbers)
of
a
conne
cted
digital
satellite
receiver
(Set
Top
Box)
via
the
video
recorder.
This
is
necessary
to
program
me
recordings
which
can
only
be
made
via
a
Set
Top
Box.
A
list
of
controllable
Set
Top
Boxe
si
s
printed
at
the
end
of
this
section.
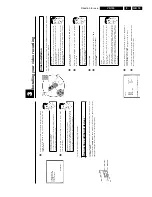
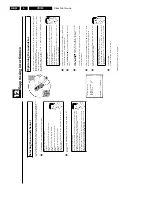
Connecting
the
satellite
control
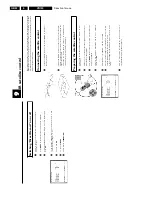
1
Connect
the
satellite
control
to
the
socket
IR
SAT
on
the
back
of
the
video
recorder.
2
Position
the
satellite
control
on
the
Set
Top
Box
so
that
the
signal
window
on
the
bottom
of
the
satellite
control
protrudes
beyond
the
edge
of
the
Set
Top
Box.
This
allows
the
control
signal
(IR
signal)
to
be
transmitted
and
received
by
the
Set
Top
Box
without
interference.
Preparing
the
satellite
control
1
Switch
on
the
Set
Top
Box
and
select
programme
number
1
o
n
your
Set
Top
Box.
2
Switch
on
your
TV
set
and
select
the
programme
number
that
you
have
chosen
for
video
playback.
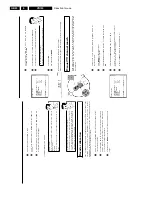
3
Press
the
MENU
button
on
the
video
recorder
remote
control.
The
main
menu
is
displayed.
4
Select
the
line
'
SPECIAL
SETTINGS
'
with
P
r=
or
;q
P
and
confirm
with
OK
.
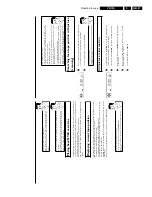
SPECIAL
SETTINGS
OSD
è
O
N
p
CLOCK
DISPLAY
OFF
REPEAT
PLAY
OFF
DIRECT
RECORD
ON
________________________________
EXITpMENU
STOREpOK
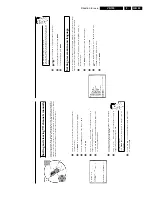
5
Select
line
'
SAT.IR-CODE
NR.
'
with
P
r=
or
;q
P
.
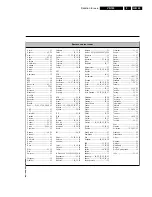
6
Enter
the
IR-code
number
that
corresponds
to
your
Set
Top
Box,
using
the
number
buttons
0-9
on
the
remote
control.
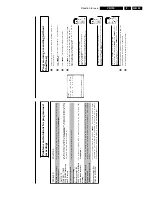
A
list
of
all
available
IR-code
numbers
is
printed
in
the
back
of
this
section.
7
After
you
have
entered
the
last
number,
the
Set
Top
Box
will
automatically
switch
to
programme
number
12.
Switching
'Direct
Record'
on
or
off
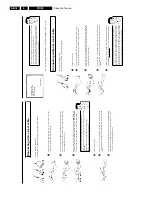
1
Switch
on
the
TV
set.
If
required,
select
the
programme
number
for
the
video
recorder.
2
Press
MENU
on
the
remote
control.
The
main
menu
will
appear.
3
Select
line
'
SPECIAL
SETTINGS
'
using
P
r=
or
;q
P
and
confirm
with
OK
.
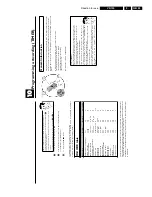
SPECIAL
SETTINGS
OSD
è
O
N
p
CLOCK
DISPLAY
OFF
REPEAT
PLAY
OFF
DIRECT
RECORD
ON
________________________________
EXITpMENU
STOREpOK
4
In
line
'
DIRECT
RECORD
',
select
'
OFF
'
(Direct
Record
off)
or
'
ON
'
(Direct
Record
on)
using
Q
or
P
.
5
Confirm
with
OK
.
6
To
end,
press
MENU
.
7
Switch
off
with
STANDBY/ON
m
.
Summary of Contents for VR570
Page 12: ...Direction for use GB 12 VR120 3 3 Direction for use RT111 RT116 RT112 RT114 RT123 RT121 RT128 ...
Page 15: ...Direction for use GB 15 VR120 3 SAT VR870L VR870CC VR720 Set width 435 mm ...
Page 56: ...Service modes Repair tips GB 56 VR120 5 Engineer s remarks ...
Page 79: ...Circuit diagrams and PWB layouts Wiring diagram 79 VR120 7 7 16 Wiring Diagram Motherboard ...
Page 81: ...Circuit diagrams and PWB layouts Wiring diagram 81 VR120 7 Engineer s remarks ...
Page 82: ...82 VR120 7 Circuit diagrams and PWB layouts Wiring diagram Engineer s remarks ...
Page 83: ...Circuit diagrams and PWB layouts Wiring diagram 83 VR120 7 7 18 Mother board component side ...
Page 119: ...Tape deck GB 119 VR120 10 ...
Page 123: ...Tape deck GB 123 VR120 10 Engineer s remarks ...

