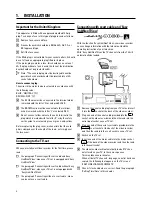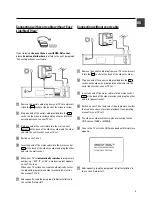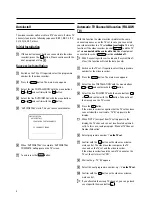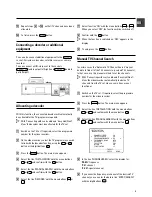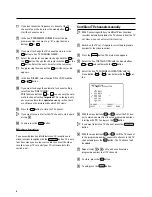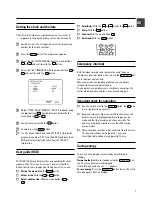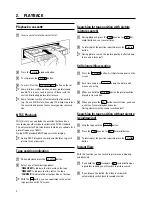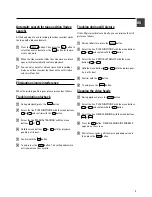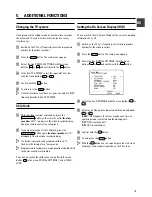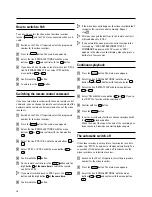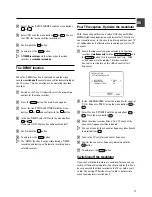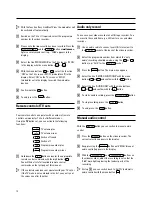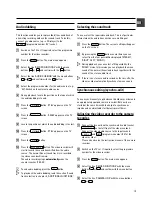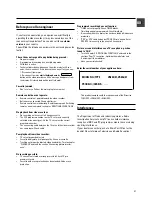
How to check or alter a TIMER
a
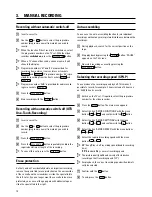
Switch on the TV set. If required, select the programme
number for the video recorder.
b
Press the
TIMER
s
button on the remote control.
The programming mode selected last is marked.
c
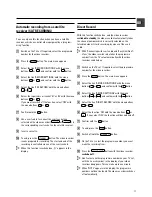
Select the line ’TIMER LIST’ with the menu buttons
P
=
or
P
;
and confirm with the
P
button.
d
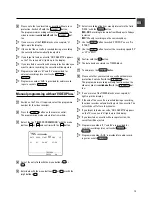
Select the TIMER you want to check or alter with the
menu buttons
P
=
or
P
;
.
e
Press the menu button
P
.
f
Select what you want to check or alter data with the
menu buttons
Q
or
P
.
g
Alter data with the menu buttons
P
=
or
P
;
or with the
digit buttons
0-9
.
h
Confirm with the
OK
button.
i
To end, press the
TIMER
s
button.
j
Please note that you inserted a cassette without erase
protection. Switch off with the
STANDBY
m
button.
The programmed recording will only function when the
video recorder is
switched off
with the
STANDBY
m
but-
ton.
How to clear a TIMER
a
Switch on the TV set. If required, select the programme
number for the video recorder.
b
Press the
TIMER
s
button on the remote control.
The programming mode selected last is marked.
c
Select the line ’TIMER LIST’ with the menu buttons
P
=
or
P
;
and confirm with the
P
button.
d
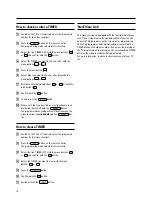
Select the TIMER you want to clear with the menu
buttons
P
=
or
P
;
.
e
Press the
CLEAR (CL)
button.
f
Confirm with the
OK
button.
g
Switch off with the
TIMER
s
button.
’NexTView Link’
This video recorder is equipped with the function ’NexTView
Link’. If your television is also equiped with this function, you
can mark TV programmes on the television for programming.
These TV programmes will automatically be transmitted to a
TIMER block on the video recorder. If you clear the marking of
the TV programme on the television, the corresponding TIMER
block on the video recorder will also be cleared.
For more information, read the instruction manual of your TV
set.
14


