Setting Up the VCR Plus+ Programming System (cont’d) 33
2
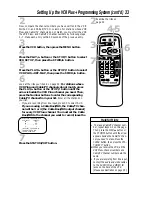
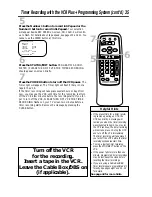
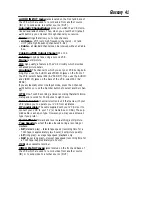
Now, compare the channel numbers you have written in the VCR
PLUS+ CH. and CABLE/TV CH. columns. For stations whose VCR
Plus+ and Cable/TV channels do not match, you must tell the VCR
the VCR Plus+ and Cable/TV channel numbers by following steps
3 - 7. Make each entry within 60 seconds of the previous entry.
3
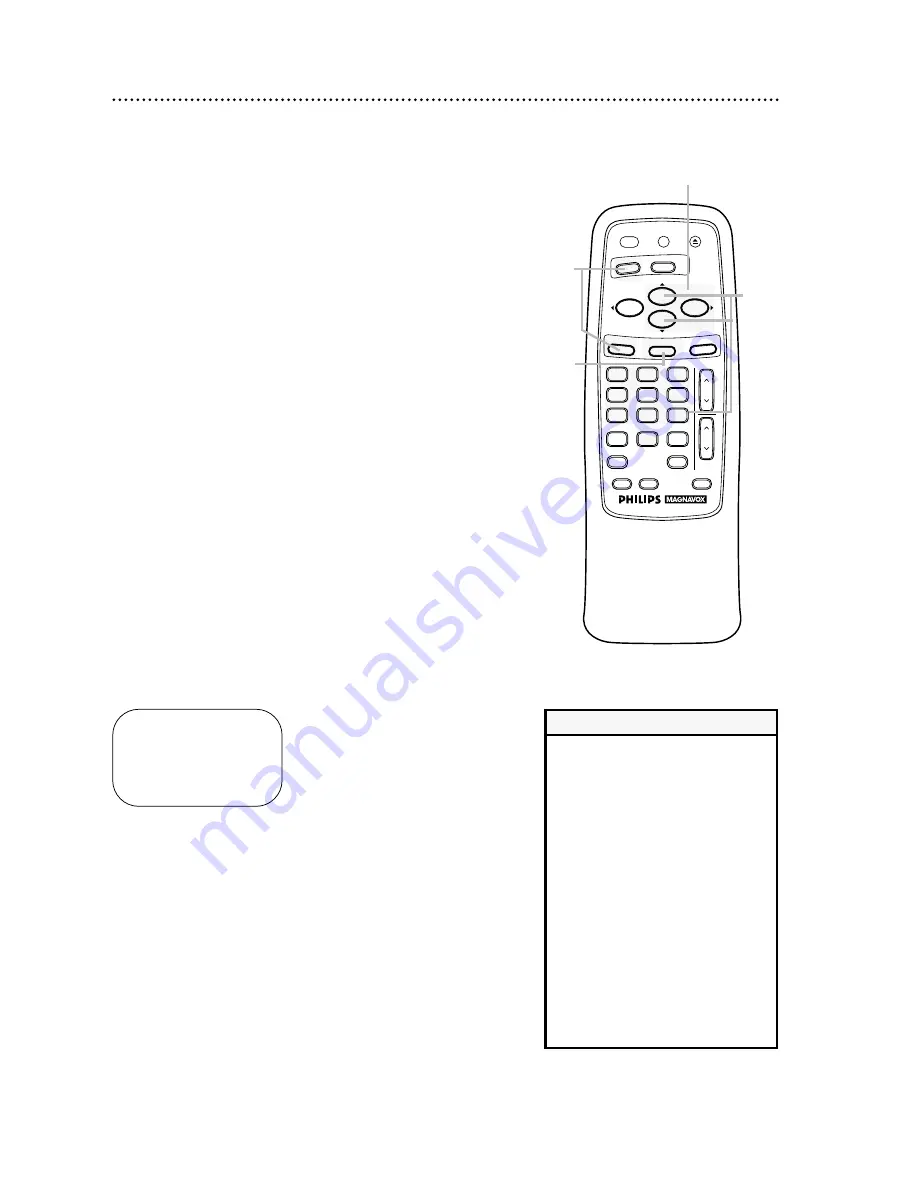
Press the VCR button, then press the MENU button.
7
Press the STATUS/EXIT button.
5
Press the PLAY/
o
button or the STOP/
p
button to select
VCR PLUS+ REF. MAP, then press the F.FWD/
B
button.
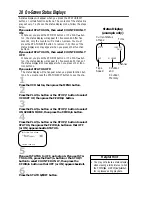
VCR PLUS+ CROSS REF. MAP
VCR PLUS+
CABLE/TV
98
98
99
99
1
– – – – –> 23
2
2
TO SELECT CH PUSH
op
THEN ENTER CH NO.
TO END PUSH EXIT
4
Press the PLAY/
o
button or the STOP/
p
button to select
VCR SET UP, then press the F.FWD/
B
button.
3
2
Examine the lists on
page 32.
6
4-5
7
VOL
CH
3
2
1
6
5
4
9
8
7
0
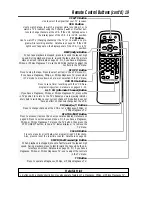
POWER
STATUS/EXIT
MEMORY
REC/OTR
SPEED
VCR PLUS+
ALT. CH
PAUSE/STILL
MUTE
TV
VCR
F.FWD
REW
PLAY
STOP
VCR/TV
EJECT
MENU
CLEAR
6
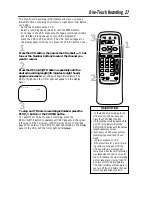
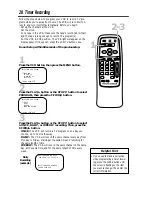
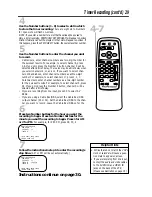
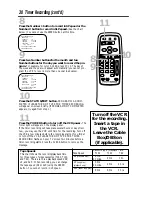
Look at the lists you filled in on page 32. For stations whose
VCR Plus+ and Cable/TV channels do not match, press
the PLAY/
o
button or the STOP/
p
button until the
arrow is beside the VCR Plus+ channel you need. Then,
press the Number buttons to enter the corresponding
Cable/TV channel from your list. Enter all the stations on
your list.
●
If you are recording from line input, press 0,0 to select AUX.
●
If you are using a Cable Box/DBS, the Cable/TV chan-
nel will be 3 or 4 (the Cable Box/DBS output channel)
for every VCR Plus+ channel. You must set the Cable
Box/DBS to the channel you want to record; leave the
• To erase a Cable/TV channel num-
ber, repeat steps 3-5 on this page.
Then, press the PLAY/
o
button or
the STOP/
p
button until the arrow
appears beside the Cable/TV chan-
nel you need to erase. Press the
CLEAR button, then press the STA-
TUS/EXIT button.
• When you receive the VCR, all the
VCR Plus+ channel numbers and
Cable/TV channel numbers are the
same.
• If you are recording from line input,
connect the audio and video cables
to the AUDIO IN and VIDEO IN
jacks on the back of the VCR.
(Please see illustration on page 36.)
Helpful Hints
Summary of Contents for VRA231AT
Page 47: ......

