Getting started
6
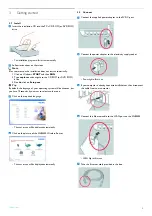
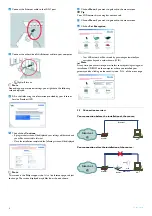
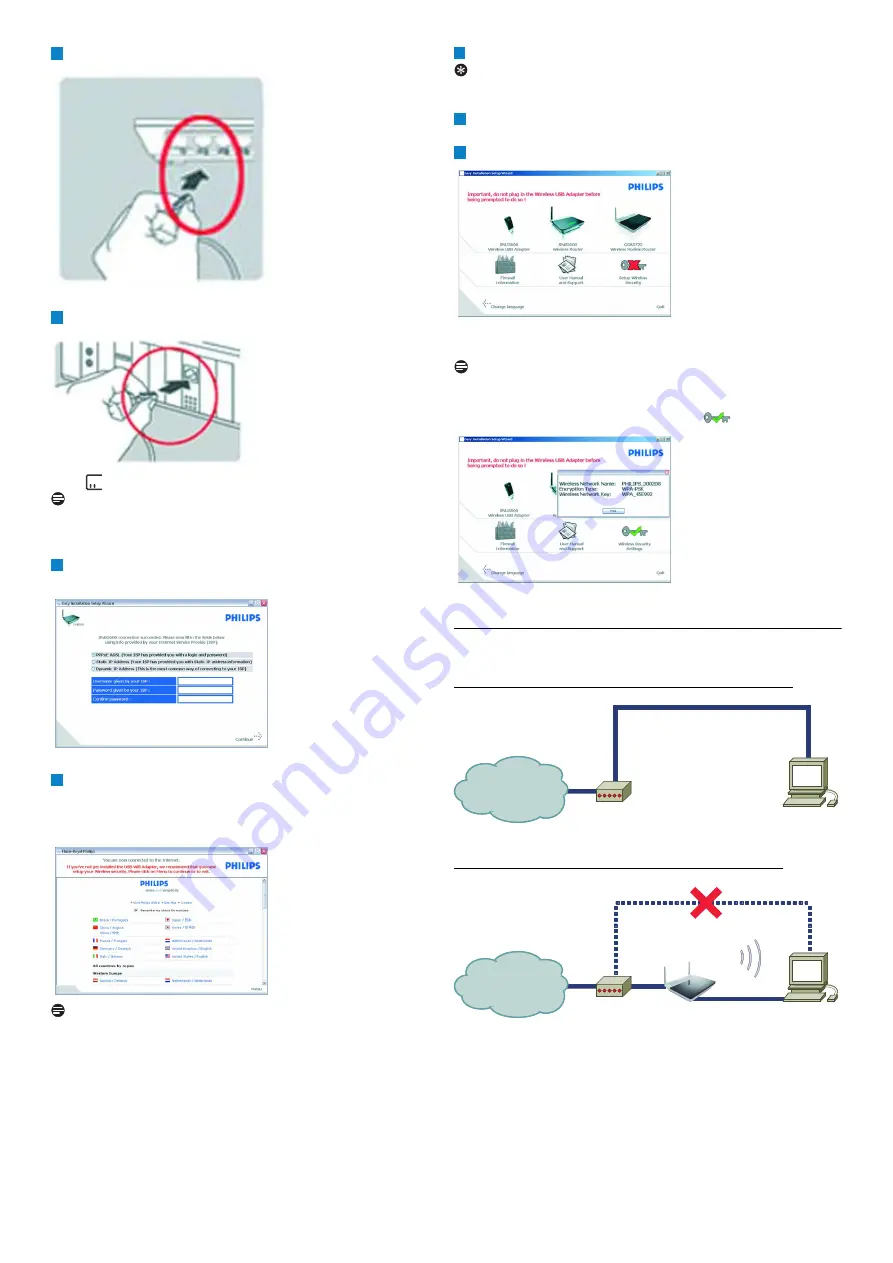
Connect this Ethernet cable to the LAN1 port
Connect the other side of this Ethernet cable to your computer
•
light will turn on
Note
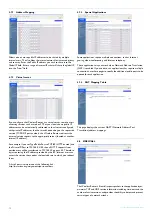
Depending on your modem settings, you might have the following
screen displayed.
Fill in the fields using the information provided by your Internet
Service Provider (ISP)
Then click on
Continue
• A progress bar screen will be displayed, your settings will be saved and
you will be connected to Internet
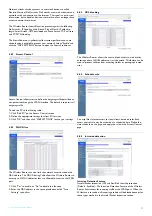
• Once the installation completed, the following screen will be displayed
Note
This screen is the Philips support site. It is a live Internet page, subject
to change. The screen displayed may differ from the one shown.
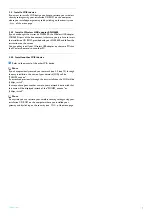
Click on
Menu
if you want to go back to the menu screen
Tip
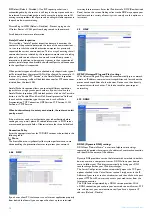
Your WiFi network is running but not secured.
Click on
Menu
if you want to go back to the menu screen
Click on
Set Encryption
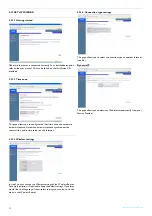
• Your WiFi network will be secured by generating automatically an
encryption key and a network name (SSID)
Note
At any time you can retrieve your wireless security settings using your
installation CD ROM on the computer where you installed your
gateway and by clicking on the security icon
of the menu page.
3.3
Connection overview
Your connection before the installation of the router :
Your connection after the installation of the router :
6
7
8
9
10
11
12
Modem
Internet
@
Internet
@
PC
Ethernet
Modem
Internet
@
Internet
@
PC
Router
OR
Wi-Fi
Ethernet


