1 2 |
P a g e
Mains and charging current risks
Make sure the cables are always connected to the correct terminal. An electrical shock can be lethal. In general, any
electric shock can be dangerous to your health.
CE labeling
The product is CE compliant.
Connecting and Grounding
•
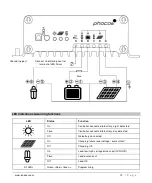
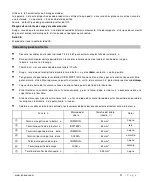
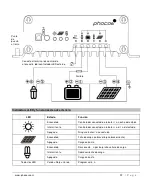
Connect wires in indicated order 1 2 3 4 5 6 7 to avoid any installation faults
•
To avoid any damaging voltage on the wires, first connect the wire t o the controller, then to the battery, panel or
to the load
•
Minimum recommended wire size: 10 mm ²
•
Make sure the wire length between battery and controller is as short as possible
•
Be aware that all negative wires of CIS-N-MPPT 100/ 30 are connected together and therefore have the same
electrical potential. If any grounding is required further to the casing , alw ays do this on the negative wires.
•
Grounding of the casing is done by the grounding post on the left side.
•
The controller w arms up during operation, and should therefore be installed on a non flammable surface only.
•
When connecting inductive loads (mot ors, relays, etc.) a freewheel diode must be connected in parallel t o the
loads in the reverse biased direction.
•
Inverters should always be connected directly to the battery due to their high inrush currents.
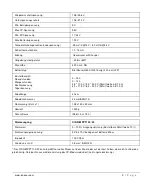
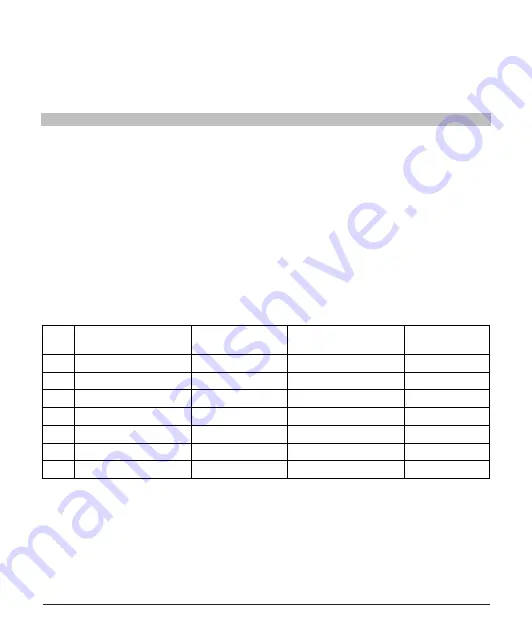
Function
Cable m arker
Wire size (cross section)
Color
①
Negative battery terminal
COMMON -
3.3 mm
2
Black
②
Positive battery terminal
B
3.3 mm
2
Red
③
Negative panel terminal
COMMON -
3.3 mm
2
Black
④
Positive panel terminal
SOLAR +
3.3 mm
2
Yellow
⑤
Negative load terminal
COMMON -
3.3 mm
2
Black
⑥
Positive load terminal
LOAD +
3.3 mm
2
Orange
⑦
Dimming signal terminal
---
0.25 mm
2
Black

