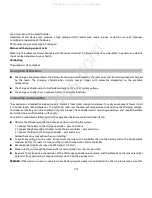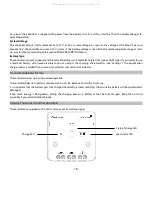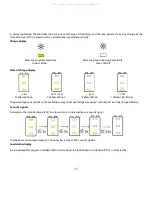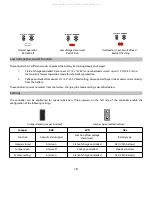
Use only tools with insulated handles.
Operation of this device may produce a high voltage which could cause severe injuries or death in case of improper
installation or operation of the device.
PV modules can generate high DC voltages!
Mains and charging current risks
Make sure the cables are always connected to the correct terminal. An electrical shock c an be lethal. In general, any electric
shock can be dangerous to your health.
CE labeling
The product is CE compliant.
Description of Functions
The charge controller protects the battery from being overcharged by the solar array and from being deep discharged
by the loads. The charging characteristics include several stages with automatic adaptation to the ambient
temperature.
The charge controller adjusts itself automatically to 12V or 24V system voltage.
The charge controller has a number of safety and display functions.
Connecting and Grounding
The controller is intended for indoor use only. Protect it from direct sunlight and place it in a dry environment. Never install
it in humid rooms (like bathrooms). The controller measures the ambient temperature to determine the charging voltage.
Controller and battery must be installed in the same room. The controller warms up during operation, and should therefore
be installed on a nonflammable surface only.
Connect the controller by following the steps described below to avoid installation faults.
Observe the following connection sequence when installing the system:
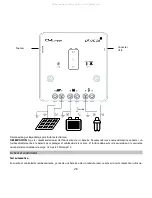
1. Connect the battery to the charge controller – plus and minus.
2. Connect the photovoltaic modules to the charge controller – plus and minus.
3. Connect the load to the charge controller – plus and minus.
Follow the reverse procedure when uninstalling!
To avoid any voltage on the wires, first connect the wire to the controller, then to the battery and to the photovoltaic
modules. But for the load, first connect the wire to the load, then to the controller.
Recommended minimum wire size: CMLmppt 10: 6 mm
2
;
Make sure the wire length between battery and controller is as short as possible.
Be aware that all positive connections of the CMLmppt controller are common and therefore have the same electrical
potential. If any grounding is required, always do this on the positive wire.
REMARK:
If the device is used in a vehicle whose battery negative pole is connected to the chassis, please make sure that
14
All manuals and user guides at all-guides.com
all-guides.com

