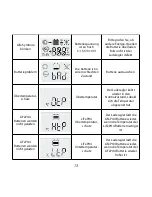
Starting up the controller
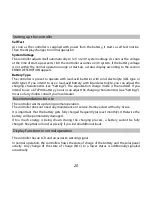
Self Test
As soon as the controller is supplied with power from the battery, it starts a self test routine.
Then the display changes to normal operation.
System Voltage
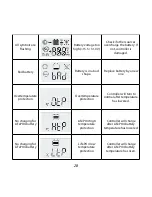
The controller adjusts itself automatically to 12 V or 24 V system voltage. As soon as the voltage
at the time of start-up exceeds 18 V, the controller assumes a 24 V system. If the battery voltage
is not within the normal operation range at start-up, a status display according to the section
ERROR DESCRIPTION appears.
Battery Type
The controller is preset to operate with lead-acid batteries with solid electrolyte (GEL type or
AGM type). If you intend to use a lead-acid battery with liquid electrolyte, you can adjust the
charging characteristics (see "Settings"). The equalization charge mode is then added. If you
intend to use a LiFePO4 battery, you also can adjust the charging characteristics (see "Settings").
In case of any doubts consult your local dealer.
Recommendations for use
The controller warms up during normal operation.
The controller does not need any maintenance or service. Remove dust with a dry tissue.
It is important that the battery gets fully charged frequently (at least monthly). Otherwise the
battery will be permanently damaged.
If too much energy is being drawn during the charging process, a battery cannot be fully
charged. Keep that in mind, especially if you install additional loads.
Display Functions in normal operation
The controller has an LCD and an acoustic warning signal.
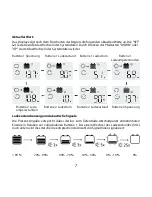
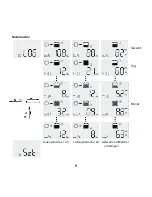
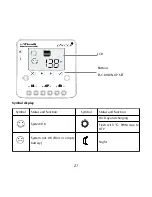
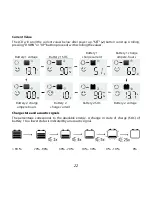
In normal operation, the controller shows the state of charge of the battery and the solar panel
activity. Any change of the state of charge (SOC) to a lower status is additionally signaled
acoustically.
20
Summary of Contents for CXNup 2B
Page 12: ...10...
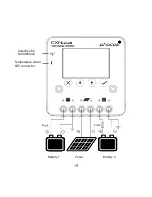
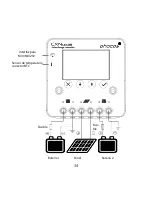
Page 21: ...Battery 1 Panel Battery 2 19 Interface for MXI MXI232 Temperature sensor NTC connector...
Page 27: ...25...
Page 42: ...40...
Page 57: ...55...
Page 72: ...70...
Page 78: ...CXNup 2B LCD PWM MXI MXI232 CXNup 2B GEL AGM LiFePO4 12 24 V 1 5 LiFePO4 BMS 76...
Page 79: ...CE CE 12 V 24 V 77...
Page 80: ...1 1 2 2 3 6 mm CXNup 2B 1 5 30 A 78...
Page 81: ...1 2 79 NTC MXI MXI232...
Page 82: ...12 V 24 V 18 V 24 V LCD 80...
Page 83: ...C PWM 81 LCD ESC DOWN UP SET...
Page 84: ...SET DOWN UP 1 1 1 2 2 2 2 90 70 90 30 70 10 30 0 10 0 82...
Page 85: ...83 1 2 1...
Page 87: ...85...
Page 89: ...NTC CXNup 2B C Err NTC 87...
Page 90: ...15 5 31 0 V 88...


