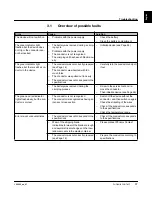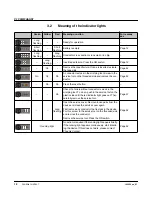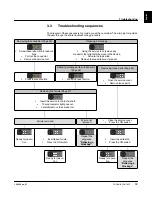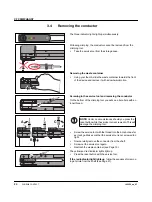
Operating the crimping tool
105555_en_07
PHOENIX CONTACT
13
English
2.3
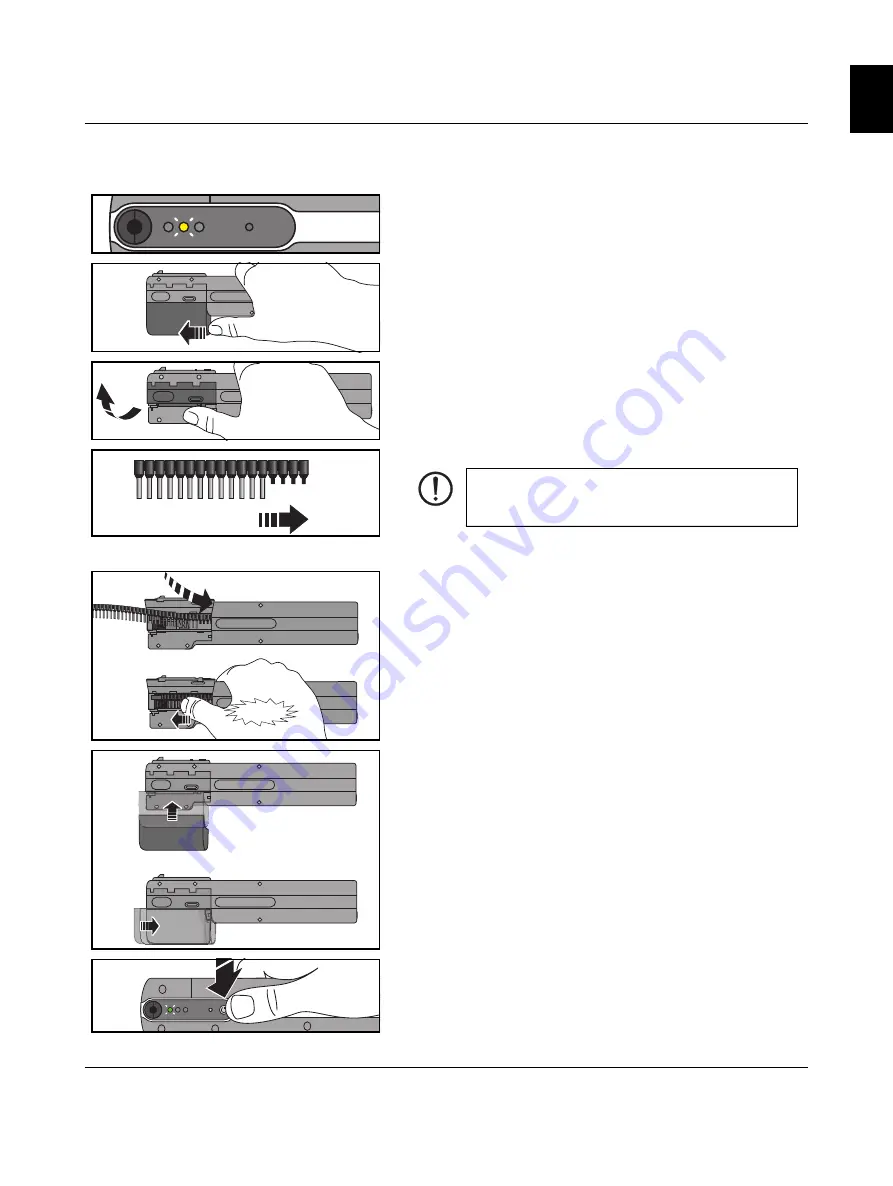
Inserting the taped ferrule
The yellow indicator light flashes.
•
If the yellow indicator light is
not
flashing, do not insert a taped
ferrule under any circumstances.
Removing the waste container
•
Using your thumb, slide the waste container towards the front
of the device and remove it with a downward motion.
Opening the lid
•
Flip the lid upwards to open. There will be slight resistance
when doing this.
Inserting the taped ferrule
•
Insert the taped ferrule, starting with the function end (four plas-
tic ferrules), as far as it will go to the right into the guide shaft.
•
Then push the taped ferrule to the left as far as it will go into the
guide shaft until it engages.
Closing the lid and attaching the waste container
•
Close the lid.
•
When attaching the waste container, place it so that it is flush
with the lid (the waste container will be around five millimeters
over the front edge of the crimping tool).
•
Push the waste container into the end position parallel to the
crimping tool until it snaps in and is flush with the front of the de-
vice.
Loading the taped ferrule
•
Press the ON button.
You hear a sound of movement and the green indicator light
flashes. The crimping tool is ready for use.
NOTE:
Only use suitable taped ferrules (see Page 8).
These tapes have a function end that is required for er-
ror-free operation. Do not insert damaged or bent tapes.
CLICK !
Summary of Contents for 1212463
Page 2: ......
Page 36: ...CF CRIMPHANDY 36 PHOENIX CONTACT 105555_en_07 ...


