


Operating the CUTFOX 10
102786_en_03
PHOENIX CONTACT
13
English
Deleting a project
•
If you would like to delete the current project, press and hold the "stop" button for at
least two seconds. This display appears.
•
To delete the project and return to project selection, press the "2" key.
•
To return to project selection without deleting, press the "enter" key.
Changing settings
If, for example, a data record has been created where more cable is cut than actually re-
quired, then the number can be decreased here. But the next time this data record is ac-
cessed, the higher number, which is saved, will be used.
•
Select a data record with the keys "0" to "9".
•
You can overwrite the values or delete them with the "C" button.
•
Switch to the next line with the "enter" key.
•
Enter the length and number of cuts with the keys "0" to "9".
•
For entries in inches, decimal places can be used.
Cutting the cable
•
Insert the cable as described (see page 10).
•
Press the "start" button. The green LED lights up.
The CUTFOX 10 then processes all of the project's data records automatically.
Pausing or stopping the
cable
•
Cutting can be interrupted. To do this, press the "stop" button. The red "stop" LED
flashes and this display appears.
•
Press the "start" button to continue cutting.
•
To stop cutting, press the "mode" button to switch to another data record or close the
project.
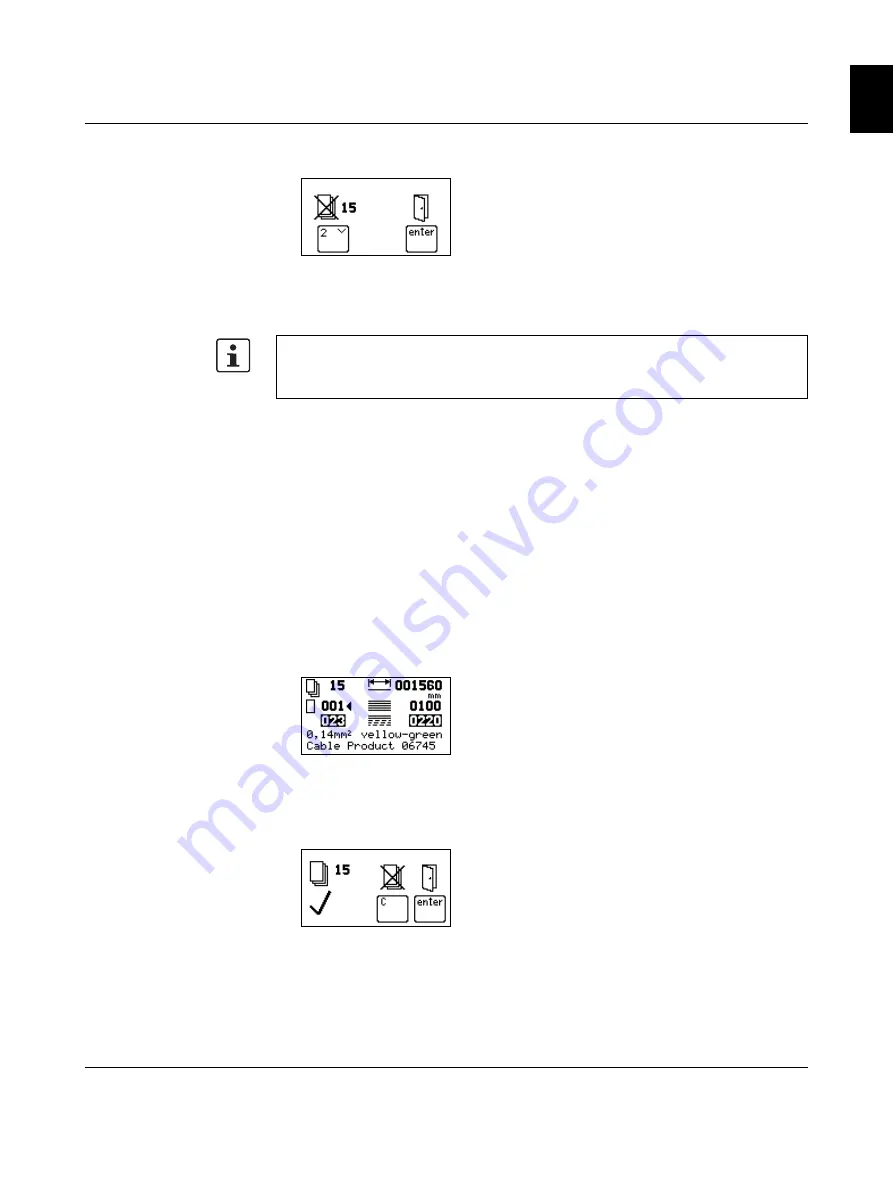
End of the project
The cutting is finished when this display appears.
•
To return to project selection, press the "enter" key.
•
To delete the completed project and return to project selection, press the "C" key.
The values for length and number shown in project selection can be edited. The changes
remain until the project is switched or closed.
Permanent changes have to be made at the PC and then loaded to the CUTFOX 10.


