Phoenix 4400- DHP
November 2017
25
8.
Pull the top roll of film down and attach it to the bottom substrate.
9.
Return the gap adjustment handle down to the LAMINATE position.
10.
Replace the feed table.
11.
Replace the safety shield.
12.
Use the motor switch on the control panel or the foot pedal to advance the film web through
the rollers; remove the tape the bottom substrate.
13.
Refer to Section 13 if you need to adjust the brake tension due to wrinkles in the output.
25. Mounting
25 a. Pre-coating mounting boards
•
Load a roll of mounting adhesive on the top roller
(see Loading upper shafts section 23).
•
Insert leader board the same thickness as the boards to be coated and the width of
the mounting adhesive, between the nip rollers and lower the top roller until it
touches the board.
•
Pull mounting adhesive down over the idler bar and over the front of the top nip
roller and adhere to the leader board.
•
Run leader board half way through the roller and stop.
•
Insert mounting board to be coated and depress foot switch.
•
After the last board, insert leader board to keep adhesive from contacting the rollers.
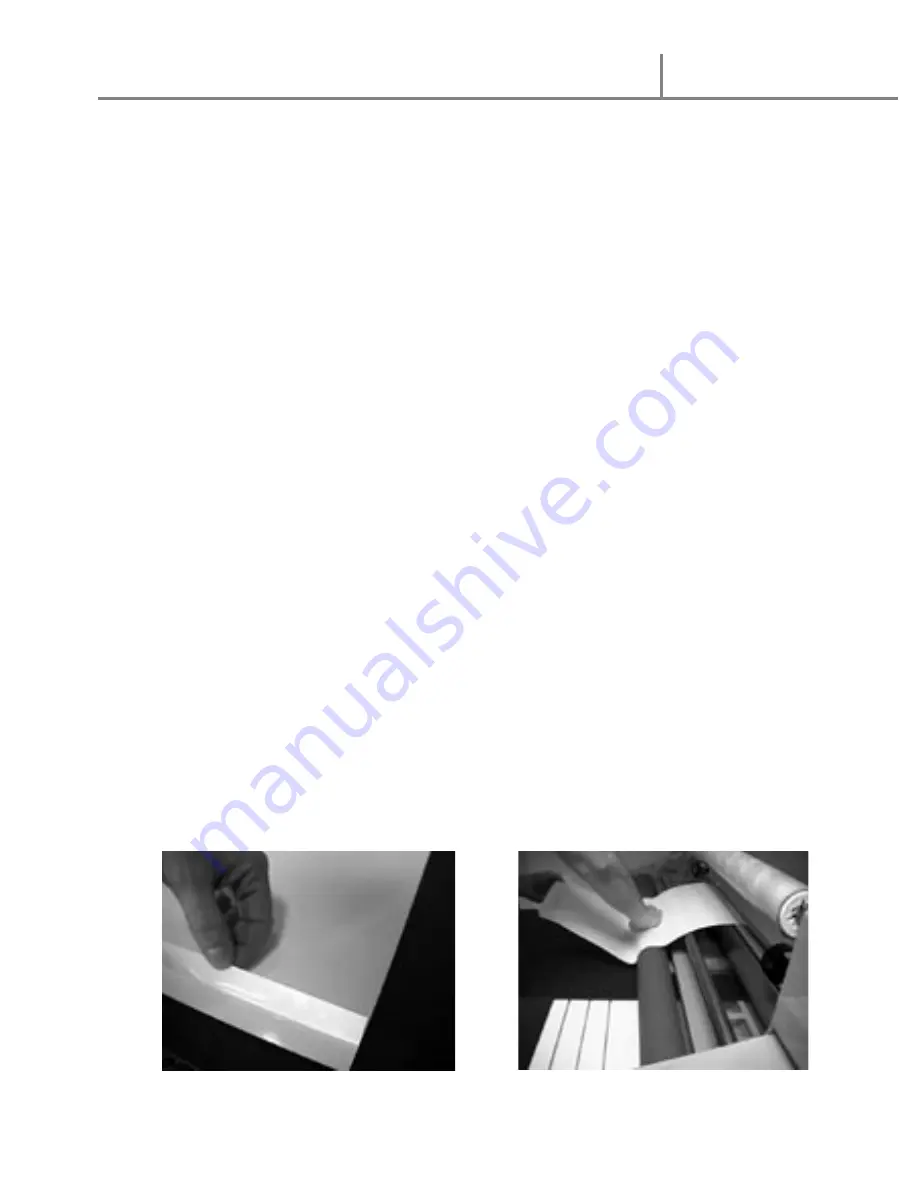
25b. Mounting print to a pre-coated mounting board
•
Pull back and fold down 1” of the liner from the pre-coated mounting board
•
Adhere leading edge of the print to the exposed adhesive on the board
•
Insert leading 1” of the board into the nip rollers
•
Lower the roller
•
Lay print over top nip roller
•
Hold release liner on board with one hand and apply pressure to print as it comes
over the top roller.
•
Depress the foot switch to run the board and print through the rollers


