3.
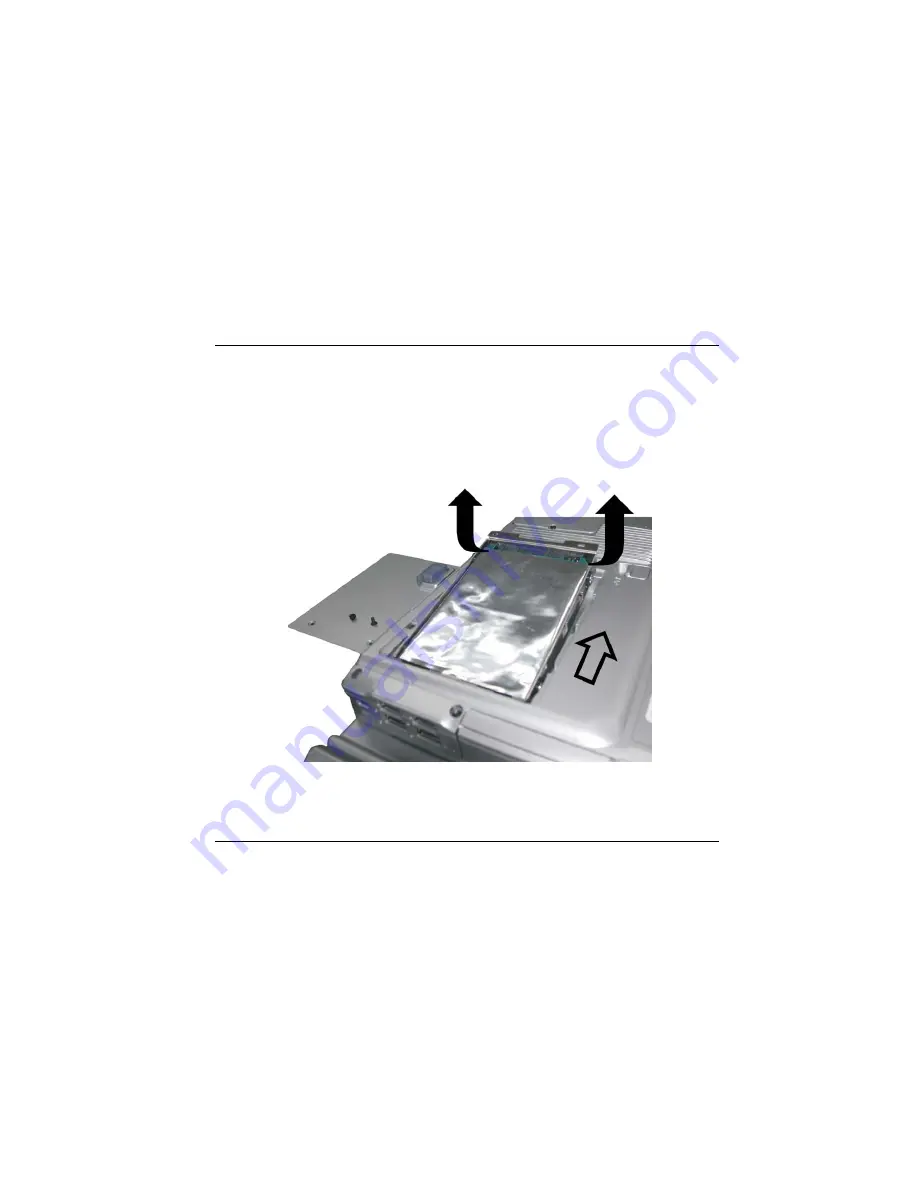
Slide the HDD cover away from the compartment.
The drive is attached to a special bracket that secures it to the notebook computer.
There are 4 screws hold the bracket. Remove the screws and set them in a safe
place.
4.
5.
6.
Push the HDD slightly in the direction of the arrow as shown in the illustration to
release it from the pins of the drive.
Gently hold the grip of the HDD, lift it up to release from its compartment.
7.
the bay. Press down gently on the drive bracket until it engages with
To install the new HDD, you will need to align the tabs on the drive bracket with
the slots on
the system. Do not force the drive into place this can bend the pins on the hard
drive.
92
Summary of Contents for Notebook Computer
Page 1: ...User s Guide Notebook Computer ...
Page 2: ......
Page 12: ......
Page 13: ...Introduction 1 ...
Page 17: ...Each of these features is briefly described below 5 ...
Page 29: ...Getting Started 2 ...
Page 35: ...Using the Noteboo k Computer 3 23 ...
Page 49: ...4 Desktop Operation ...
Page 53: ...41 ...
Page 54: ...42 ...
Page 55: ...Running BIOS Setup 5 ...
Page 77: ...The Software Utilities Disks 6 ...
Page 87: ...ATI Color You can adjust the right resolution for your screen display 75 ...
Page 88: ...ATI OpenGL Play the latest and greatest OpenGL based games as well as CAD Design programs 76 ...
Page 89: ...ATI Direct 3D An API for manipulating and displaying 3 dimensional objects 77 ...
Page 90: ...ATI Options Display all the items concerning the ATI related function 78 ...
Page 91: ...ATI POWERPLAY 79 ...
Page 92: ...ATI Overlay 80 ...
Page 93: ...Troubleshooting 7 81 ...
Page 100: ...88 ...
Page 101: ...Upgrading your System 8 ...
Page 107: ...95 ...
Page 108: ...96 ...
Page 109: ...Specification A ...
Page 115: ...Modem driver LAN driver Wireless LAN driver CardBus driver USB20 driver 103 ...


