Phonak
Roger™ verification guide
2
Preparing the Roger microphone and hearing aid for verification
A Roger system can only be verified when the microphone is in
Verification mode
. Some features, like automatic
microphone modes of the transmitters, are deactivated in
Verification mode
.
Activation of
Verification mode
differs between Roger microphones.
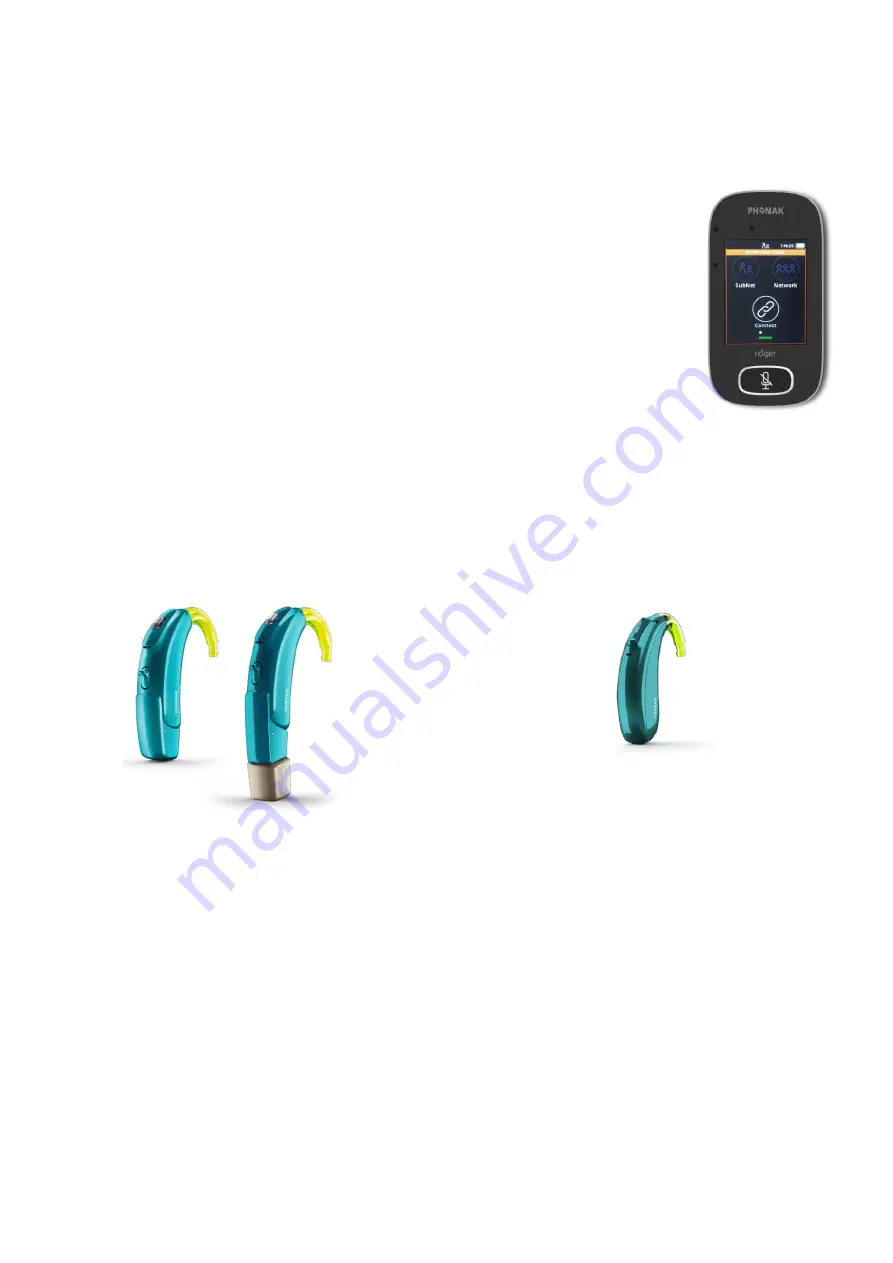
Activating the Verification mode in the Roger Touchscreen Mic
Select
[Settings], [Verification mode],
and
[Activate].
When
Verification mode
has been activated an orange banner will be displayed below the status
bar (see image on right).
Once the Roger POP is complete, switch the microphone off and on again to deactivate
Verification
mode
and return to standard operation. Reconnect to the receivers once out of verification mode.
Preparing the hearing aid and receiver
–
Hearing aid
with DAI
Preparing the hearing aid and receiver
–
Hearing aid
with RogerDirect™
Ensure the sticker covering the DAI contacts has been
removed. The contacts should be clean. Attach a design-
integrated Roger receiver or the appropriate audio shoe
and Roger X receiver.
Install Roger via the Roger X and Roger Installer.
By default all Roger receivers are programmed with the
appropriate Roger advantage setting.
By default all Roger receivers are programmed with the
appropriate Roger advantage setting.
If the Roger receiver has been previously programmed via
DAI with a different EasyGain value, reset the Roger
receiver to the default setting with the Roger Touchscreen
Mic. Tap
[Settings], [Roger receiver settings],
and
[Default setting].
When the EasyGain settings have been adjusted with a
hearing aid with RogerDirect, the EasyGain settings are
stored within the hearing aid and are still valid even if a
new receiver is installed.
Switch on the hearing aid and wait a full 30 seconds to allow the system to boot to full operation.


