Getting Started with the Camera | NOCTURN XL Camera | 15
Initial Power Up
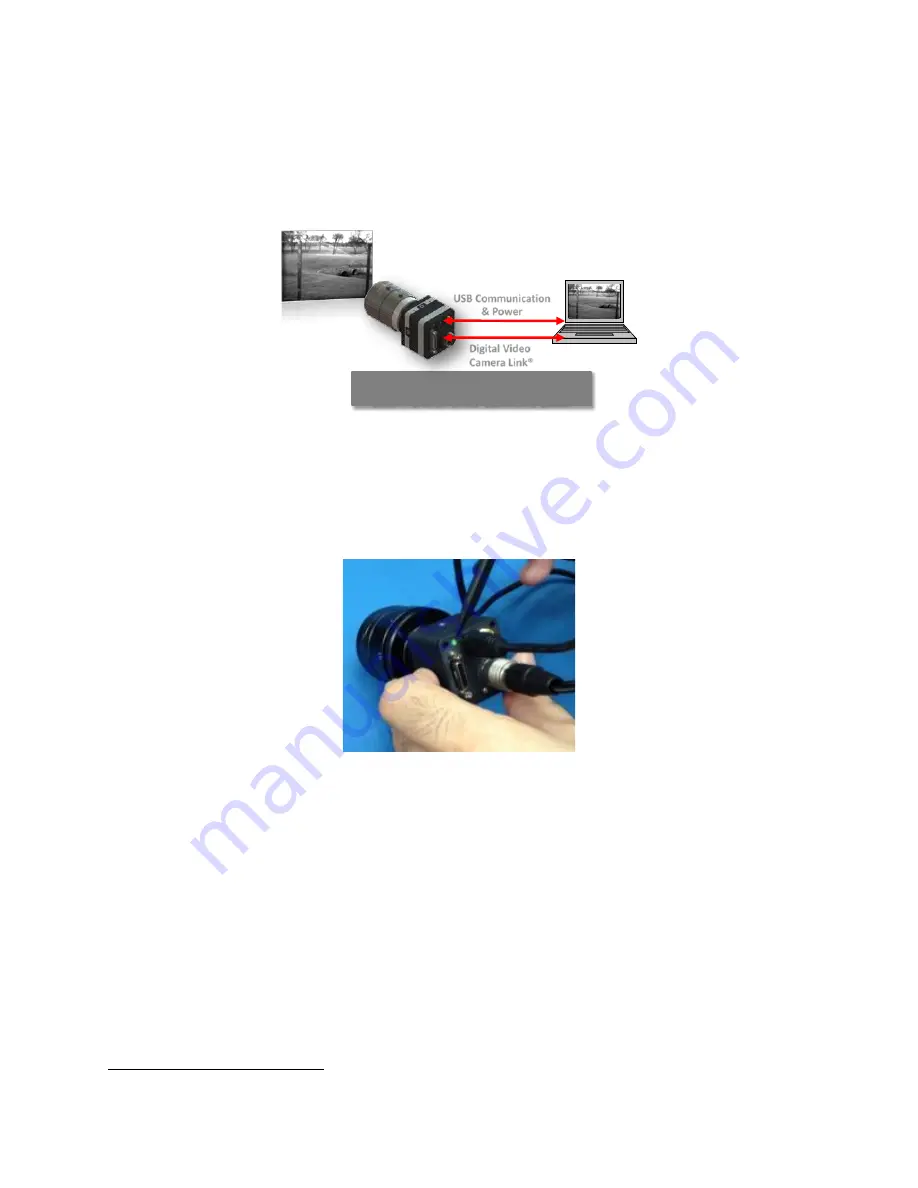
Once the USB driver installation and CameraLink® frame grabber setup is complete, connect an SDR
CameraLink® compatible cable between the S501 connector on the NOCTURN XL and a PC frame
grabber (see Figure). Alternatively, an SMA to BNC connector adapter can be connected between the
J601 NOCTURN XL connector and an analog video monitor (either PAL or NTSC)
Figure 5: Hardware Connection Between the NOCTURN and PC
Once the video output cable is connected, plugin a micro-USB cable (not supplied with the camera)
between the J304 connector on the NOCTURN XL camera and the host PC with the installed USB drivers.
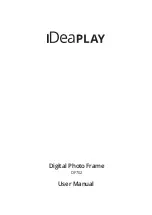
The status LED on the back of the NOCTURN XL should turn green as seen in Figure .
Figure 6: LED on the Back of the NOCTURN XL Turns Green when USB Power is Applied
At this point, the camera should be outputting video data. Turn on the frame grabber image
acquisition software to display the digital video output from the camera.
6
By default the analog video output of the camera is turned off and needs to be enabled through the serial interface.
Hardware Configuration with
USB Power and Camera Link®
Digital Video
Camera Link®
USB Communication
& Power
PHOTONIS Digital Imaging LLC
NVT 200-LC-4019
6170 Research Road Suite 208
Revision: C.04
Frisco, TX USA 75033
Page 15 of 39


