2
www.phywe.com, © All rights reserved
12999-99 / 1321
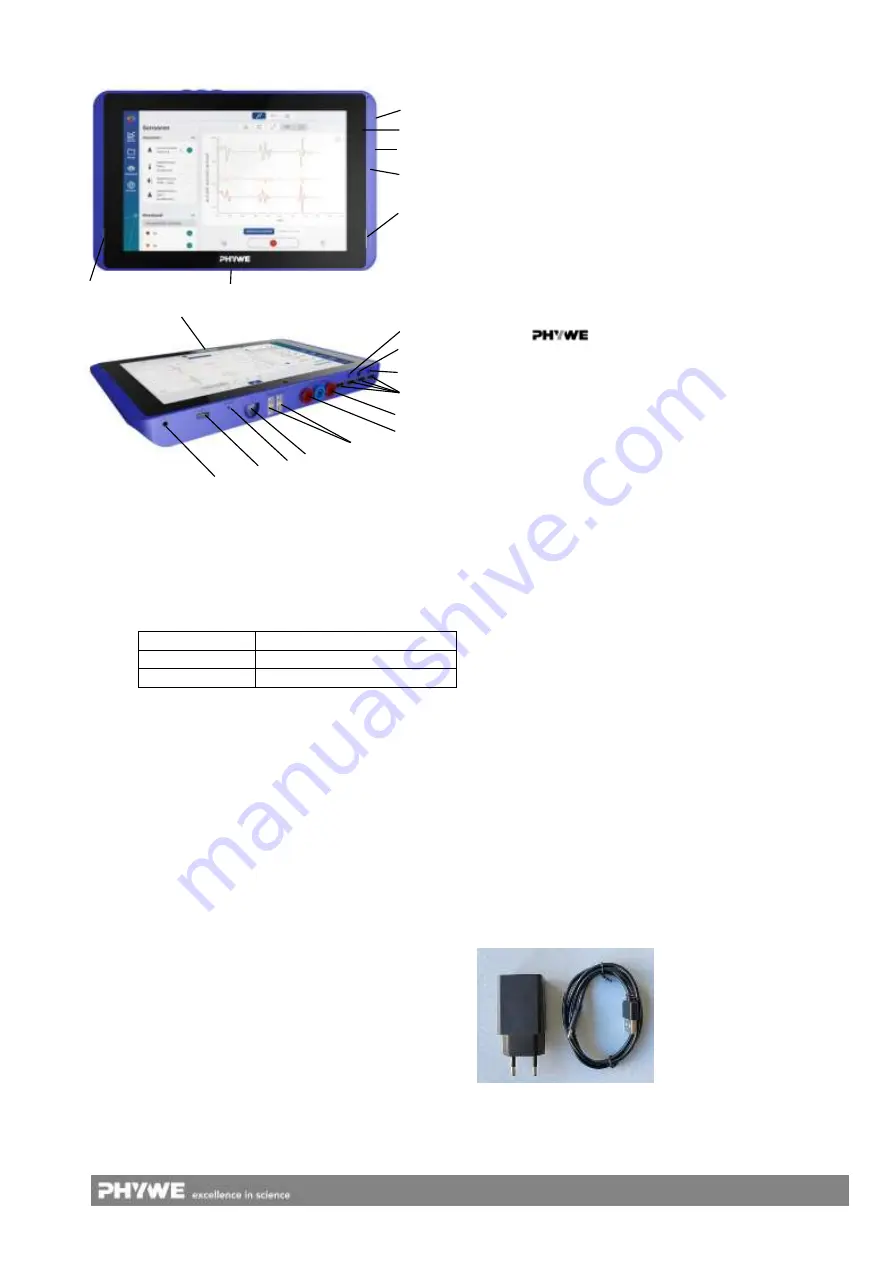
3 FUNCTIONAL AND OPERATING ELEMENTS
1. Switch-on button.
To switch the appliance on and off, press the switch
for longer than 3 seconds.
2. Charging LED.
Flashes red
Battery charge capacity < 10%
Red luminous
Battery is charging
Glowing green
Battery is fully charged
3. Volume control.
Increase , decrease volume -
4. Microphone.
5. Stereo loudspeaker
6. Connection of an external keyboard
7. Integrated light sensor
8. Integrated UV sensor
9. Integrated humidity sensor
10. 4x USB port for connecting Cobra SMART-sense
sensors or USB memory.
11. Integrated voltage sensor
12. Integrated current sensor
13. 2x Integrated temperature sensor (NiCrNi)
14. Micro SD slot for memory expansion. Memory
cards up to 64 GB or 32 GB for TF cards are sup-
ported.
15. Reset button. Pressing the button resets the unit
and switches it off. Only use this if the unit no lon-
ger responds.
16. USB port type C for connecting a PC for data ex-
change or for charging the device using the USB
charging adapter included in the scope of delivery.
17. Headphone jack. 3.5 mm jack socket for connecting
external headphones.
18. Touch sensitive home button. Touching the
-------- symbol takes you to the start screen (see
chapter 5.3.1).
4 NOTES ON OPERATION
This device fulfils all of the technical requirements that are
compiled in current EC guidelines. The characteristics of this
product qualify it for the CE mark.
This device is only to be put into operation under specialist
supervision in a controlled electromagnetic environment in
research, educational and training facilities (schools, univer-
sities, institutes and laboratories).
The individual connected lines must not be longer than 2m.
Electrostatic charges or similar electromagnetic phenomena
(HF, burst, indirect lightning discharges, etc.) may affect the
unit so that it no longer operates within the specified data.
If possible, the unit should not be used during the charging
process, as interference signals from a connected charging
adapter can lead to incorrect measurements or interference
with the unit.
The following measures reduce or eliminate the disturbing
influence:
Avoid carpeting; ensure equipotential bonding; experiment
on a conductive, earthed base, use shielding, shielded ca-
bles.
5 HANDLING
This section describes how to set up the tablet for the first
time, how to operate the device and how to use sensors.
Please read this section carefully to avoid failure or incorrect
operation.
5.1 Charging process
Using a USB-C connection cable included in the scope of
delivery, connect the device (16.) to the enclosed USB
charging adapter.
During the charging process, the charging LED (2.) lights up
red. After the charging process is completed, the charging
LED lights up green. The charging time of an empty battery
is a maximum of 3 hours.
1.
3.
4.
5.
5.
6.
7.
8.
9.
10.
11.
12.
13.
14.
15.
16.
17.
2.
18.


