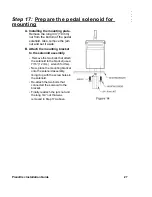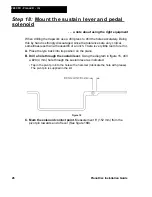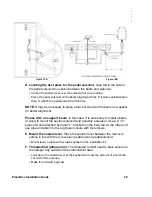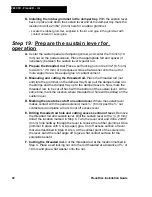
PianoDisc Installation Guide
33
. . . . .
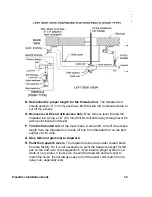
F. Assemble the pivot brackets to lever #1.
In the kit there are six L shaped
(left and right) mounting brackets. Use two of them as pivot brackets for
lever #1. Slide left and right brackets onto the pivot pins on each end of
lever #1.
NOTE:
A thrust washer is built into the pivot bracket. Always place the
shoulder side of the washer towards the lever.
G. Mount lever #1 onto the piano.
Place lever #1 under the sostenuto rod
parallel to the solenoid slot, positioning it equal distance between the
sostenuto lever and the solenoid slot. Allow enough room for the ball
linkage screw to clear the solenoid rail cover. Using the screws supplied in
the kit, secure lever #1 to the keybed.
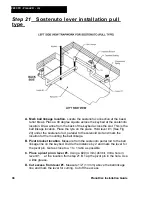
H. Establish location for torsion spring.
Locate the torsion spring supplied
in the installation kit. Note that one end of the spring has a longer L-shaped
bend than the other. Hold the spring parallel to lever #1, placing the end
with the longer bend at the top. Place the other end of the spring as close to
the ball linkage as possible. You should be within 1/2” (13 mm) of the ball
linkage. Make a mark at the top end of the torsion spring on the keybed
under lever #1. This mark is where a hole will be drilled to mount the torsion
spring onto the keybed.
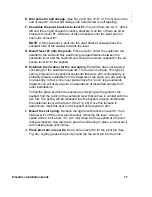
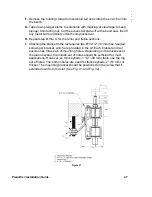
I. Mount one side of the torsion spring.
Remove the lower pivot bracket of
lever #1, and slide lever #1 out of the other bracket. With a 9/64” (3.5 mm)
drill bit, drill a hole into the keybed at the point marked in the previous
paragraph.
Be sure not to drill all the way through the keybed!
In most
cases a 1” (25 mm) deep hole is adequate. Now, slide the torsion spring
into the hole in the keybed.
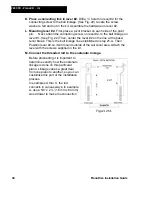
J. Mount the other side of the torsion spring.
To determine where to drill
the hole to mount the other side of the torsion spring, put lever #1 back into
its original spot, sliding it into the top bracket and temporarily re-attaching
the bottom bracket. The torsion spring should once again be touching the
lower end of lever #1. Mark the spot on the lever where the contact is made;
this is where to drill the hole to mount the other side of the torsion spring.
Summary of Contents for PianoCD
Page 1: ...PIANODISC SYSTEMS Installation Guide for Grand Pianos Version R C 6 8 07...
Page 7: ...PianoDisc Installation Guide 7...
Page 18: ...18 PianoDisc Installation Guide 228CFX PianoCD iQ Figure 7A...
Page 19: ...PianoDisc Installation Guide 19 Figure 7B...
Page 32: ...32 PianoDisc Installation Guide 228CFX PianoCD iQ...
Page 52: ...52 PianoDisc Installation Guide 228CFX PianoCD iQ Figure 35...
Page 62: ...62 PianoDisc Installation Guide 228CFX PianoCD iQ...
Page 64: ...64 PianoDisc Installation Guide 228CFX PianoCD iQ...
Page 68: ...68 PianoDisc Installation Guide 228CFX PianoCD iQ...
Page 84: ...84 PianoDisc Installation Guide 228CFX PianoCD iQ...

