PianoDisc Installation Guide
35
. . . . .
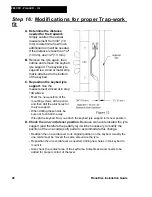
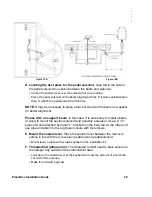
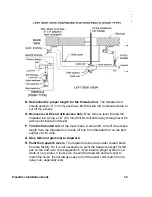
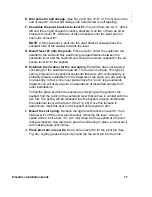
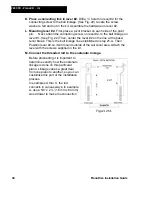
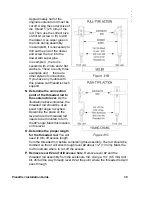
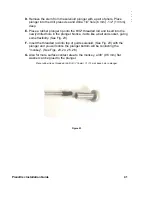
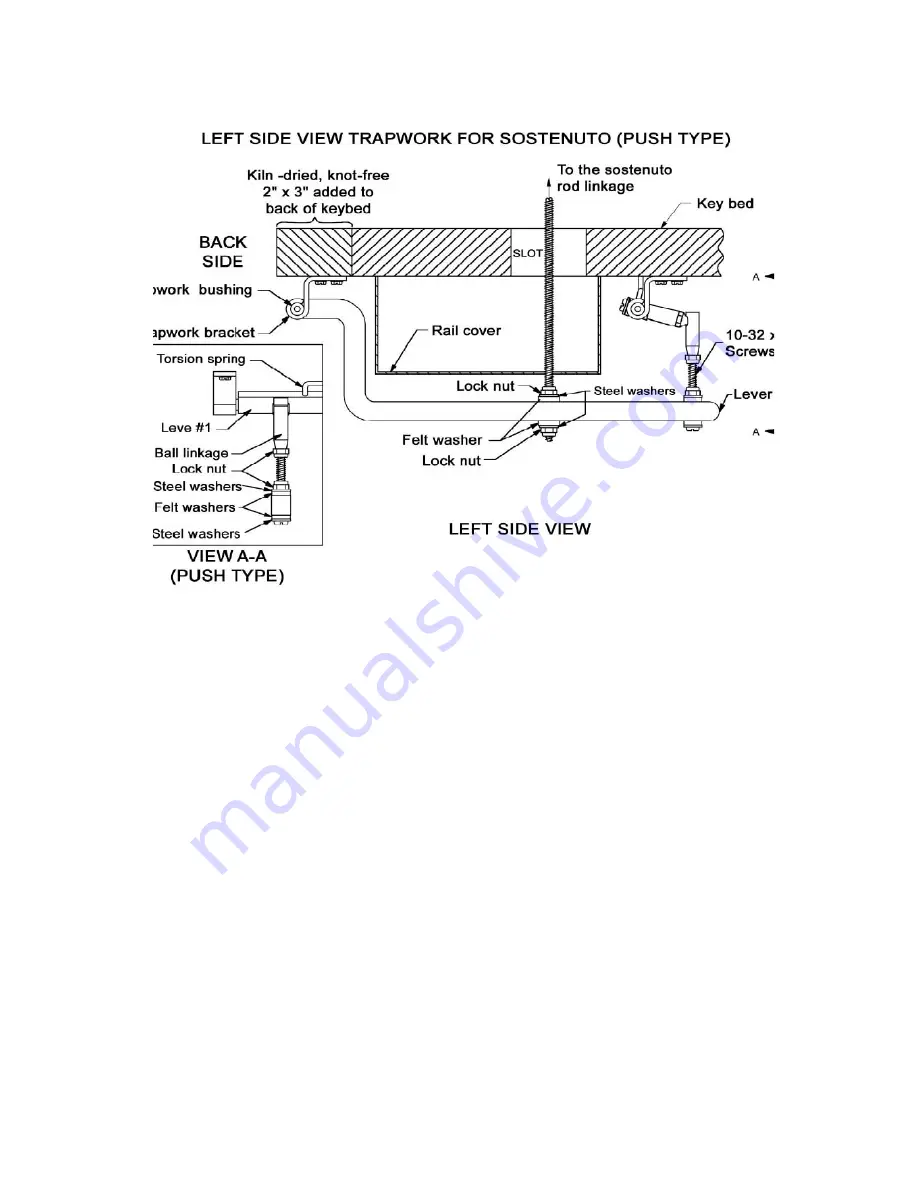
N. Determine the proper length for the threaded rod.
The threaded rod
should extend 1/2” (13 mm) past lever #2. Mark the rod to indicate where to
cut off the excess.
O. Remove lever #2 and drill access hole
. Now, remove lever #2 and the
threaded rod. Using a 1/4” (6.5 mm) drill bit, drill all the way through lever #2
at the point located in Step N.
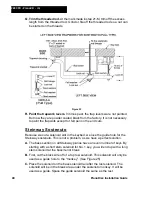
P. Trim the threaded rod.
At the mark made in step 20-N, trim off the excess
length from the threaded rod. Clean off burr from threaded rod on the belt
sander or with a file.
Q. Glue felts and grommet to trapwork.
R. Paint the trapwork levers.
The trapwork levers are powder coated black
from the factory. So it is not necessary to paint the trapwork except for felt
pen on the end cuts. One suggestions, if you install a player system on a
white or ivory piano, it looks nice to paint the trapwork and rail cover to
match the finish. It’s not always easy to find the exact color match from a
spray can, especially ivory.
Summary of Contents for PianoCD
Page 1: ...PIANODISC SYSTEMS Installation Guide for Grand Pianos Version R C 6 8 07...
Page 7: ...PianoDisc Installation Guide 7...
Page 18: ...18 PianoDisc Installation Guide 228CFX PianoCD iQ Figure 7A...
Page 19: ...PianoDisc Installation Guide 19 Figure 7B...
Page 32: ...32 PianoDisc Installation Guide 228CFX PianoCD iQ...
Page 52: ...52 PianoDisc Installation Guide 228CFX PianoCD iQ Figure 35...
Page 62: ...62 PianoDisc Installation Guide 228CFX PianoCD iQ...
Page 64: ...64 PianoDisc Installation Guide 228CFX PianoCD iQ...
Page 68: ...68 PianoDisc Installation Guide 228CFX PianoCD iQ...
Page 84: ...84 PianoDisc Installation Guide 228CFX PianoCD iQ...

