40
PianoDisc Installation Guide
228CFX - PianoCD - iQ
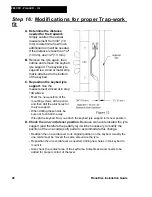
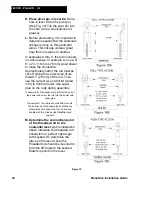
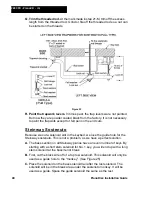
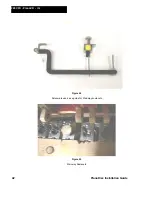
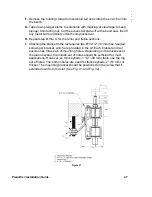
Q. Trim the threaded rod.
At the mark made in step 21-M, trim off the excess
length from the threaded rod. Grind or file off the threaded rod so a nut can
be started on the threads.
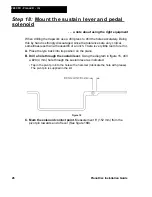
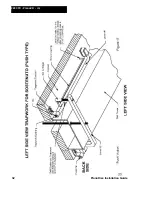
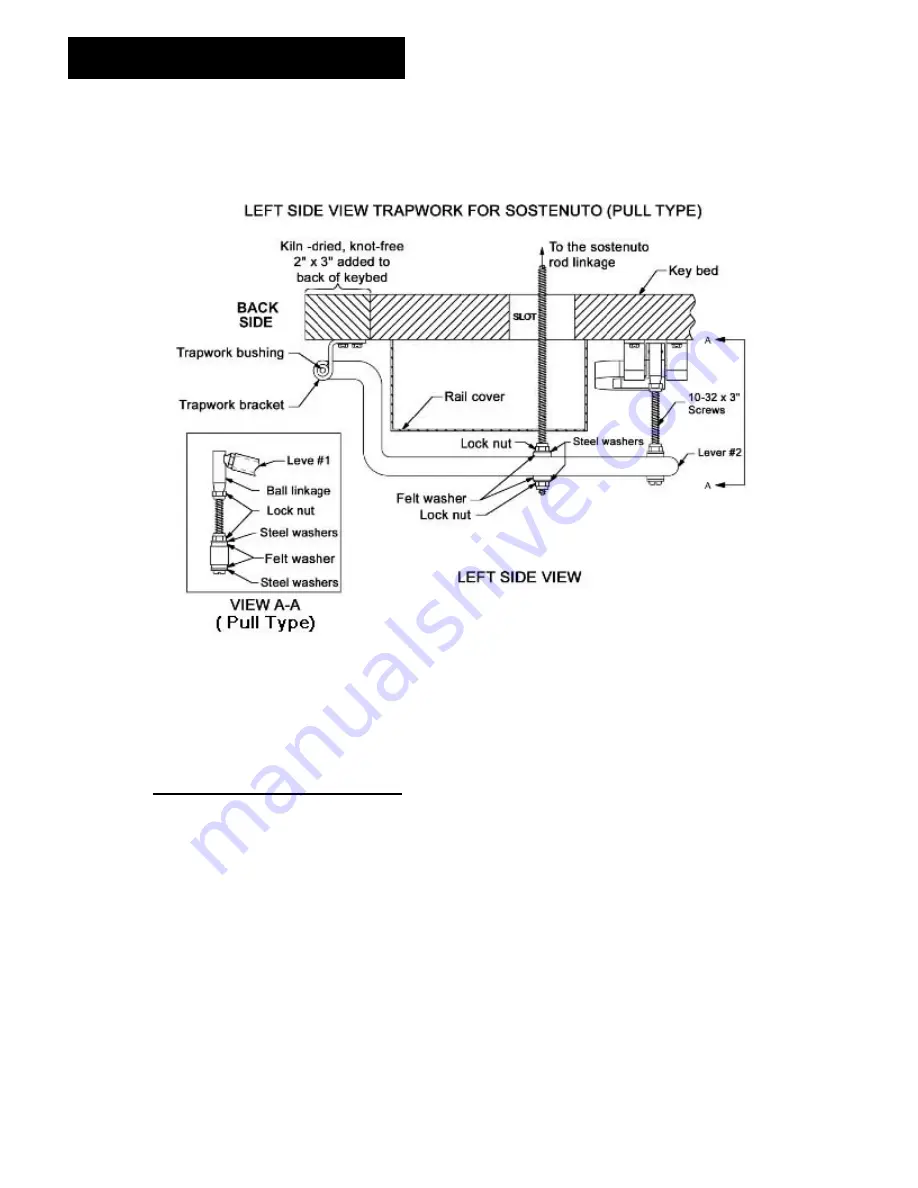
Figure 22
R. Paint the trapwork levers.
In times past, the trap levers were not painted.
But now they are powder coated black from the factory. It is not necessary
to paint the trapwork except for felt pen on the end cuts.
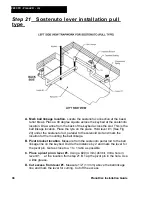
Steinway Sostenuto
Because we cut a solenoid slot in the keybed, we lose the guide hole for the
Steinway sostenuto. This is not a problem, as we have a perfect solution.
A.
The bass section on all Steinway pianos have an even number of keys. By
starting with a short stem solenoid for No. 1 key, you will end up with a long
stem solenoid at the bass/ tenor break.
B.
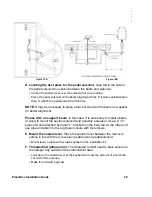
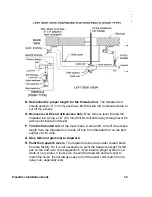
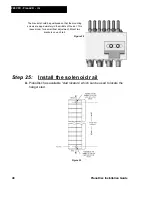
First, cut the black wire off of a top row solenoid. This solenoid will only be
used as a guide hole to the “monkey”. (See Figure 25)
C.
Place the solenoid on the bass solenoid rail after the last solenoid. The
solenoid will be in the break area under the sostenoto monkey. It will be
used as a guide. Space the guide solenoid the same as the rest.
Summary of Contents for PianoCD
Page 1: ...PIANODISC SYSTEMS Installation Guide for Grand Pianos Version R C 6 8 07...
Page 7: ...PianoDisc Installation Guide 7...
Page 18: ...18 PianoDisc Installation Guide 228CFX PianoCD iQ Figure 7A...
Page 19: ...PianoDisc Installation Guide 19 Figure 7B...
Page 32: ...32 PianoDisc Installation Guide 228CFX PianoCD iQ...
Page 52: ...52 PianoDisc Installation Guide 228CFX PianoCD iQ Figure 35...
Page 62: ...62 PianoDisc Installation Guide 228CFX PianoCD iQ...
Page 64: ...64 PianoDisc Installation Guide 228CFX PianoCD iQ...
Page 68: ...68 PianoDisc Installation Guide 228CFX PianoCD iQ...
Page 84: ...84 PianoDisc Installation Guide 228CFX PianoCD iQ...

