PianoDisc Installation Guide
41
. . . . .
D.
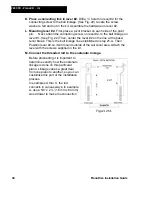
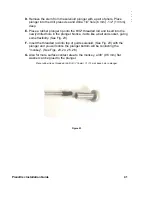
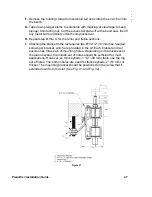
Remove the stem from the solenoid plunger with a pair of pliers. Place
plunger into the drill press vise and drill a 1/4” hole (6 mm) - 1/2” (13 mm)
deep.
E.
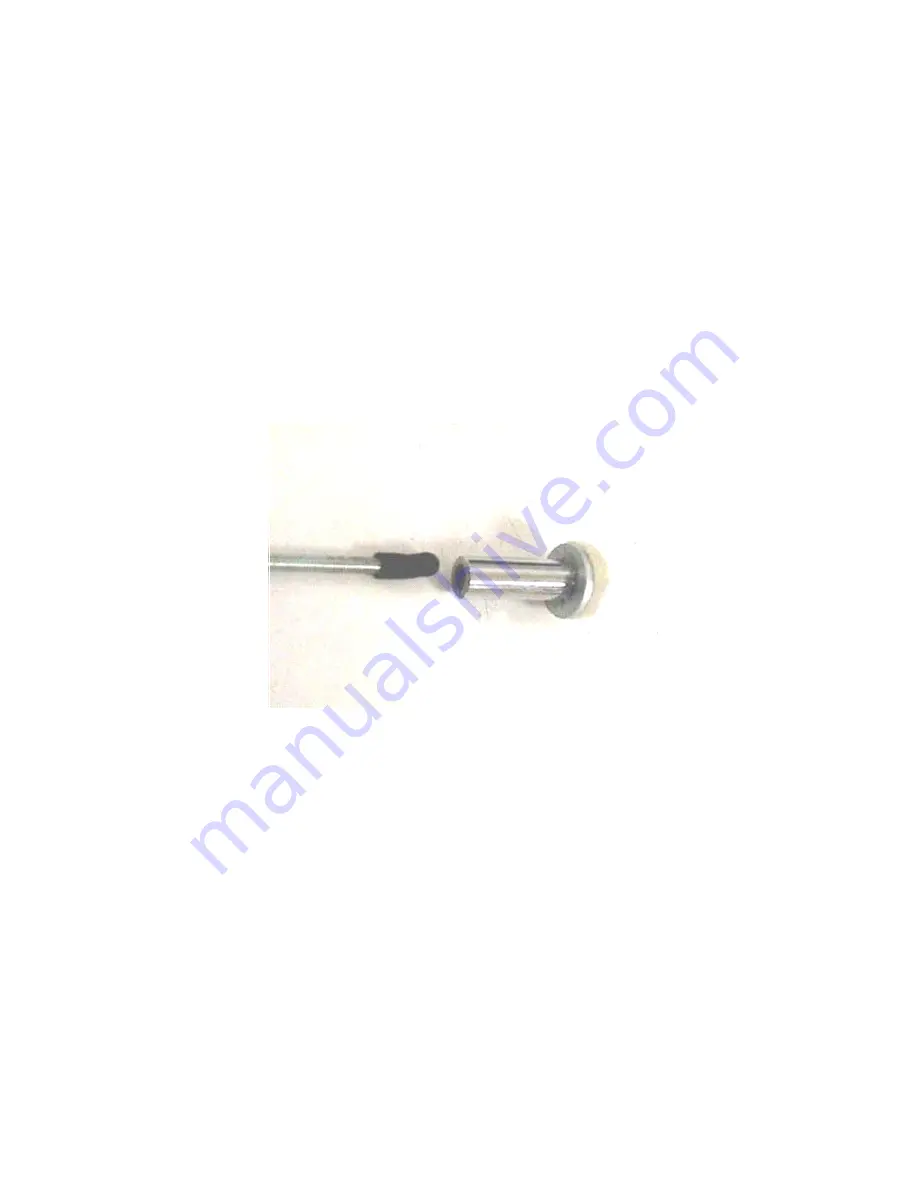
Place a rubber plunger tip onto the 8/32” threaded rod and insert into the
newly drilled hole in the plunger. Notice, it acts like a ball and socket, giving
some flexibility. (See Fig. 23)
F.
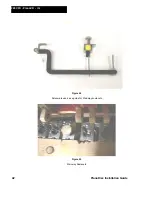
Insert the threaded rod into top of guide solenoid. (See Fig. 23) with the
plunger and you will notice the plunger bottom will be contacting the
“monkey”. (See Figs. 23, 24, 25, 26)
G.
Also for more surface contact area to the monkey, a 3/8” (9.5 mm) flat
washer can be glued to the plunger.
Place rubber tip on threaded rod. Drill ¼” (6 mm) ½” (13 mm) deep hole in plunger.
Figure 23
Summary of Contents for PianoCD
Page 1: ...PIANODISC SYSTEMS Installation Guide for Grand Pianos Version R C 6 8 07...
Page 7: ...PianoDisc Installation Guide 7...
Page 18: ...18 PianoDisc Installation Guide 228CFX PianoCD iQ Figure 7A...
Page 19: ...PianoDisc Installation Guide 19 Figure 7B...
Page 32: ...32 PianoDisc Installation Guide 228CFX PianoCD iQ...
Page 52: ...52 PianoDisc Installation Guide 228CFX PianoCD iQ Figure 35...
Page 62: ...62 PianoDisc Installation Guide 228CFX PianoCD iQ...
Page 64: ...64 PianoDisc Installation Guide 228CFX PianoCD iQ...
Page 68: ...68 PianoDisc Installation Guide 228CFX PianoCD iQ...
Page 84: ...84 PianoDisc Installation Guide 228CFX PianoCD iQ...

