PianoDisc Installation Guide
47
. . . . .
F.
Remove the holding clamp from solenoid rail and clamp the end of rail into
the bench.
G.
Tape down plunger stems to solenoids with masking or clear tape to keep
plunger from falling out. Cut the excess rail plate off with a band saw, file off
any metal burrs and blow off with compressed air.
H.
Repeat step B thru G for the tenor and treble sections.
I.
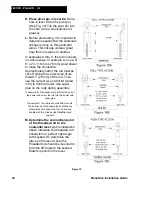
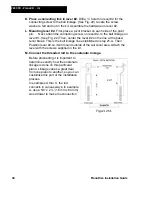
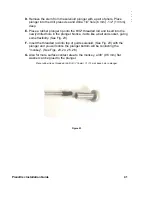
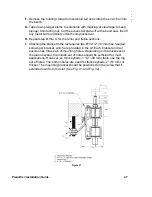
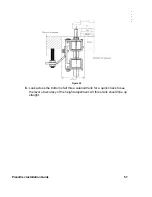
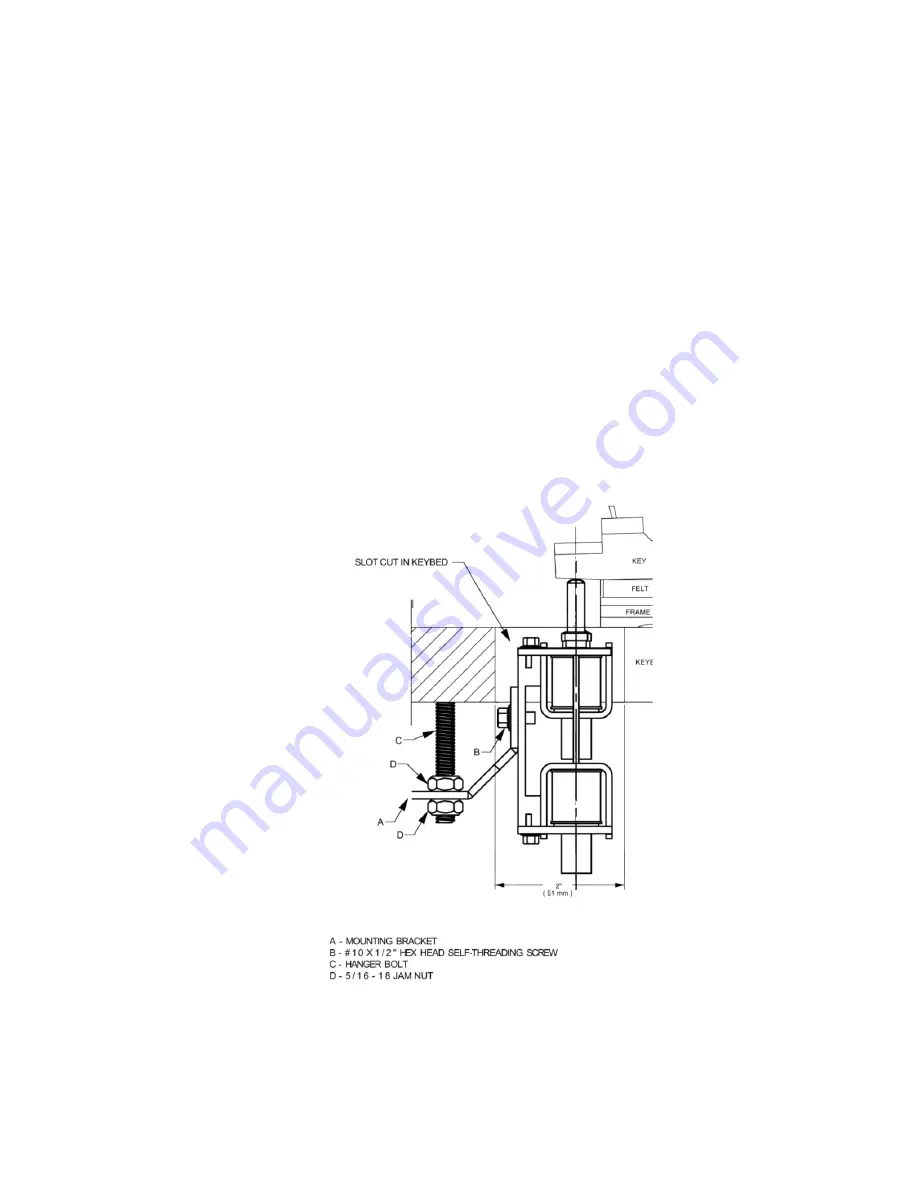
Attaching the bracket to the rail requires two #10x1/2” (13 mm) hex-headed
screws per bracket, which are provided in the kit. Each bracket and rail
position has three sets of mounting holes. Depending on the thickness of
the piano keybed, the middle set of holes should be sufficient for most
applications. However, on thin keybeds, 1 1/2” (38 mm) thick, use the top
set of holes. The bottom holes are used for thick keybeds, 2” (51 mm) or
thicker. The mounting bracket should be positioned on the rail so that it
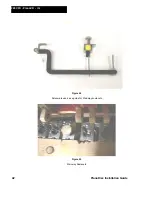
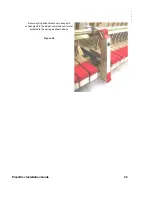
extends down from the slot. (See Fig. 31 and Fig. 32)
Figure 31
Summary of Contents for PianoCD
Page 1: ...PIANODISC SYSTEMS Installation Guide for Grand Pianos Version R C 6 8 07...
Page 7: ...PianoDisc Installation Guide 7...
Page 18: ...18 PianoDisc Installation Guide 228CFX PianoCD iQ Figure 7A...
Page 19: ...PianoDisc Installation Guide 19 Figure 7B...
Page 32: ...32 PianoDisc Installation Guide 228CFX PianoCD iQ...
Page 52: ...52 PianoDisc Installation Guide 228CFX PianoCD iQ Figure 35...
Page 62: ...62 PianoDisc Installation Guide 228CFX PianoCD iQ...
Page 64: ...64 PianoDisc Installation Guide 228CFX PianoCD iQ...
Page 68: ...68 PianoDisc Installation Guide 228CFX PianoCD iQ...
Page 84: ...84 PianoDisc Installation Guide 228CFX PianoCD iQ...

