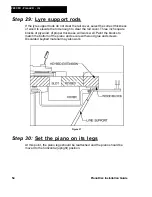
PianoDisc Installation Guide
53
. . . . .
Step 28:
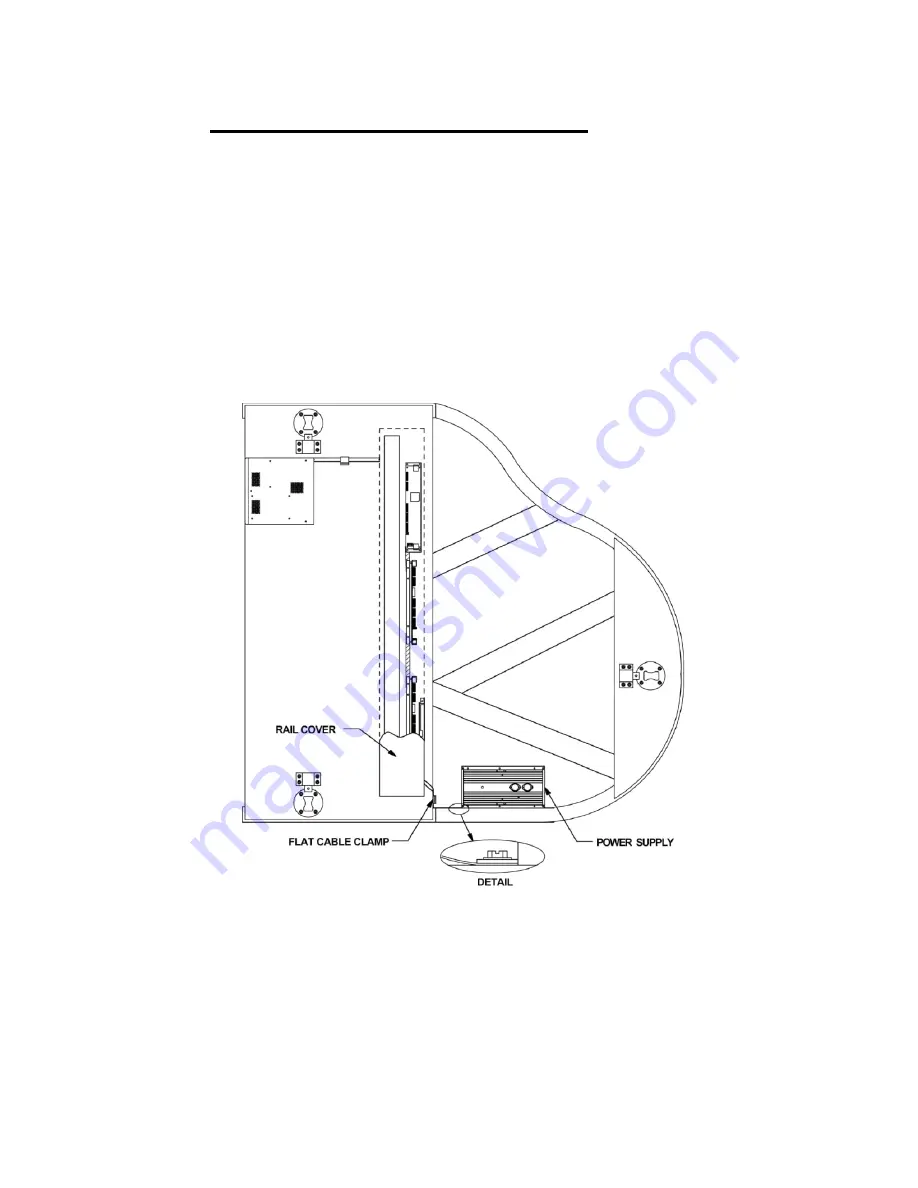
Mount the power supply
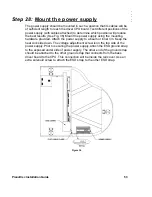
The power supply should be mounted in such a position that its cables will be
of sufficient length to reach the driver CPU board. Test different positions of the
power supply (with cables attached) to determine which position will produce
the best results. (See Fig. 36) Mount the power supply using the mounting
hardware provided. Attach the power supply to a beam or inner rim. Keep the
heat sink side down. The voltage adjustment screw is on the top side of the
power supply. Prior to securing the power supply, attach the ESD ground strap
to the exposed under side of power supply. The other end of the ground strap
should be attached to the other ground strap that connects from the bass
driver board to the CPU. This connection will be inside the rail cover. Use an
extra solenoid screw to attach the ESD strap to the other ESD strap.
Figure 36
Summary of Contents for PianoCD
Page 1: ...PIANODISC SYSTEMS Installation Guide for Grand Pianos Version R C 6 8 07...
Page 7: ...PianoDisc Installation Guide 7...
Page 18: ...18 PianoDisc Installation Guide 228CFX PianoCD iQ Figure 7A...
Page 19: ...PianoDisc Installation Guide 19 Figure 7B...
Page 32: ...32 PianoDisc Installation Guide 228CFX PianoCD iQ...
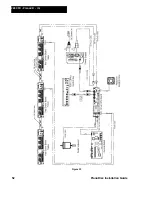
Page 52: ...52 PianoDisc Installation Guide 228CFX PianoCD iQ Figure 35...
Page 62: ...62 PianoDisc Installation Guide 228CFX PianoCD iQ...
Page 64: ...64 PianoDisc Installation Guide 228CFX PianoCD iQ...
Page 68: ...68 PianoDisc Installation Guide 228CFX PianoCD iQ...
Page 84: ...84 PianoDisc Installation Guide 228CFX PianoCD iQ...

