17
Step 3
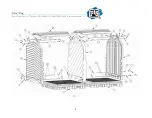
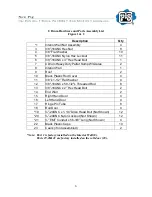
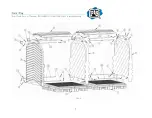
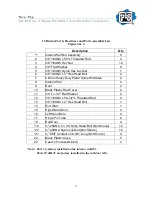
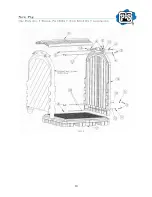
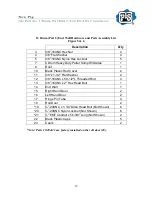
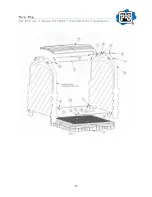
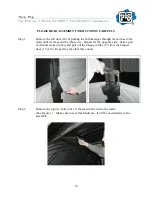
Loosen the jam nuts (3) on the 4 threaded rods (12) on the inner side of walls on
the unit. Then hold the nut assembly (1) from turning with a 9/16” wrench, while
the outer nuts (5) are taken off. (Note: The threaded rod may come off as well.
The threaded rod must be removed anyways.) Make sure you remove the top 2
nuts/threaded rods first. This will allow the roof to be removed safely. Save
these rods and hardware for Step 14
Step 4
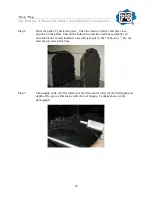
Once the end wall (14) is removed, clean the caulking out of the grooves of both
walls and off the tongues of the roof. Also slide the pallet(7) away from the unit.
Step 5
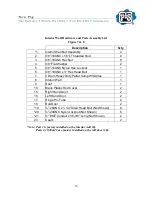
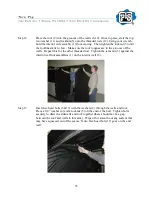
Install the four threaded rods (2) into the interior wall nut assembly (1) on the
existing interior wall (8), threading them in about ¼”. Make sure the jam nut (3)
is backed off about 1”. The black covered threaded rods with jam nuts (2,3 &10)
go on the bottom.
Note: The jam nuts (3) and black covers (10) should already be on the threaded
rods, if not please install them before attaching the threaded rods (2)

