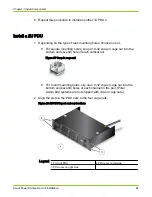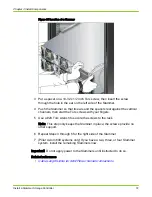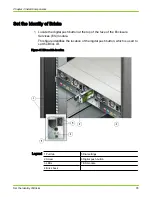
3 Use two 10-32 Torx screws (one on each side) and a Torx T20 driver to
secure the Brick ears to the rack.
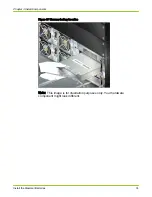
Important! Use care as you install the screws on the right to avoid
damaging the printed circuit, which provides power and signals to the Brick
bezel.
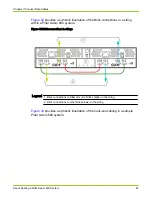
Figure 39 Brick ears
Legend
1 Printed circuit assembly
2 10-32 Torx screw
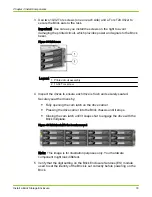
4 Inspect the drives to ensure each drive is flush and securely seated.
Securely seat the drives by:
● Fully opening the cam latch on the drive carrier.
● Pressing the drive carrier into the Brick chassis until it stops.
● Closing the cam latch until it snaps shut to engage the drive with the
Brick midplane.
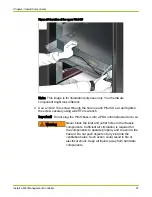
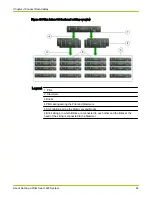
Figure 40 Brick front with the bezel removed
Note: This image is for illustration purposes only. Your hardware
component might look different.
5 Verify that the digit setting on the Brick Enclosure Services (ES) module
used to set the identity of the Brick is set correctly before powering on the
Brick.
Chapter 3 Install Components
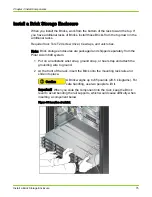
Install a Brick Storage Enclosure
76

