9
B: PC Client Remote Monitoring
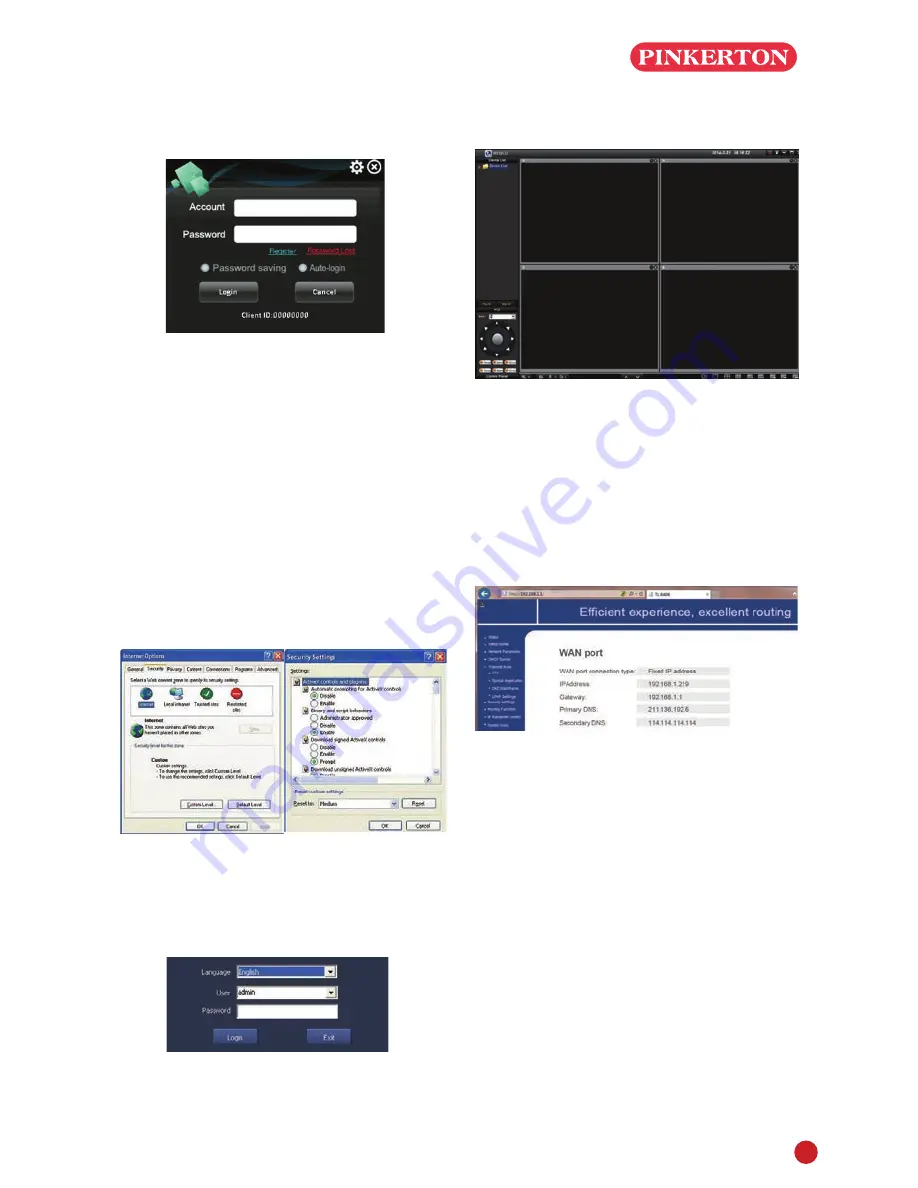
Download 365SECU from CD, install and start it as
below picture
Account: same as the 365SECU account in
smartphone
Password: same as the 365SECU account in
smartphone
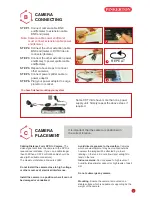
Enter main interface, and show it as following
Remark: The PC operation has the same 'create'
& 'Delete' function as the Smartphone
365SECU
C: IE browser Remote Monitoring
(1) When testing the network 'OK'(Step 2),you
can get an IP link like http://192.168.1.111,
input the link in IE browser and open it
(2) When visit(live view)your DVR at the 1st
time, the IE browser settings should be,
IE-Tools-Internet Options-Security-Internet-
Customization level
Tick all Enable in options, and click OK to save.
After finishing download ActiveX controls, pop up
login.
Note: If the surveillance preview does not work with
the above settings, change the IP Address to
'Fixed' as follows
Note: Check with your I.T manager before making
these changes
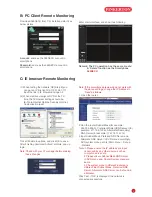
1. Open the router
2.Find the router Subnet Mask(for example:
255.255.255.0), Preferred(Primary)DNS server (for
example: 211.136.192.6), Altermate(Secondary)
DNS Server(for example: 114.114.114.114)
3.Input Subnet Mask, Preferred DNS Server and
Altermate DNS Server in DVR menu accordingly,
DVR system menu path is : Main menu – Set up
- Network
Note:1.Please ensure the IP address you input
is not used by any other device, such as,
computer, server, etc.
2.Please ensure Subnet Mask,DNS Server
in DVR menu and Router System menu are
same.
3.The system menu in different routers are
different. But Subnet Mask, Preferred DNS
Server, Altermate DNS Server can be found in
all Router.
Click Test, if ‘OK’ is displayed, the network is
connected successfully.


