9
6.4
Communication Board Replacement
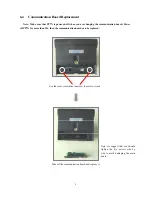
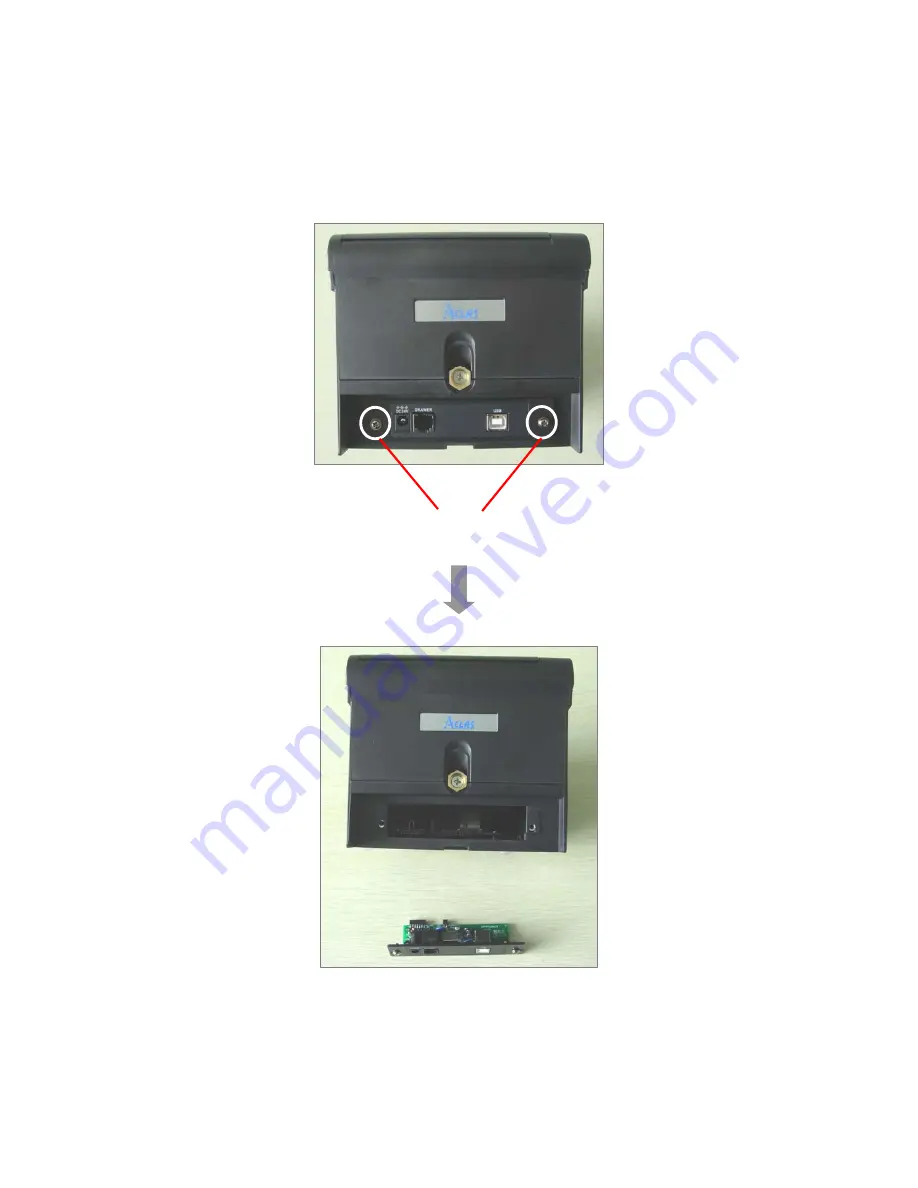
Note: Make sure that PP7X is powered off when you are changing the communication board. Power
off PP7X for more than 10s, then the communication board can be replaced.
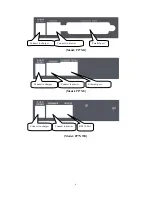
Use the cross screwdriver unscrew these two screws.
Take off the communication board and replace it.
Note:
we suggest that you should
tighten the two screws side by
side to avoid damaging the main
board.
Summary of Contents for PP7X Series
Page 1: ...PP7X PRINTER OPERATION MANUAL Pinnacle Technology Corp ...
Page 2: ......
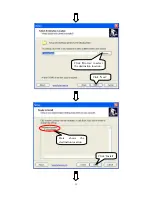
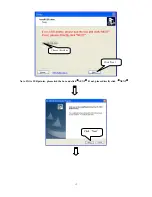
Page 17: ...14 Click Finish to finish USB driver installation Click Install ...
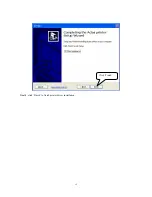
Page 18: ...15 Finally click Finish to finish printer driver installation Click Finish ...
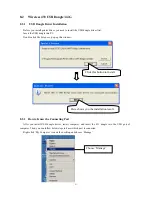
Page 20: ...17 Select the connecting port Click it ...
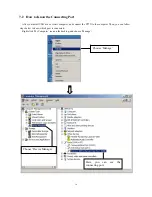
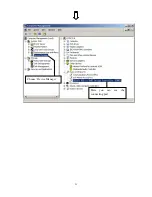
Page 25: ...22 Choose Device Manager Here you can see the connecting port ...
Page 30: ...27 Input the printer IP address Click Next ...
Page 31: ...28 Choose device type we suggest that you choose the standard type Click Next Click Finish ...
Page 32: ...29 Click it ...
Page 39: ...36 Select this item Click Next ...
Page 41: ...38 Installing the BT device automatically Here shows the connecting port is COM3 Click Finish ...
Page 43: ...40 Click Next Click Install ...
Page 44: ...41 Click Finish ...
Page 46: ...43 Double click it to search Double click it ...
Page 47: ...44 Double click it Input the passkey 0000 to create paired relationship ...
Page 76: ...DPP701ENV0 12 ...


