04
Operation
12
En
Playing music from a digital audio
component (A-70 only)
Outputs digital signals input to the
DIGITAL IN
COAXIAL
connectors.
1
Make a digital input connection.
• See
Digital audio input connections
on page 6.
2
Press COAXIAL to select DIGITAL IN
COAXIAL as the input source.
• When using the front panel controls, rotate the
INPUT SELECTOR
knob.
• Sound is produced from the
RECORDER OUT
terminals.
Note
• Digital signal formats that can be input to this unit
include linear PCM signals with sampling rates and
quantitative bits up to 192 kHz/32 bits (Depending
on the connected device and environment,
operation may not be successful).
Playing music from a computer (A-70 only)
Use this function to play digital audio input to the unit's
rear panel
DIGITAL IN USB
port.
1
Connect the unit to a computer via USB
cable
• See
Using a USB cable to connect to a computer
on
page 7.
2
Press USB to select DIGITAL IN USB as
the input source.
• When using the front panel controls, rotate the
INPUT SELECTOR
knob.
• Sound is produced from the
RECORDER OUT
terminals.
3
Begin playback on the computer.
Note
• When using a USB cable to connect this unit to a
computer for playing music files, the following
linear PCM digital signals are supported:
– Quantitative bits: 16 bit, 24 bit, 32 bit
– Sampling rates: 44.1 kHz, 48 kHz, 88.2 kHz,
96 kHz, 176.4 kHz, 192 kHz
• Playback cannot be controlled from this unit during
use of this function; use your computer to control
playback.
• When disconnecting the USB cable, always stop
playback on the computer first.
• Sound may not be produced if your computer does
not support USB 2.0 HS.
• This unit does not support use of a USB hub.
Always use a USB cable to connect the unit directly
to the computer.
Important
• When using the
DIGITAL IN USB
port to input
audio files from a computer to this unit, it may be
necessary to install a special driver on the
computer. For details, see the website of Pioneer.
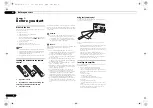
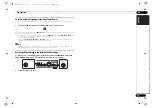
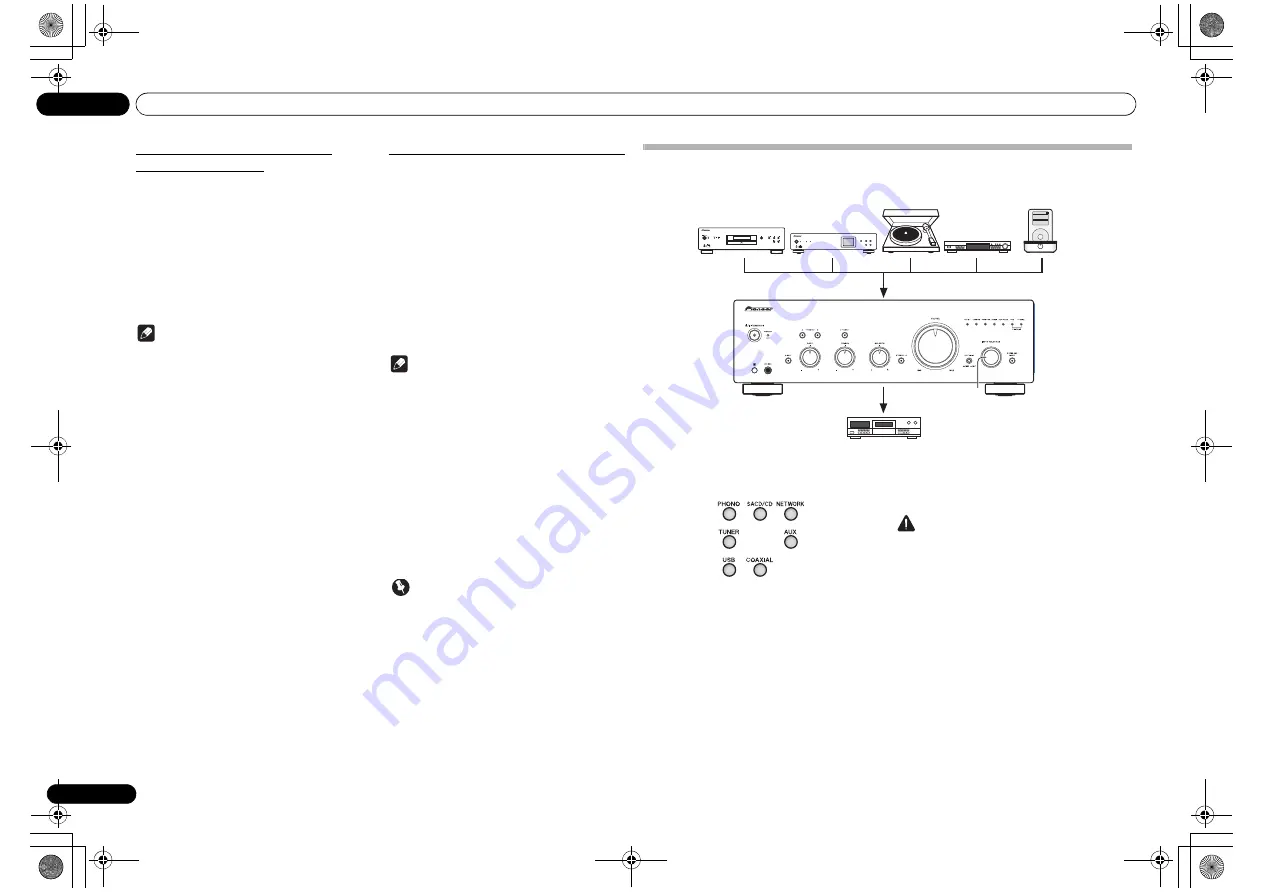
Making an audio recording
You can make an audio recording from any audio source connected to the amplifier.
1
Select the source you want to record.
2
Start recording, then start playback of
the source component.
Caution
• Confirm that the short pin plugs are not inserted in
the
RECORDER OUT
terminals, since malfunction
will result if they are inserted.
1
MENU
iPod
Music>
Extras>
Settings>
Shuffle Songs
Backlight
/I STANDBY/ON
STANDBY
iPod/USB
5V
2.1A
PURE AUDIO
Hi-Bit 32
FUNCTION
NETWORK AUDIO PLAYER
N-50
SACD/CD player
Network audio player
Turntable
Tuner
iPod dock, etc
Audio recording component
(CD recorder, tape deck, etc.)
Playback
Recording
A70_SYXE8.book 12 ページ 2012年7月27日 金曜日 午後6時53分

