5
BDP-170
5
6
7
8
5
6
7
8
A
B
C
D
E
F
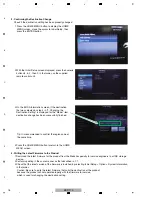
3. SERVICE MODE
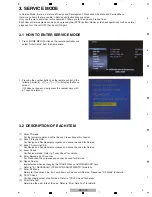
3.1 HOW TO ENTER SERVICE MODE
3.2 DESCRIPTION OF EACH ITEM
In Service Mode, there is a mixture of Design and Development, Production Line Menu and Service Menu.
Here, menu items that are usable in Service and instructions are listed.
Only use the menu explained in this document. Others are for Design and Product lines.
Each item of Service mode can be quit by pressing the [STOP] button. However, to check operations such as normal
playback, turn the unit OFF then back ON again.
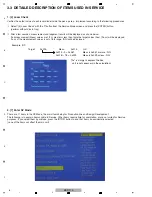
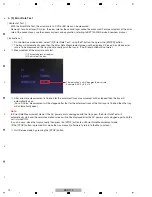
1. Press [HOME MENU] button on the remote controller and
select "Initial Setup" from the home menu.
2. Pressing the number buttons on the remote control in the
following order [5]
→
[1]
→
[7]
→
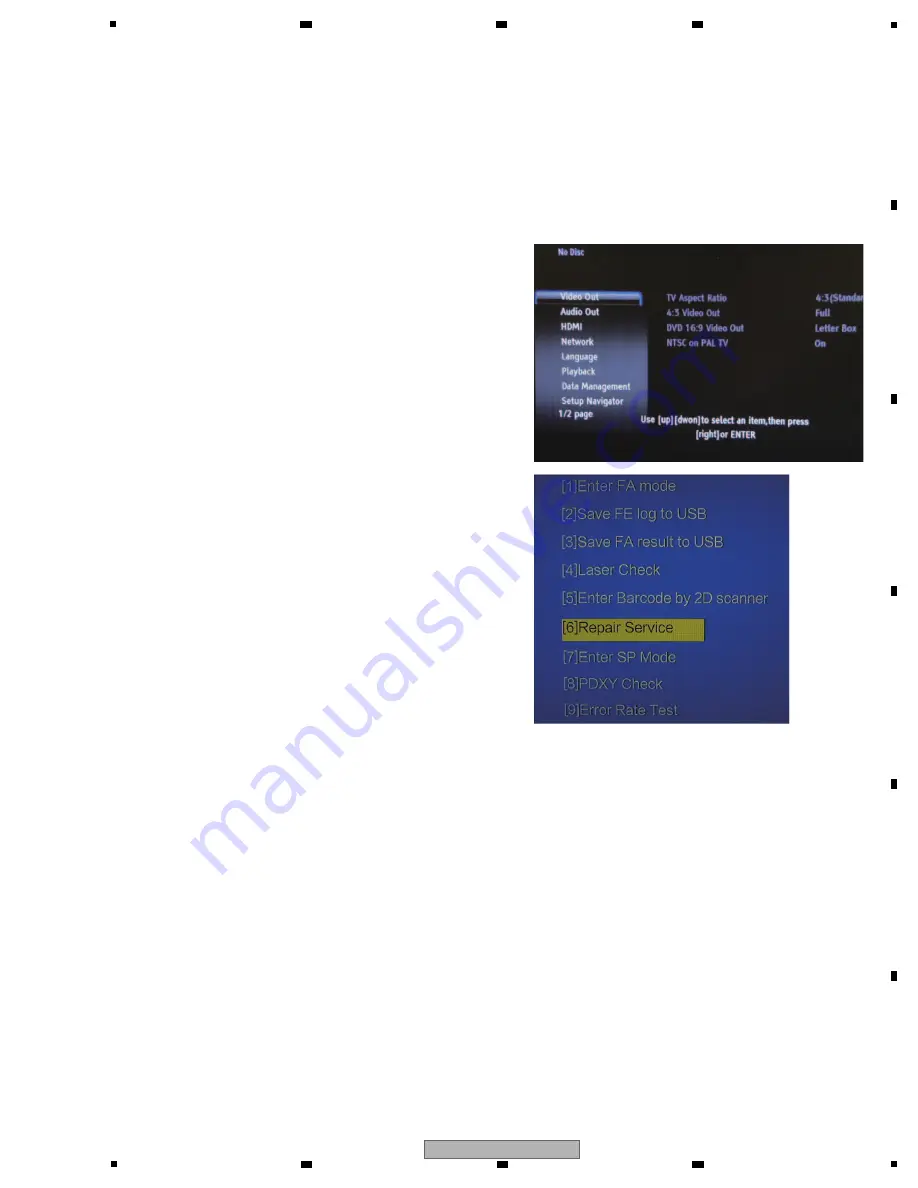
[7] will display the Menu
screen.
(If it does not appear, slowly press the number keys with
a 1 second interval.)
[1] Enter FA mode
For the former model and will not be used to exchange this Loader.
[2] Save FE log to USB
For Design and Development purposes and cannot be used for Service.
[3] Save FA result to USB
For Design and Development purposes and cannot be used for Service.
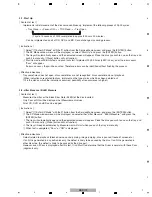
[4] Laser
Check
Verifies laser diode. Refer to "Laser Check" for details.
[5] Enter Barcode by 2D scanner
For Production line purposes and cannot be used for Service.
[6] Repair
Service
Implemented when exchanging the LOADER Assy and MAIN BOARD Assy.
Refer to "8.1 NECESSARY ITEMS FOR ADJUSTMENTS" for details.
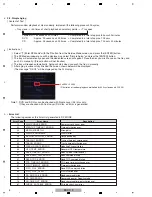
[7] Enter SP Mode
Mainly for Production Line, but some items can be used in Service. Please see "SP Mode" for details.
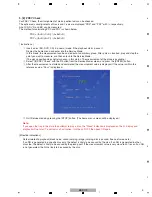
[8] PDXY
Check
Verifies misalignment of optical axis. Refer to "PDXY Check" for details.
[9] Error Rate Test
Determine the error rate of the disc. Refer to "Error Rate Test" for details.


