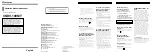


Renewed points for
AV Source
Source icon
The icon design for each source will be
changed.
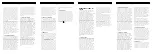
Renewed points only for
AVIC-N1
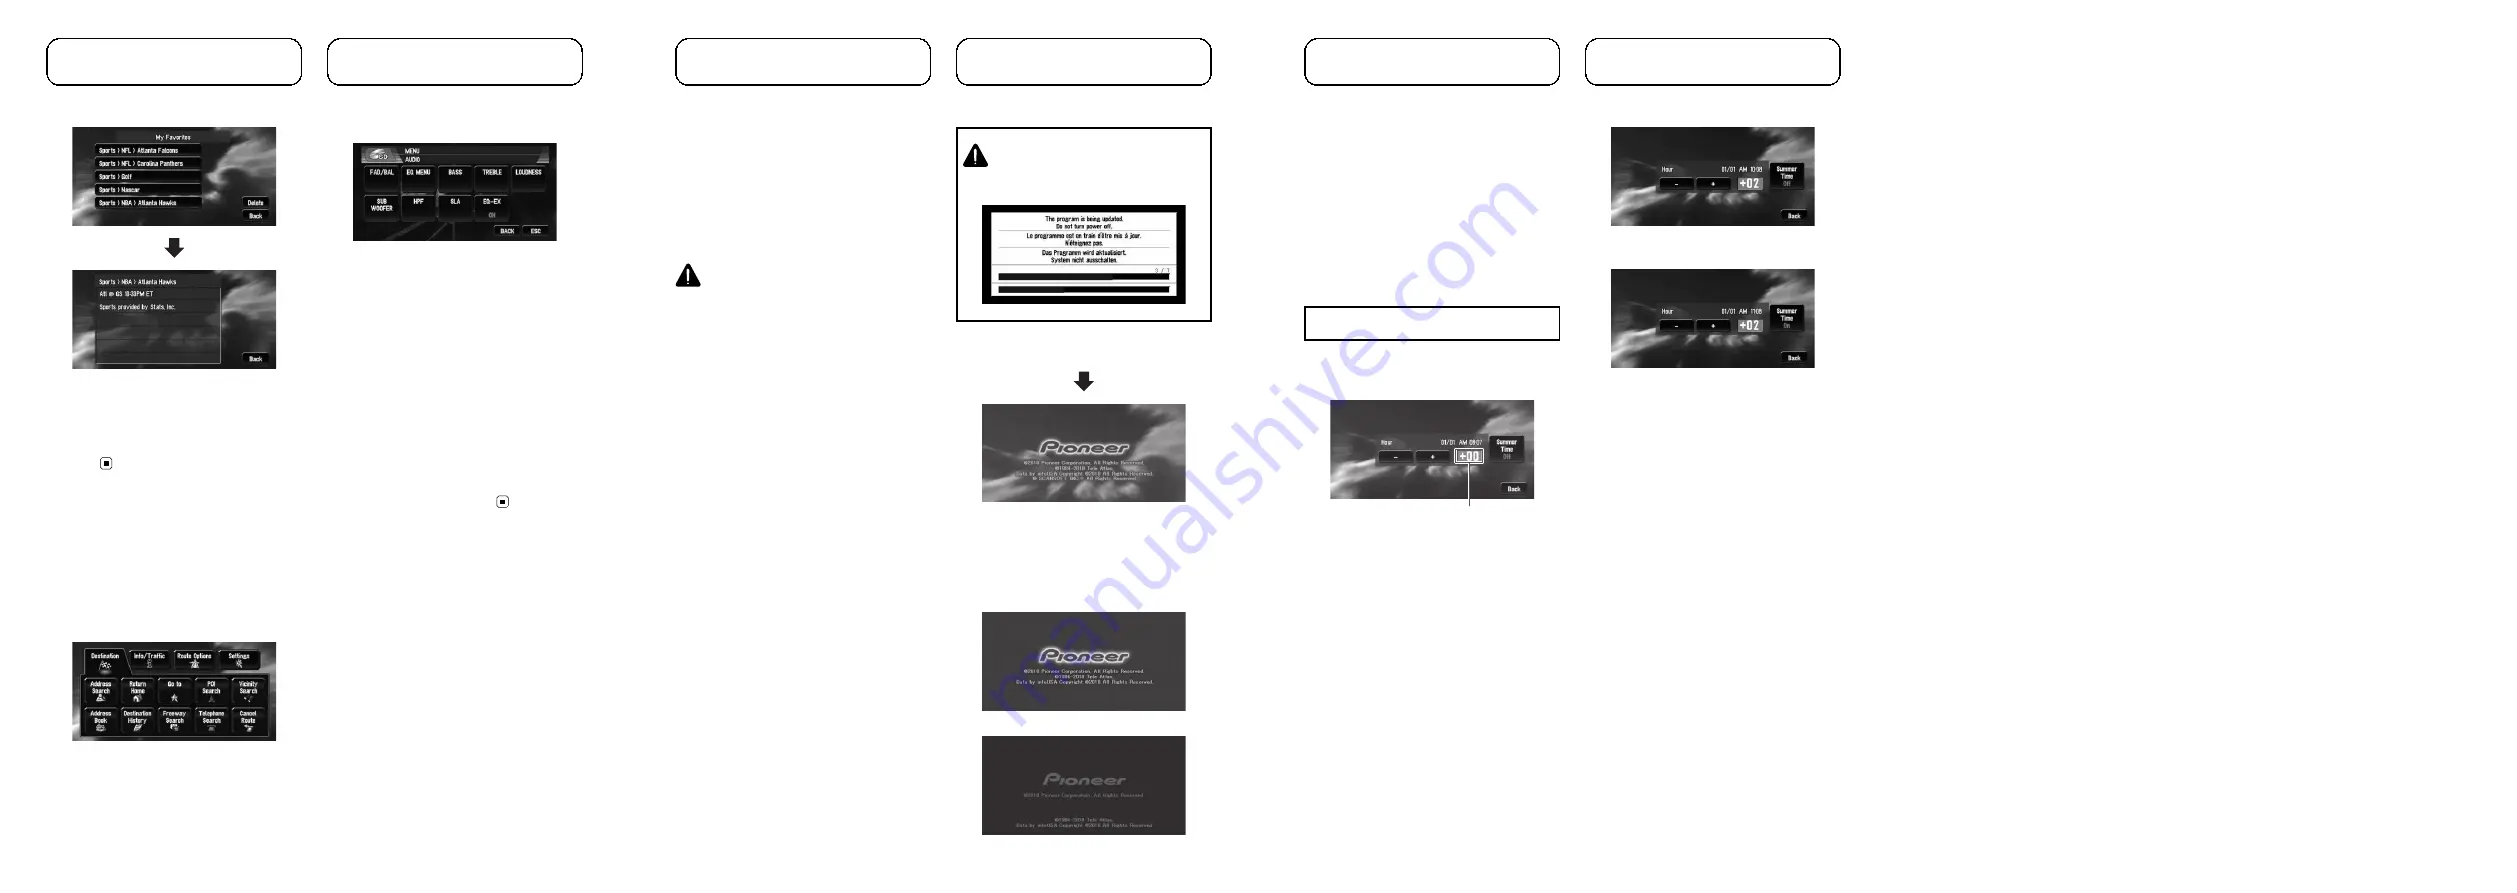
Changes to appearance
The appearance of the navigation menu and
AV menu will change as follows:
Navigation menu
AV menu
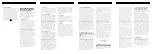
Renewed points for
AV Source
[
ESC
] touch key
The name of some of the touch keys will be
changed from [
ESC
] to [
HIDE
].
Renewed point in the MP3
operation screen
The folder icon will be added to the [
UP
] touch
key.
The file extension (.mp3) will be displayed after
a track in the track list display and detail Infor-
mation display. (The extension may not be dis-
played if the file name is long.)
<IRB1020-A>17
Renewed points through
this upgrade
The program is installed to the navigation sys-
tem using the application discs.
When installing the program, you carry out
the following operations. When all the setup
procedures are completed, you can use the
navigation system.
The screen images used in this section are
AVIC-N2 as an example.
CAUTION
You cannot go back to the previous (pre-
upgrade) version of the application after
the software upgrade is completed. Also,
the map discs that were previously used
cannot be used. Instead, use the CNDV-
100MT DVDs as your new map discs.
1
Park your vehicle in a safe place.
Leave the engine on, and make sure that the
parking brake is applied.
2
Remove the current disc.
3
Insert the new Pioneer DVD Map Disc
into the appropriate slot.
When the upgraded program has been found,
installation of the program starts immediately.
p
If you cannot insert a disc completely or if
an inserted disc is not recognized, check
that the label side of the disc is up. Press
the
EJECT
(or
DVD-ROM EJECT
) button to
eject the disc, and check the disc for da-
mage before inserting the disc again.
CAUTION
While this screen is visible, NEVER switch the
ignition key position or turn off the power of na-
vigation system.
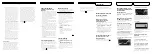
When the installation is complete, the opening
display appears.
p
By upgrading AVIC-N1 or AVIC-N3 with
these discs, the same screen appears.
p
By upgrading other models with these
discs, the following opening display ap-
pears.
AVIC-D1 or AVIC-D2
AVIC-D3, AVIC-N4 or AVIC-N5
<IRB1020-A>18
Instructions for
upgrading
4
Press the NAVI/AV button to change
the navigation screen. (If you use AVIC-D1
or AVIC-D2, press the MAP button.)
Some time is needed until navigation is ready.
5
Check the details of the caution mes-
sage and touch [OK].
The map of your surroundings is displayed.
You can operate the navigation system by
touching keys displayed on the screen as
usual.
When upgrading AVIC-N1, perform the following pro-
cedure.
6
To set the time difference, touch [+] or
[
–
].
Time difference
The time difference between the time origin-
ally set in the navigation system (Pacific Stan-
dard Time) and the current location of your
vehicle is shown. If necessary, adjust the time
difference. Touching [
+
] or [
–
] changes the
time difference display in one-hour incre-
ments. The time difference can be set from
+3
to
–
3
hours.
7
If necessary, set to summer time.
Daylight Saving Time (DST) is off by default.
Touch [
Summer Time
] to change the time if
you are in the daylight saving period. This
turns the display below summer time [
On
].
8
To complete the setting, touch [Back].
The map of your surroundings appears.
<IRB1020-A>19
<IRB1020-A>
Summary of Contents for CNDV-100MT
Page 6: ......


