Usingthe equalizer
The equalizer lets you adjust the equalization
to match car interior acoustic characteristics
as desired.
Recallingequalizer curves
There are six stored equalizer curves which
you can easily recall at any time. Here is a list
of the equalizer curves:
Display
Equalizer curve
SPR-BASS
Super bass
POWERFUL
Powerful
NATURAL
Natural
VOCAL
Vocal
CUSTOM
Custom
EQ FLAT
Flat
!
CUSTOM
is an adjusted equalizer curve
that you create.
!
A separate
CUSTOM
curve can be created
for each source. (The built-in CD player and
the multi-CD player are set to the same
equalizer adjustment setting automati-
cally.) If you make adjustments, the equali-
zer curve settings will be memorized in
CUSTOM
.
!
When
EQ FLAT
is selected no supplement
or correction is made to the sound. This is
useful to check the effect of the equalizer
curves by switching alternatively between
EQ FLAT
and a set equalizer curve.
%
Press EQ to select the equalizer.
Press
EQ
repeatedly to switch between the fol-
lowing equalizers:
SPR-BASS
POWERFUL
NATURAL
VOCAL
CUSTOM
EQ FLAT
Adjustingequalizer curves
You can adjust the currently selected equalizer
curve setting as desired. Adjusted equalizer
curve settings are memorized in
CUSTOM
.
1 Press AUDIO to select EQ.
Press
AUDIO
until
EQ
appears in the display.
2 Press
c
or
d
to select the equalizer
band to adjust.
Each press of
c
or
d
selects equalizer bands
in the following order:
EQ-L
(low)
EQ-M
(mid)
EQ-H
(high)
3 Press
a
or
b
to adjust the level of the
equalizer band.
Each press of
a
or
b
increases or decreases
the level of the equalization band.
+6
6
is displayed as the level is increased
or decreased.
#
You can then select another band and adjust
the level.
Note
If you make adjustments,
CUSTOM
curve is up-
dated.
Fine adjustingequalizer curve
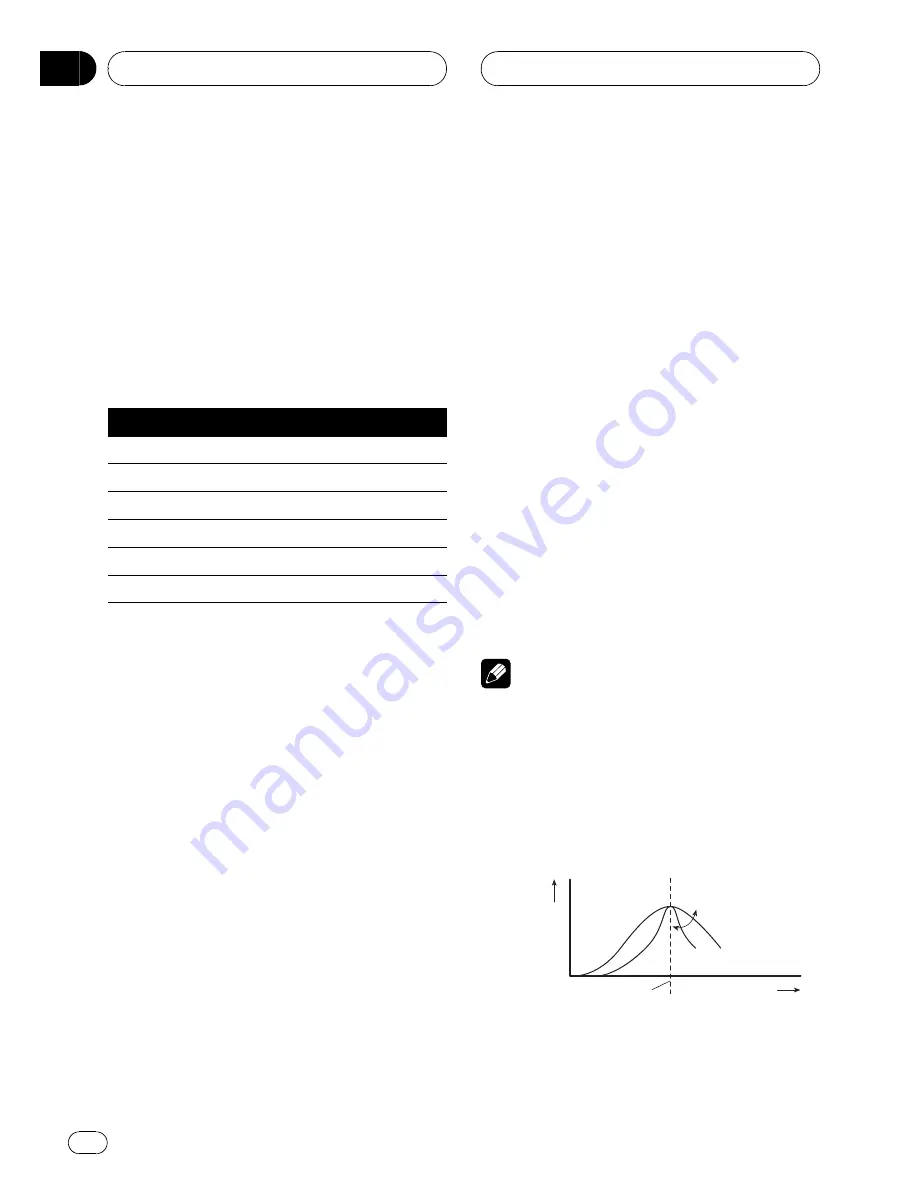
You can adjust the center frequency and the Q
factor (curve characteristics) of each currently
selected curve band (
EQ-L
/
EQ-M
/
EQ-H
).
Level (dB)
Center frequency
Q=2N
Q=2W
Frequency (Hz)
1 Press AUDIO and hold until frequency
and the Q factor (e.g., F- 80:Q1W) appears
in the display.
Audio Adjustments
En
40
Section
09


