10
En
OPERATIONS
The unit writes to DVD-R/-RW media when the supplied software application is installed on
your PC. Writing fails if the PC or operating system does not support the software.
Begin Writing to DVD-R/-RW:
1) Turn on the unit.
2) Turn on the PC.
3) Press the Eject button to open the tray.
4) Place the disc in the tray with the label facing up.
5) Press the Eject button again to close the tray.
6) Start the disc-burning application.
End the Writing Session:
1) Quit the disc burning application.
2) Press the Eject button to open the tray.
3) Remove the disc.
4) Press the Eject button again to close the tray.
5) Shut down the PC.
6) Turn OFF the unit.
For software (including USB high-speed driver) installation directions, please refer to the
manual available on the software disc included with your drive. For assistance with writing
or playing back discs, see the HELP function within the software application.
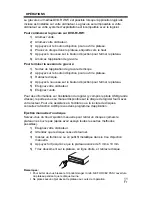
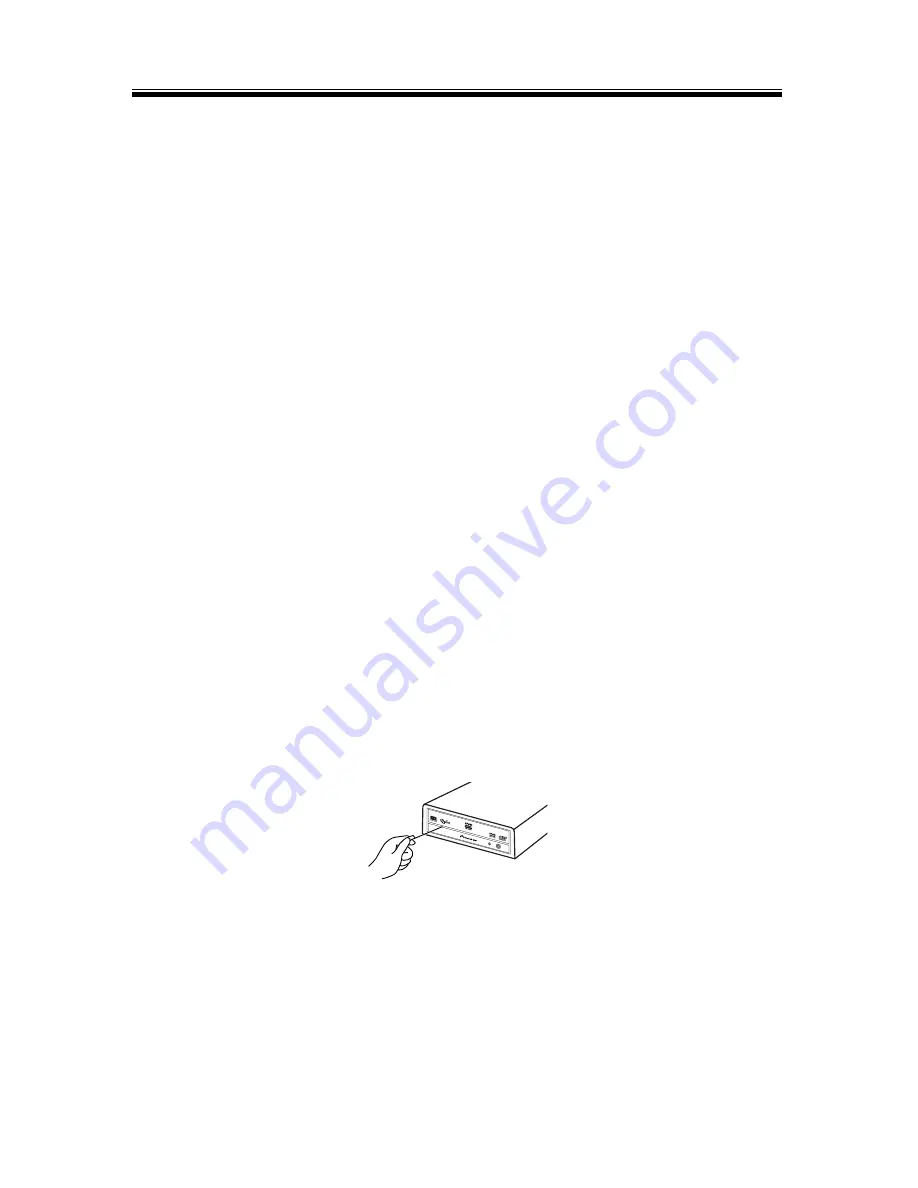
Manual Disc Ejection
Use the manual eject hole to remove discs if the tray fails to open and all other methods
have been exhausted.
1) Shut down the PC.
2) Wait for the disc to stop spinning.
3) Insert a straightened paper clip or small wire into the manual eject hole.
4) Press firmly until the tray protrudes by at least a ½ inch (5 mm to 10 mm).
5)
Gently pull the tray straight out and remove the disc.
Notes:
To prevent injury and damage to the unit, do NOT force the tray to open while the
disc is spinning.
Do not place objects in front of the tray while in operation.


