PRO-1010HD
145
5
6
7
8
5
6
7
8
C
D
F
A
B
E
2
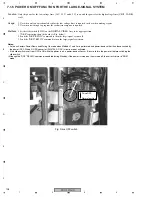
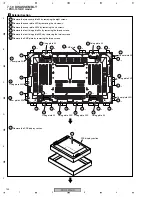
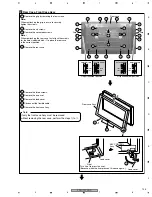
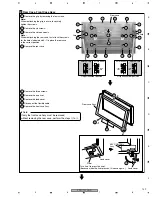
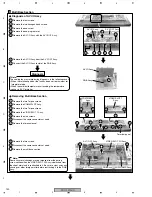
Remove the six screws.
1
Remove the grip by removing the four screws.
3
Remove the seventeen screws.
4
Remove the rear case.
Rear Case, Front Case Assy
2
4
Note :
When reattaching the rear case, first attach the screws
for the holes indicated with
∗
1 to place the rear case
in the correct position.
∗
1
∗
1
2
2
1
1
2
1
1
2
2
2
3
3
3
3
3
3
3
3
3
3
3
3
3
3
3
3
3
Note:
When reattaching the grip, be sure to securely
tighten the screws.
Rear case
Grip
Grip
5
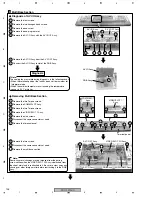
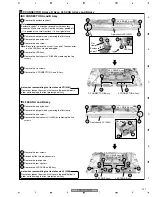
Remove the three screws.
6
Remove the one rivet.
7
Remove the lead cover.
8
Disconnect the flexible cable.
9
Remove the front case Assy.
6
7
Turn it not to press the rivet.
(Because when the rivet presses, fit in once again.)
Rivet
Lead cover
Lead cover
4
8
KEY CONTROL
Assy
50 inch model
50 inch model
43 inch model
43 inch model
Grip attachment position
Grip attachment position
Inner
side
Inner
side
Inner
side
Inner
side
Note:
If only the front case Assy must be removed,
without removing the rear case, perform the steps
5
to
9
.
×
3
5
9
-1
9
-2
Front case Assy


