background image


44

 
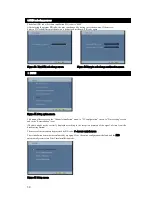
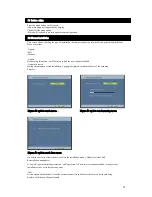
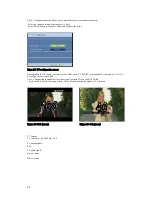
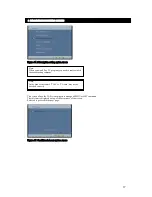
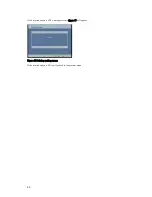
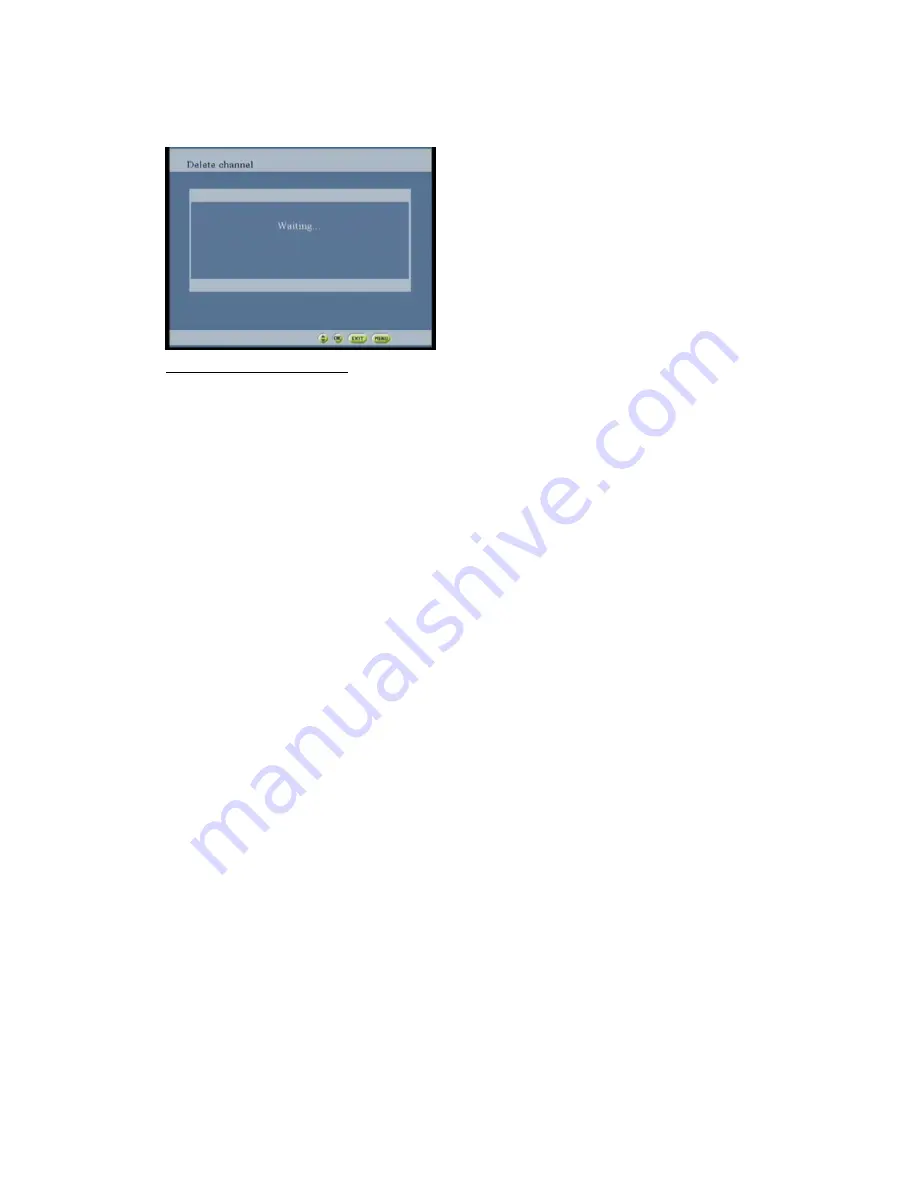
If the selected option is YES a waiting screen in figur e 77 will appear. 


Figure 77:Deleting waiting scr een


If the selected option is NO it will go back to the previous menu  


Summary of Contents for GEX-500DVB

Page 1: ...Owner s Manual GEX 500DVB English DVB T DIVERSITY MOBILE RECEIVER NN687_Cover_En 06 2 21 10 43 PM Page 1 ...

Page 2: ...dify program list 21 3 6 Lock Unlock program 22 3 7 Sort Move program screen 23 3 8 Move program screen 23 3 9 Skip Add all program screen 24 3 10 Saving confirmation popup 24 3 11 Delete program list 25 3 12 Delete comfirmation popup 25 3 13 Deletion comfirmation message 26 3 14 New channel 26 4 USER PREFERENCE 27 4 1 Language screen 27 4 2 Bnner timing screen 28 4 3 Parental control screen 28 4 ...

Page 3: ...ssible to install this unit because of the vehicle type or the shape of the vehicle interior PLEASE READ ALL OF THESE INSTRUCTIONS REGARDING YOUR RECEIVER AND RETURN THEM FOR FURTHER REFERENCE 1 Read this manual fully and carefully before attempting to install your receiver 2 Keep this manual handy for future reference 3 Pay close attention to all warning in this manual and follow the instructions...

Page 4: ... GEX 500DVB b Mounting brackets c Remote controller unit d GP AAA batteries e IR infrared Remote Sensor unit f DC wire harness with 2A fuse g RCA cable Audio 6meter h RCA cable Video 6 meter a b c d e f g h INSTALLATION ...

Page 5: ...sonnel DO NOT DISASSEMBLE OR MODIFY Doing so may result in an accident fire or electric shock STOP IMMEDIATELY IF A PROBLEM APPEARS Failure to do so may cause personal injury or damage to the product Return it to your authorized Pioneer Service center for repairing KEEP SMALL OBJECTS SUCH AS BATTERY AWAY FROM CHILDREN Swallowing them may result in serious injury If swallowed consult a physician im...

Page 6: ... Velcro strips supplied can be used to fasten the DVB T receiver Infrared Remote Sensor IR receiver Installing location Location for installing can be anywhere but make sure there are no objects in between the IR receiver and remote control during normal control from the user s position 1 Determine the installation position for the IR receiver To prevent injury in the event of an accident Do not i...

Page 7: ...o the 12V ignition positive accessory contact ACC Connect the black lead to earth Insert power supply cable plug into the POWER SUPPLY socket of the DVB T receiver Ensure that the plug latch is engaged Displaying Communicating DVB T tuner to external Display Connect the monitor lead from the RCA input jacks of the Display to the AV output AUDIO OUT L R and VIDEO OUT of the tuner IR receiver Connec...

Page 8: ... DVB T receiver AV output can be connected to a free input on the car radio e g AUX in order to output the tuner s audio signal via the vehicle s loudspeakers Note when audio cable is connected like this only a video cable is connected to the input of the car display in your car AV SYSTEM CONNECTION ...

Page 9: ...NT IN 1 ANT IN 2 AUDIO OUT POWER SUPPLY Antenna Set VIDEO OUT REMOTE SENSOR RS 232C Set to ON with Active Antenna This terminal isn t used Remote sensor yellow black red 12V GND 12V ACC Monitor screw screw Mounting brackets Mounting brackets ...

Page 10: ...VB T receiver to your car display system 4 Enter the required settings refer to operation manual 5 Others About a CA card conditional access card and CAM Conditional Access Module After Installing the System After installing the unit be sure to check at a safe place that the vehicle is performing normally When you insert a CAM Conditional Access Module Keep it horizontally When you draw out a CAM ...

Page 11: ...EW When you perform the following operation be sure to Acc OFF When you insert a CAM Conditional Access Module in the slot of this product When you draw out a CAM conditional Access Module from the slot of this product Otherwise it becomes a cause of CAM trouble When you insert a CAM keep it horizontally When you draw out a CAM keep it horizontally When CA card Conditional Access card and CAM are ...

Page 12: ...ection 14 EXIT Back to previous menu 15 SWAP Switch back and fort between the current and previous channels 16 PRF PRF used for favorite channels Select next previous list of favorites channels 17 PAUSE Activate deactivate FREEZE 18 EPG Turn electronic program guide on off 19 TEXT On off the TELETEXT 20 SUBTITLE Select subtitle language 1 2 Operation of the remote control About SOURCE key Even if ...

Page 13: ...ess OK or LIST while in TV mode To obtain the radio list just press the TV Radio while in the TV list screen The current list of channel is then display Using the up down arrows select the channel that is required and confirm it by pressing OK Once the channel has been displayed press OK again to close the channel list Selection of a favorites list It is possible to select your favorite channel fr...

Page 14: ...l sound and teletext can be displayed or hidden by using the info button Volume control Use the VOL VOL button to increase or decrease the volume The previous volume setting is readopted when the tuner is switch out of the stand by mode Mute Turn off the sound by pressing the mute button To on the sound back just press the mute button again Figure 4 Mute screen TELETEXT The TELETEXT key the OSD Te...

Page 15: ...places the default one for this service Figure6 Subtitle language selection Selecting audio language and audio mode To bring up the audio menu simple just press the audio button Select the required audio channel using the keys Use the button to stroll for the audio mode Use the to select the acquired mode stereo mono mono right mono left and use the OK button to confirm Therefore the audio setting...

Page 16: ...re will be a list of program which is currently showing There will be a description of the program starts end and duration Previews of the program on that day guide Selecting program and day Use the button to see detailed information of the program Use the to see the different days Information are limited to 7 days max in advance By pressing the CH CH you can jump to the next or to the previous pr...

Page 17: ...Set Top Box while the first time installation mode when the STB Set Top Box is restarted the first time installation mode restarts also from the beginning This screen is displayed 3 seconds only when powering on the STB Set Top Box the first time first time installation An opening screen is displayed country setup Figure9 country setup This screen is displayed only when powering on the STB Set Top...

Page 18: ...ion menu This screen is displayed in order to help the end user to adjust his antenna Two signal bar graphs are proposed The first indicates the power of the signals the second indicates the quality of the signal measured by the Bit Error Rate BER The color of the signal quality bar graph depends on the BER With a bad BER BER 10 2 a poor BER 10 2 BER 10 3 or a good BER 10 3 BER the bar graph will ...

Page 19: ...ation has been performed Figure11 End of first time installation screen When the first time installation has been performed all the other starts of the STB Set Top Box are normal starts In these cases when the STB Set Top Box is woken up by the user a download report screen is displayed if new system software has been downloaded If no download report screen has to be displayed it goes directly to ...

Page 20: ...enu button and the menu screen will pop out Figure 13 Main menu screen The Favorite lists menu allows the user to create modify and delete its own favorite lists but not the two default service lists TV Radio Four TV favorite lists and four radio favorite lists can be created 3 1 Service list update pop out 3 2 Main MENU 3 3 Favorite List ...

Page 21: ...t menu and add more channels Figure16 Modify option screen This screen allows modifying a favorite list The current favorite list name is displayed on the top of the screen All the services matching the criteria selected at the creation of the favorite list are listed The services not skipped are proposed on the top of the list Each favorite list has its own service numbering The user can switch f...

Page 22: ... Go to the Skip Add a program screen YELLOW If the list is a favorite Go to the Sort Move a program screen BLUE If the list is a favorite Go to the Skip Add all programs screen This screen allows the user to lock or unlock services by pressing the OK key on the highlighted service If the service is already locked then it is unlocked and vice versa The locked services are signaled with a graphical ...

Page 23: ...r The channel selected in the favorites list are placed ahead of those not selected Only the services of the favorite list are presented By pressing the red key the services are automatically alphabetically ordered The green key is used to sort the services manually A new screen is displayed The services numbering is updated according to the sort Figure 21 Sort Move a program screen This screen al...

Page 24: ... the list are signaled with a graphical or color mark e g white mark Figure 24 Skip Add all programs screen RED All services of the list are added Go back to the previous menu GREEN All services are skipped from the list not visible Go back to the previous menu This popup allows the user to confirm or not the saving of modifications It is only proposed if modifications of Favorite lists have been ...

Page 25: ...7 Delete a program list screen Select the delete favorite list Use to mark the list to be remove Press OK to confirm This popup allows the user to confirm or not the deletion of a favorite list Figure 28 Delete confirmation popup 3 11 Delete a program list 3 12 Delete confirmation popup ...

Page 26: ...essing the exit button it will go Back to previous page Figure30 New channel option screen This screen presents the list of new services installed after a NIT network information table and or SDT serving description table updating If there are no new services the message no new services will be displayed Figure 31 New Channel screen 3 13 Deletion confirmation message 3 14 New channel ...

Page 27: ...Access control screen At the main menu select the user preferences Figure 33 User preferences screen This screen allows selecting the menu language the default audio language and the DVB Digital Video Broadcasting subtitle language Figure 34 Languages screen Select the required menu option by using buttons Select the required Languages option by using buttons Press OK to confirm and save the setti...

Page 28: ...control option screen Requesting PIN code access protects this menu The default receiver PIN code after the first time installation 2 1 1 or reinstallation 5 5 is 0000 The user can lock the STB usage Each time the STB turns to running mode the PIN code has to be input The user can protect the menu screens access and all its sub screens 4 2 Banner timing screen 4 3 Parental control screen Note This...

Page 29: ...agement If the activation item is disabled then all locking are deactivated else the locking are applied according to the user choice Figure 39 Parental screen Figure 40 Pin code change option screen When entering locked menus or service or in PIN code change screen the user is requested to enter the current PIN code There is no limit of tries for entering the PIN code If the user doesn t know the...

Page 30: ...his menu offers access to the Channels installation menu to TV configuration screen to Time setting screen and to the Reinstallation item The date might not be correctly displayed according to the reception situation of the signal of time from the broadcasting station The access of this menu can be protected by PIN code 6 Access control screen The reinstallation item must be confirmed by a pop up ...

Page 31: ...ch installation a popup is displayed to inform the user of the scanning Progress Figure 46 update search screen Figure 47 update search running screen Figure 48 update search done screen An item in the screen allows the user to select the installation mode Manuel search or Full Reinstallation and update A search type installation performs an add operation All new services found are added to the pr...

Page 32: ...installation a popup is displayed to inform the user of the scanning progress Figure 51 full reinstallation progress popup This screen is displayed when the installation is successfully finished Figure 52 Channel installation screen 5 2 2 Channels installation success 5 2 1 Full reinstallation progress screen ...

Page 33: ...search in progress screen During the manual search installation a popup is displayed to inform the user that the installation is in progress Figure 54 Manual search screen Figure 55 Manual search in progress screen Figure 56 TV configuration option screen 5 2 3 Channel installation failed 5 3 TV configuration ...

Page 34: ...TV format the format of the video on the TV SCART is automatically converted to 4 3 or 16 9 According to the received data The TV Output signal means that the video signal is sent in PAL on the TV SCART It is possible to switch the screen display IF the selected transmitted signal is 16 9 formats Figure 58 16 9 screen Figure 59 4 3 screen TV format 4 3 Letterbox 4 3 Pan Scan 16 9 TV output signal ...

Page 35: ...e local time offset resolution of 1 hour in order to adjust the local time If the time display is incorrect even when the time setting is made and could not receive any program that should be transmitting in this event just switch to another channel and check the time again Figure 61 Time setting screen 5 4 Time setting Note Depending on the conditions of a broadcasting station or the situation of...

Page 36: ...Figure 63 Reinstallation confirmation screen CA Two screens are used by the Conditional access system i e embedded CA or Common Interface The layouts of these screens are defined below The CA System plug in manages the contents of the item of these screens Attention Do not insert the CI card incorrectly slant or reverse it will cause the CI card to get suck with the card connector It will eventual...

Page 37: ...le item is displayed on top of the occurrence of the screen Select ok to proceed to the next page Figure 65 Conditional Access system screen 6 SUBSCRIPTION SETTING SCREEN Note In the kind of customer s CAM or CA card may not be decoded correctly Note When you watch Pay TV program you need to contract with the broadcasting company ...

Page 38: ... Conditional Access system screen Select the purchased option and the purchased item screen will be displayed Information will be displayed according to the CA card used Figure 67 Purchased item screen Selecting the credit option and the credit item screen will be displayed Information will be displayed according to the CA card used Figure 68 Credit screen 6 1 CA system Enquiry screen ...

Page 39: ... according to the CA card used Select the language wanted by pressing the ok button Figure 69 language screen Selecting the CA system information option and the CA system information screen will be displayed Information will be displayed according to the CA card used Figure 70 CA system information screen ...

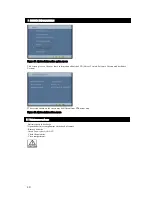
Page 40: ...on and hardware Version The version shown on the screen may be different from the actual one Figure 72 System information screen Batteries need to be charge Open the batteries compartment on the back of remote Remove batteries Insert 2 new types AAA ACC Check the polarities Close compartment 7 SYSTEM INFORMATION 7 1 Maintenance and care ...

Page 41: ...e For countries not mentioned above please contact your local authorities for correct method for disposal By doing so you will ensure that your disposed product undergoes the necessary treatment recovery and recycling and thus prevent potential negative effects on the environment and human health Do not recharge disassemble heat or dispose of the battery in fire Keep it away from direct sunlight I...

Page 42: ... reinstallation to update the channel list Incorrect language for OSD menu dialogs or sub titles Please check the language under User Preference Is necessary please reset the audio or sub title for the selected channel Lock menu option does not work This function is only intended for pay TV option The picture audio subtitle are not change The picture audio subtitle for change are not being broadca...

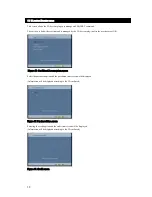
Page 43: ...e the button to stroll one place up down the screen Use the OK button to select the unwanted channels press the OK button to deselect your option To confirm the deletion press the MENU button and the screen of confirmation in figure 77 will pop out Figure 76 Deleting confirmation screen Use to select YES or NO for confirmation Press the ok button to confirm chose to proceed 8 DELETE CHANNEL ...

Page 44: ...44 If the selected option is YES a waiting screen in figure 77 will appear Figure 77 Deleting waiting screen If the selected option is NO it will go back to the previous menu ...

Page 45: ...Yes TV System DVB T Compliance ETSI EN300 744 Yes Pal Yes Aspect Ratio 4 3 and 16 9 Yes Video Encoding MPEG2 ISO IEC 13818 2 ML Yes Video Audio Parameter Video Output Connector 1 x RCA Video Output level 1Vpp 5 75Ohms Yes Audio Output Connector 1pair x RCA Audio Output level 1Vrms 20 10KOhms Yes Audio frequency range 20Hz to 20Khz Yes Common Interface Single slot Yes Infra Red Extensions 5m of Inf...

Page 46: ...ifornia 90801 1540 U S A TEL 800 421 1404 PIONEER EUROPE NV Haven 1087 Keetberglaan 1 B 9120 Melsele Belgium TEL 0 3 570 05 11 PIONEER ELECTRONICS ASIACENTRE PTE LTD 253 Alexandra Road 04 01 Singapore 159936 TEL 65 6472 1111 PIONEER ELECTRONICS AUSTRALIA PTY LTD 178 184 Boundary Road Braeside Victoria 3195 Australia TEL 03 9586 6300 PIONEER ELECTRONICS OF CANADA INC 300 Allstate Parkway Markham On...

Reviews: