7
7
26
Playback with NETWORK features (Network audio player: N-P01)
Note
•
If your router does not have a built-in DHCP server function,
you have to set up the network manually.
Select DHCP to be Off and press
ENTER
in step 7.
If your
router does not have a built-in DHCP server function, you
have to set up the network manually.
Select DHCP to be
Off and press
ENTER
in step 4.
on page 22
•
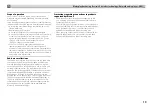
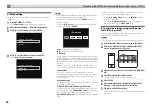
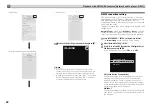
When you connect this player to the Internet via a proxy
server, proxy server settings are required.
Select
Use Proxy Server
and press
ENTER
in step 7.
<Proxy Server setting>
Then Enter
Proxy Host Name
and the port number of
your proxy server in the
Proxy Port
field.
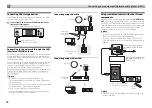
F: Connecting to a router without WPS-PBC
function
This section describes how to set the network connection
using Web browser on a computer.
Be sure your computer is equipped with wireless LAN
function. Settings can be performed from the Web browser of
the computer.
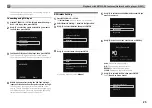
1
Be sure the LAN cable is not connected to the player.
2
Plug the power cord into an AC outlet. Press STANDBY/
ON.
3
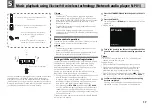
Press NET SERVICE
SETUP on the remote control.
4
Select Network Setting
Network Configuration
Wireless
Web Control.
5
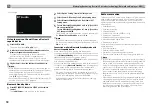
Select Start
OK.
The player restarts. Change settings on Web Control on
your computer.
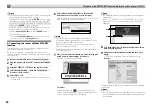
6
Select Pioneer Setup (this player) in the available
wireless network connection of your computer.
SSID is displayed as Pioneer Setup:xxxxxx. “xxxxxx” is the
lower three bytes of the MAC address.
Note
•
Consult the appropriate operating instructions for
information regarding operation of the computer, iPhone,
tablet computer or other device used.
•
Since this kind of connection is not encoded, a minor
security risk may be involved.
•
This setting for the network has been confirmed for Mac OS
X 10.7 and Safari 5.1.
7
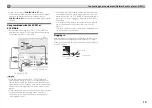
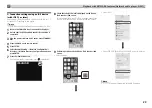
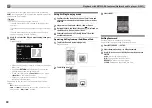
Start your computer's Web browser, and access the URL
noted below to make settings for this unit.
The Web Control menu will appear.
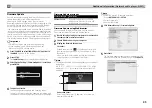
For Safari
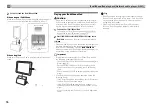
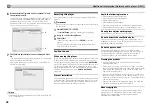
Press Bookmark icon (
) at the upper left of the
screen. Click Bonjour list (a), and then select this unit’s
name (“Friendly Name”) (b) in Bookmark.
Note
•
The displayed name will change depending on the product
being used.
N-P01 *****, XN-P02 ***** or XN-P02DAB ***** will be
displayed. (“*****” is the lower three bytes of the MAC
address.)
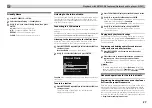
8
Click Network Setup
Network Configuration. Select
Auto and then press OK.
9
Setup the network settings manually and then press
Apply.
If SSID is not displayed, return to step 9 and select
Manual
.
The player restarts and the new network settings are applied
to the player.
Note
•
You can set the network as in the above by connecting this
unit’s IP address via the Web Browser even if Web Control
isn’t selected.
000001
000002
000003
XX.XX
:xxxxxx
http://192.168.1.1
192.168.1.1
a
b
N-P01
*****
N-P01
*****

