113
Normal Operating Mode
4
Volume Adjustment/Muting
• Pressing the [] button on the remote control or main-control panel raises the volume.
• Pressing the [VOLUME-] button on the remote control or main-control panel lowers the volume.
• Pressing the [MUTING] button on the remote control switches between no sound (muting ON) and sound (muting
OFF) each time the button is pressed.
Note
Muting is cleared when the power is turn OFF.
5
Auto screen adjustment
• Pressing the [AUTO SET UP] button on the remote control or main-control panel during PC signal input causes the
‘SCREEN’ in the menu mode to adjust automatically. If a multi screen is being used, only the main screen can be
adjusted.
Notes
• Adjustment cannot be performed from INPUT2.
• Adjustment cannot be performed well when the input signal is a low brightness signal such as black, or is showing
movement.
• Automatic SCREEN adjustment values are reflected under ‘SCREEN’ in the menu mode.
6
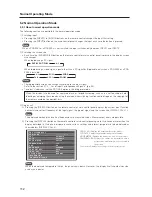
Point Zoom (only when using the remote control)
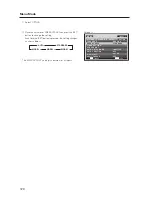
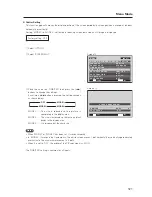
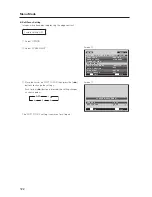
• Pressing the [POINT ZOOM] button on the remote control designates the POINT ZOOM screen. Each time the
button is pressed, the magnification rate changes as shown below.
• During magnification, it is possible to scroll the display position using the [
5
/
∞
/
2
/
3
] buttons on the remote
control.
7
Multi screen (only when using the remote control)
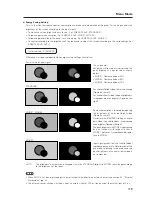
• Pressing the [SPLIT] button on the remote control designates a multi screen. Each time the button is pressed, the
screen changes as shown below.
• When input is switched during a multi-screen display, input of the main screen is switched.
• When the [SUB INPUT] button on the remote control is pressed during a multi-screen display, the input of the sub
screen is switched.
• When the [SWAP] button on the remote control is pressed during a multi-screen display, the main screen and sub
screen are switched.
• Press the [
2
/
3
] buttons on the remote control during multi-screen mode to change the sound on the main screen
and the subscreen. This overrides last memory.
• When the [PIP SHIFT] button on the remote control is pressed during a PinP screen display, the display position of
the sub screen changes as shown below.
8
Some other RS-232C commands besides those described above are also effective.
For details, refer to section 5.5, “RS-232C Adjustment” (pg. 192).
Notes
• Same function display is possible for main input and sub input. However, during circuit processing, since the high-
image quality circuit is used for the main input, the screen looks different on the sub screen.
• While the video wall is set, multi-screen display is unavailable.
• When the video wall is set or during multi-screen display, point zoom is unavailable.
3
Lower right
3
Upper right
Lower left
2
Upper left
2
3
LEVEL1
3
LEVEL2
LEVEL4
2
LEVEL3
2
3
Side-by-side
Picture-in-picture
2
OFF
2

