158
Integrator Mode
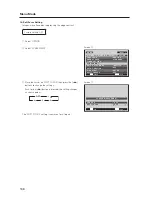
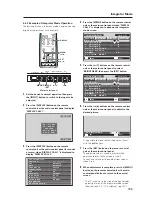
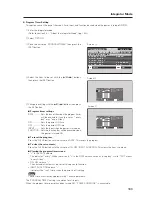
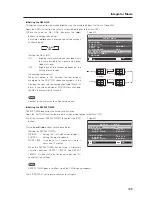
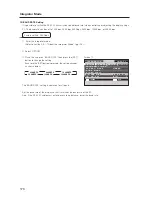
3) COLOR DETAIL setting
1
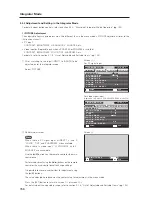
Enter the integrator mode.
(Refer to section 5.4.1, “About the Integrator Mode” (pg. 154).)
2
Select ‘PICTURE’.
3
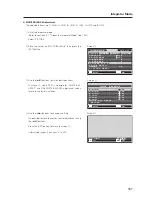
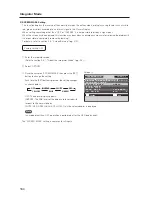
Place the cursor on ‘COLOR DETAIL’ then press the [SET]
button.
4
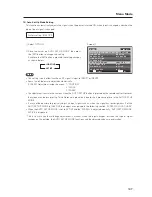
Use the [
5
/
∞
] buttons to switch between items.
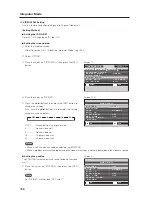
5
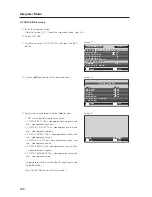
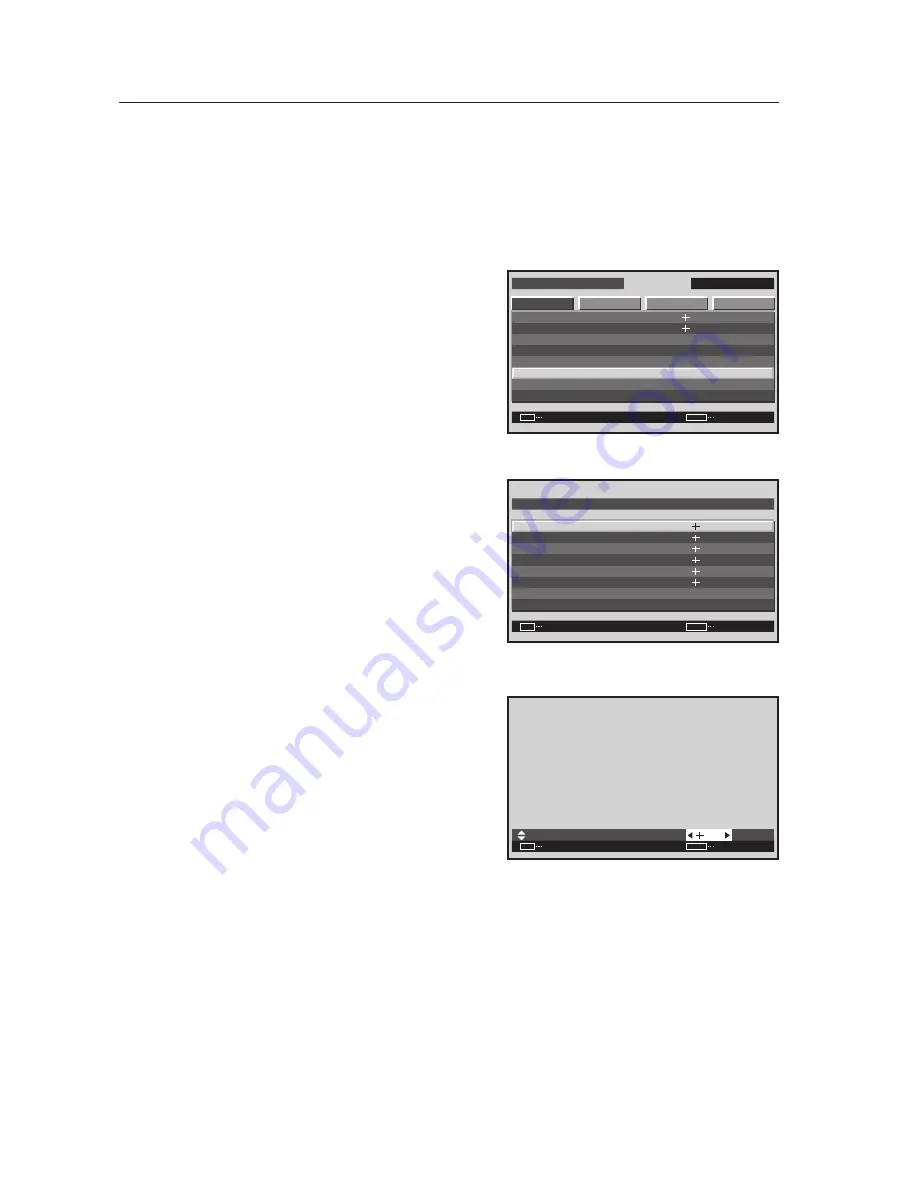
Adjustment is performed using the [
2
/
3
] buttons.
C. DETAIL can be adjusted for each color.
• C. DETAIL RED: The + side approaches magenta, and
the – side approaches yellow.
• C. DETAIL YELLOW: The + side approaches red, and
the – side approaches green.
• C. DETAIL GREEN: The + side approaches yellow, and
the – side approaches cyan.
• C. DETAIL CYAN: The + side approaches green, and
the – side approaches blue.
• C. DETAIL BLUE: The + side approaches cyan, and the
– side approaches magenta.
• C. DETAIL MAGENTA: The + side approaches blue, and
the – side approaches red.
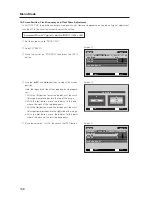
It is possible to move to another item for adjustment using
the [
5
/
∞
] buttons.
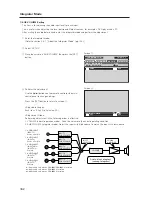
Press the [SET] button to return to screen
3
.
Screen
3
I N T E G R AT O R
I N P U T 1
ENTER
S C R E E N
S E T U P
O P T I O N
P I C T U R E
: 1 2 8
: 0
: 0
: 1 2 8
SET
EXIT
MENU
: 2 . 0
C O N T R A S T
B R I G H T N E S S
H . E N H A N C E
V . E N H A N C E
G AMMA
P I C T U R E R E S E T
W H I T E B A L A N C E
C O L O R D E T A I L
Screen
4
ENTER
R E D
Y E L L OW
G R E E N
C Y A N
C . D E T A I L R E S E T
R E T U R N
B L U E
C O L O R D E TA I L
M AG E N T A
:
:
:
:
:
:
SET
EXIT
MENU
3 0
3 0
3 0
3 0
3 0
3 0
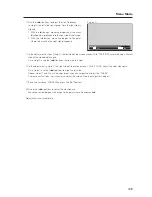
Screen
5
:
SET
SET
EXIT
MENU
2 9
R E D


