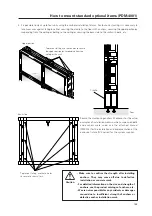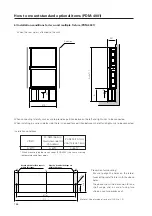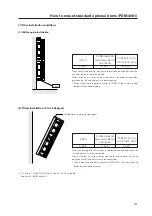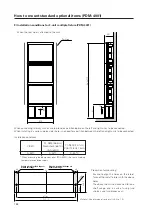
149
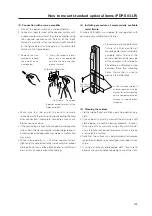
(4) Installing procedure of commercially available
metal fixture
Washers M8 (
φ
25) are supplied to use together with
commercially available metal fixtures.
• Make sure that the end of the cord is securely
connected with the terminals by lightly pulling the cord
after connection. Incomplete connection may cause
broken sound or noise.
• If the cord wiring sticks out and the positive and negative
wires short, the stereo amplifier will be subjected to an
excessive load, and operation may stop or a malfunction
may occur.
• When wrong polarity (+, -) of either speaker system
(right or left) is connected to the stereo amplifier, proper
stereo effects may not be obtained due to insufficient
bass or loss of sound orientation feeling.
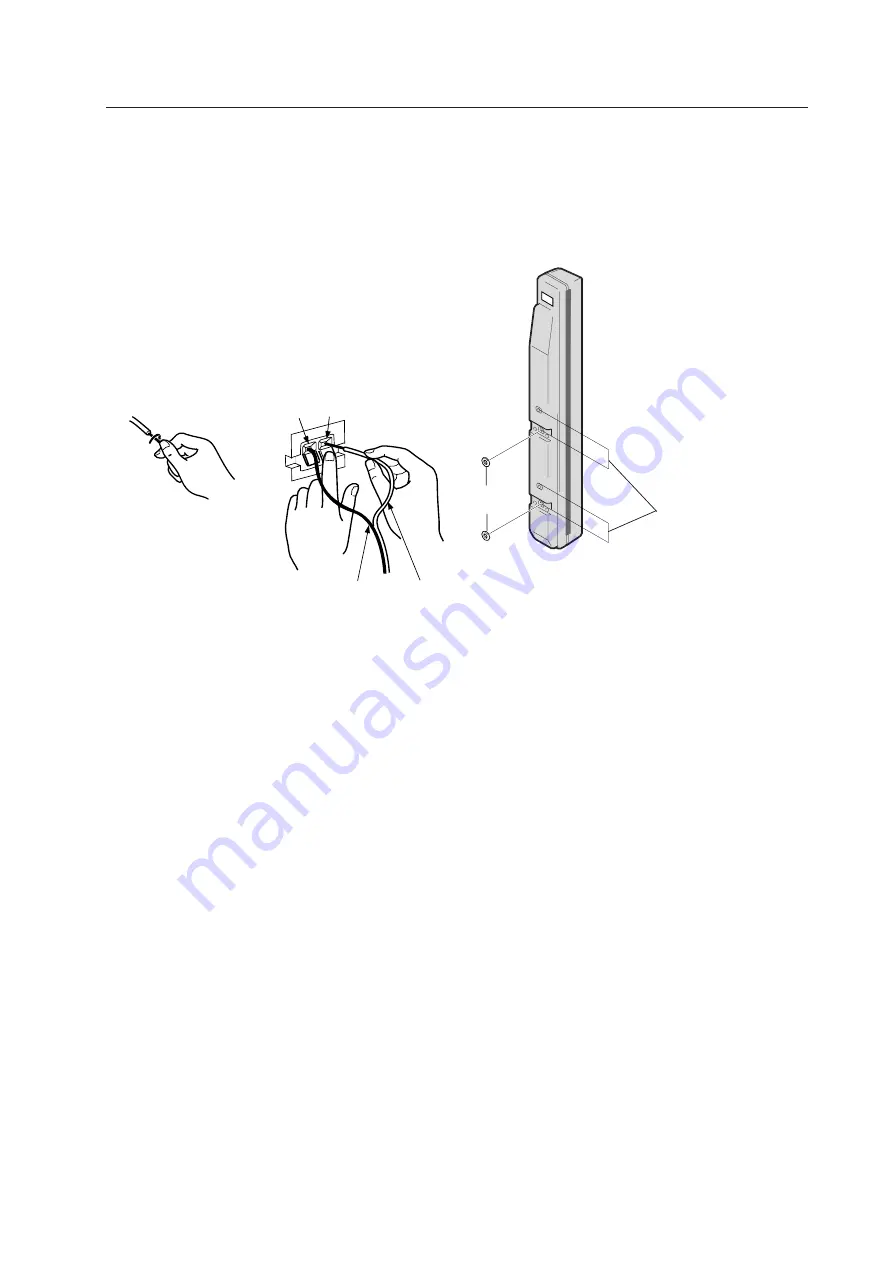
1
Remove the wire
covering and keep
the end of each
wire together.
How to mount standard optional items (PDP-S03-LR)
(3) Connection with a stereo amplifier
1. Turn off the power switch of a stereo amplifier.
2. Connect an input terminal of the speaker system with
a speaker output terminal of the stereo amplifier using
the supplied speaker cords. Polarity of the input
terminal is positive (+) for red terminal (right terminal
in the figure below) and negative (-) for black (left
terminal in the figure below).
2
Press the respective lever
down, insert the applicable
wire into the hole and then
release the lever.
·
terminal
ª
terminal
To
·
pole.
To
ª
pole.
(Speaker output terminal of the
stereo amplifier)
• Fix commercially available metal
fixture at either position of
mounting holes for commercially
available metal fixture at the
center or bottom of the rear side
of the speakers with two bolts.
Since there is a difference in step
between these two mounting
holes, the washer is used to
diminish that difference.
W a s h e r
M8 (
φ
25)
Fix the fixture by two bolts
at either position. Use the
washer for lower mounting
hole to compensate the dif-
ference in step between
two holes.
(5) Cleaning the cabinet
• Lightly wipe off dust or dirt by a polishing cloth or a dry
cloth.
• If the cabinet is very dirty, clean off the dirt using a soft
cloth dipped in a neutral cleanser diluted 5 - 6 times,
then wipe off any moisture using a dry cloth. Do not
use a furniture wax or cleaner because it may dissolve
or discolor the surface.
• Note that the surface may be dissolved or discolored
when thinner, benzene, or spray type insecticide is stuck
there.
• If using a chemically impregnated cloth, take care to
observe the caution notices applying to use of the cloth.
Summary of Contents for PDK-5008
Page 5: ...5 Features ...
Page 11: ...11 Remote control ...
Page 21: ...21 Installation procedure ...
Page 57: ...57 Special installation Installation under the floor ...
Page 85: ...85 How to mount standard optional items PDK 4001 ...
Page 91: ...91 How to mount standard optional items PDK 4002 ...
Page 97: ...97 How to mount standard optional items PDK 4004 ...
Page 115: ...115 How to mount standard optional items PDK 5008 PDK 5008FT ...
Page 153: ...153 How to mount standard optional items Precautions for installing the optional speaker ...
Page 161: ...161 Before making adjustments ...

