AVH-P5200BT/XNUC
93
5
6
7
8
5
6
7
8
C
D
F
A
B
E
1
1
8
2
2
5
6
6
5
5
4
2
2
3
3
3
3
7
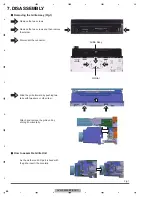
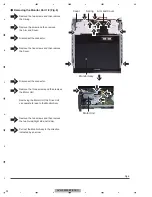
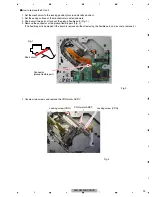
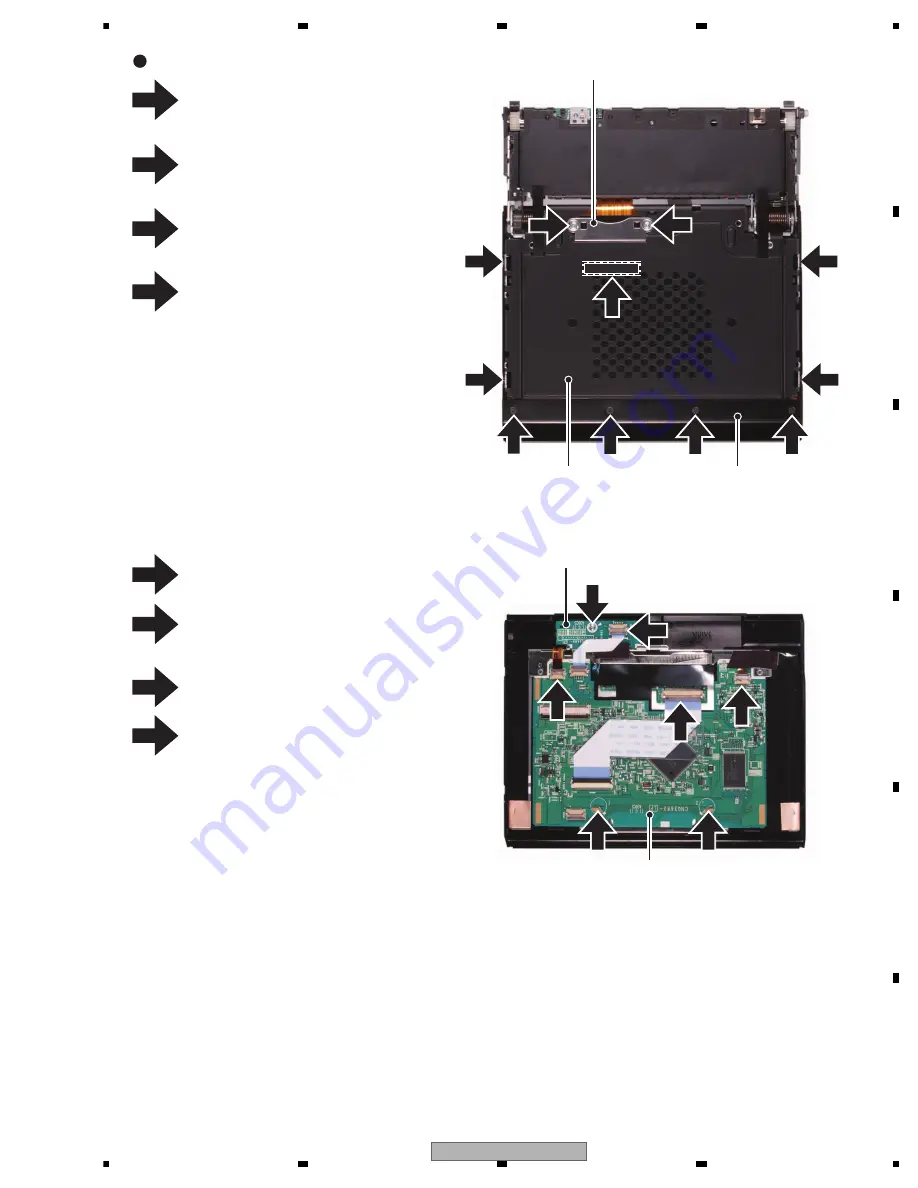
Remove the two screws and then remove
the Holder.
Remove the four screws and then remove
the Cover.
Remove the four screws and then remove
the Case Unit.
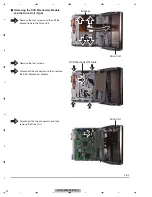
Disconnect the connector.
Disconnect the three connectors.
Straighten the tabs at two locations indi-
cated and then remove the Monitor Unit.
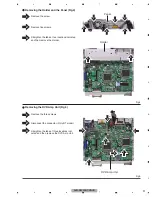
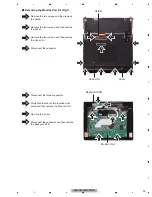
Remove the screw.
Disconnect the connector and then remove
the Keyboard PCB.
1
2
3
4
5
6
7
8
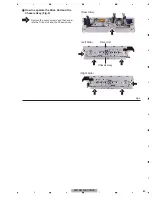
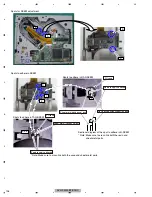
Removing the Monitor Unit 2/2 (Fig.7)
Holder
Case Unit
Cover
Keyboard PCB
Monitor Unit
Summary of Contents for Super Tuner IIID AVH-P5200BT
Page 29: ...AVH P5200BT XNUC 29 5 6 7 8 5 6 7 8 C D F A B E ...
Page 64: ...AVH P5200BT XNUC 64 1 2 3 4 1 2 3 4 C D F A B E ...
Page 65: ...AVH P5200BT XNUC 65 5 6 7 8 5 6 7 8 C D F A B E ...
Page 102: ...AVH P5200BT XNUC 102 1 2 3 4 1 2 3 4 C D F A B E ...
Page 157: ...AVH P5200BT XNUC 157 5 6 7 8 5 6 7 8 C D F A B E ...
Page 161: ...AVH P5200BT XNUC 161 5 6 7 8 5 6 7 8 C D F A B E ...
Page 171: ...AVH P5200BT XNUC 171 5 6 7 8 5 6 7 8 C D F A B E ...
Page 187: ...AVH P5200BT XNUC 187 5 6 7 8 5 6 7 8 C D F A B E ...

