


Introduction of DSP
adjustments
1
You can use this unit to control multi-channel
processor (e.g. DEQ-P8000), which is sold sepa-
rately.
!
Some functions may differ depending on the
multi-channel processor connected to this
unit.
By carrying out the following settings/adjust-
ments in the order shown, you can create a fi-
nely-tuned sound field effortlessly.
1
Setting the speaker setting
2
Using the position selector
3
Auto TA and EQ (auto-time alignment and auto-
equalizing)
4
Adjusting the time alignment
5
Adjusting the speaker output levels using a
test tone
6
Selecting a cross-over frequency
7
Adjusting the speaker output levels
8
Adjusting 3-band parametric equalizer
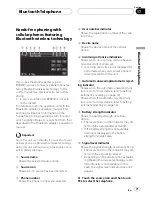
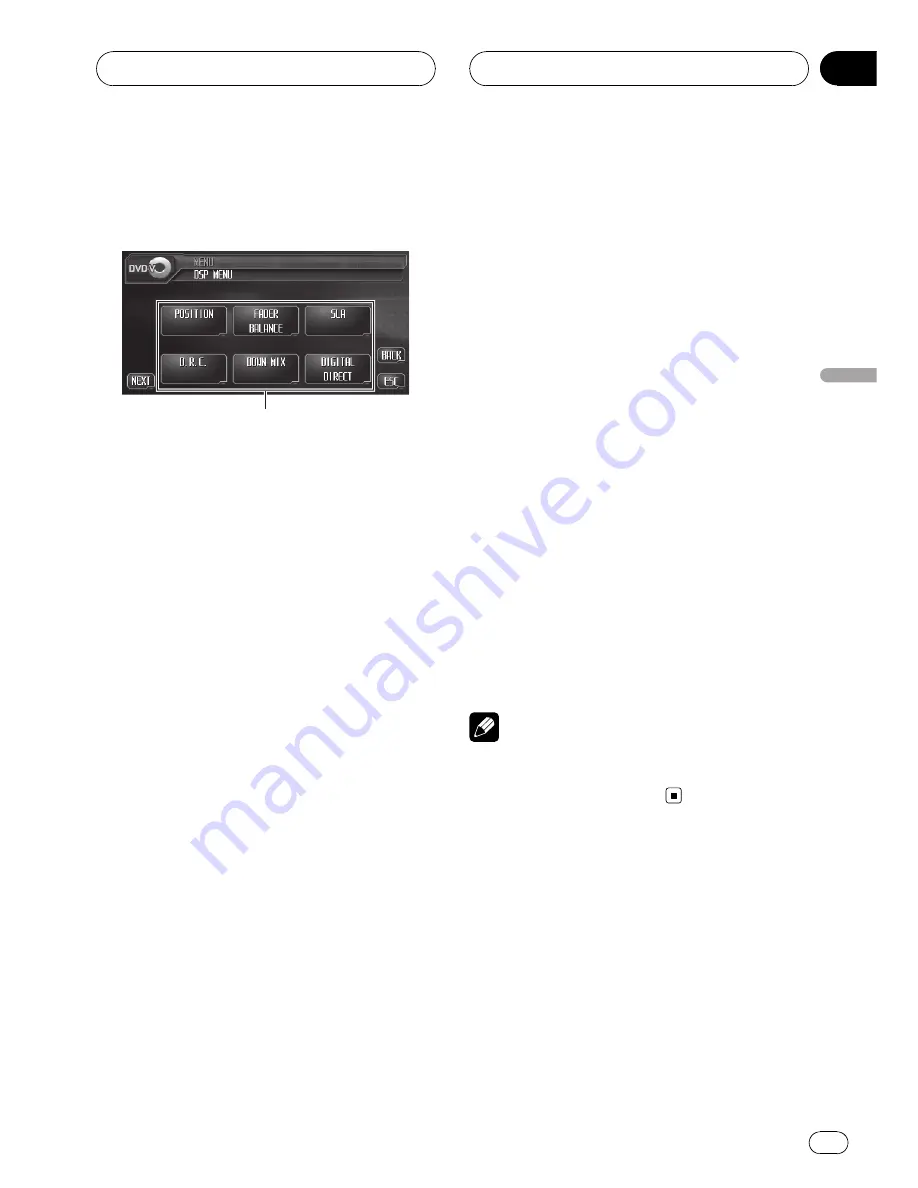
1
DSP display
Shows the DSP function names.
1
Touch AUDIO MENU to display MENU.
MENU
appears on the display.
2
Touch DSP to display the DSP function
names.
The DSP function names are displayed and
operable ones are highlighted.
#
To go to the next group of function names,
touch
NEXT
.
#
To return to the previous group of function
names, touch
PREV
.
#
When playing discs recorded with more than
96 kHz sampling frequency, you cannot use audio
functions. Also, equalizer curve setting,
POSITION
,
AUTO EQ
and
AUTO TA
will be can-
celled.
#
When playing discs recorded with more than
96 kHz sampling frequency, audio is outputted
from front speakers only.
#
When selecting FM as the source, you cannot
switch to
SLA
.
#
When playing other than the DVD disc, you
cannot switch to
D.R.C
.
#
When neither
FRONT-L
nor
FRONT-R
is se-
lected in
POSITION
, you cannot switch to
TIME ALIGNMENT
.
#
When both the center speaker and the rear
speaker are set to OFF in the speaker setting, you
cannot switch to
DOLBY PRO LOGIC II
.
#
To return to the previous display, touch
BACK
.
#
To return to the display of each source, touch
ESC
.
Note
If you do not operate the DSP function within
about 30 seconds, the display is automatically re-
turned to the source display.
Using the position selector
One way to assure a more natural sound is to
accurately position the stereo image, putting
you right in the center of the sound field. The
position selector function lets you automati-
cally adjust the speaker output levels and in-
serts a delay time to match the number and
position of occupied seats.
Digital Signal Processor
En
85
Section
19
Digital
Signal
Proces
sor


