CAUTION
Insure before every cutting or stripping procedure that braid has not worked
back on lead by grasping lead in one hand and sliding the other hand firmly
along lead toward the outlet plate. If braid is improperly located on lead, the
lead may be trimmed to the wrong length.
10. Pass the lead through the proper hole in outlet plate. Position the Bendix 11-9596 or equivalent
Braid Cutting Backup Tube between the braided shielding and insulation to protect the insulation.
Cut enough braid from the lead to have 1-1/4 inch of insulation extending from end of braid.
CAUTION
Be sure the cutting backup tube is completely under the point at which the
cut is to be made to prevent cutting or nicking insulation.
11. Slide inner ferrule under the braid. The braid should cover approximately two-thirds of the ferrule
taper. Remove the blue silicone coating from the end of the braid over ferrule by lightly scraping
with a knife or wire brush.
CAUTION
When removing silicone coating, care should be taken not to damage the
braided wire shielding.
12. Pull the lead assembly back through cable outlet plate until cleaned braid binds in the outlet well.
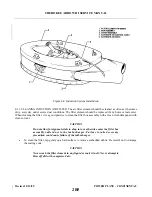
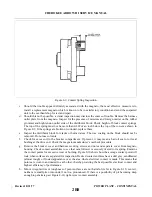
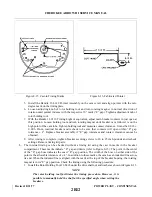
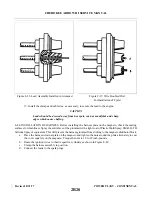
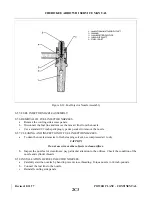
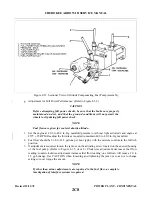
Position the Bendix 11-7074 Ferrule Seating Tool (Figure 8-22) over the insulation and firmly seat
the ferrule by tapping the seating tool with a hammer or by using an arbor press.
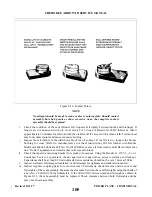
13. Measure 1/2 inch from tapered ferrule and strip remaining insulation from wire. (Refer to
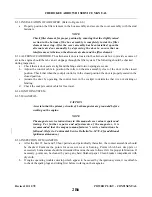
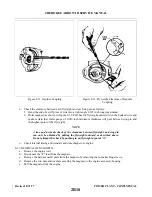
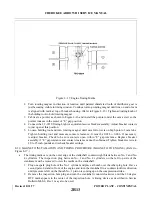
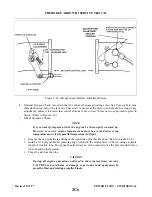
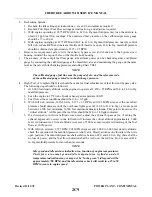
14. Insert Bendix 11-7073 Needle (Figure 8-24) through the small hole of the grommet and over the
stripped end of the wire. (Refer to Figure 8-25.) Slide grommet down needle until it seats tightly
against the tapered ferrule.
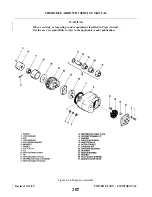
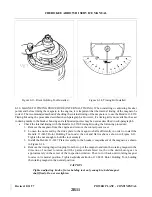
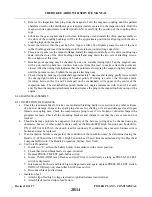
15. Cut the wire 3/8 inch from the top of the grommet outlet. (See Figure 8-26.) Double the wire over
as shown in A of Figure 8-27. Slide the eyelet over the doubled wire until it is firmly seated in the
recess of the grommet outlet.
16. Using a suitable crimping tool or equivalent, crimp the eyelet to the wire. Approximately 1/32 inch
of wire should extend from the end of the eyelet after crimping. See B of Figure 8-27.
NOTE
If the crimping tool is not available, a satisfactory connection can be made
by soldering with Kester Flux 709 or equivalent and a non-corrosive solder.
After soldering, clean solder joints using denatured alcohol.
Revised: 8/31/77
2B18
CHEROKEE ARROW III SERVICE MANUAL
POWER PLANT - CONTINENTAL
Summary of Contents for ARROW III
Page 4: ...THIS PAGE INTENTIONALLY LEFT BLANK 1A4...
Page 12: ...THIS PAGE INTENTIONALLY LEFT BLANK 1A12...
Page 94: ...Figure 4 2 Wing Installation Revised 2 13 89 1D22 CHEROKEE ARROW III SERVICE MANUAL STRUCTURES...
Page 171: ...lH3 INTENTIONALLY LEFT BLANK...
Page 172: ...lH4 INTENTIONALLY LEFT BLANK...
Page 286: ...THIS PAGE INTENTIONALLY LEFT BLANK Revised 2 13 89 2A8...
Page 528: ...INTENTIONALLY LEFT BLANK 2K10 THRU 2L24 2K10...

