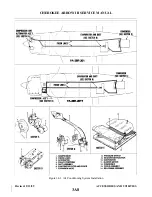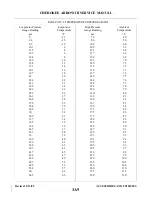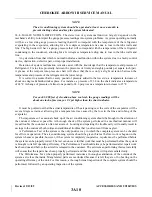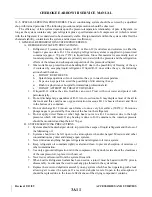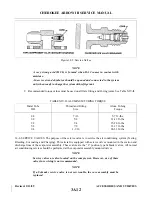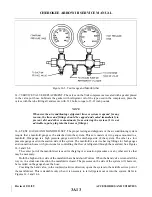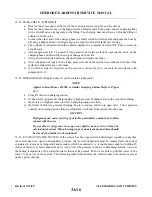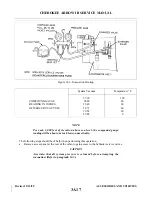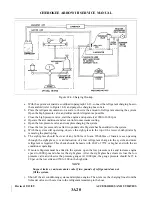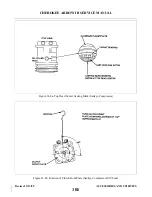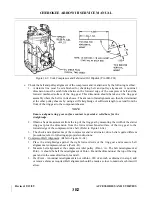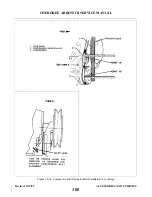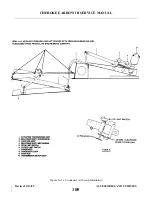
b. Connect the manifold gauge set to the airplane service valves. (Refer to Figure 14-6.)
c.
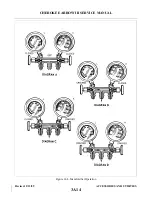
The high and low manifold hand valves should be in the closed position. (Refer to Figure 14-3 and
14-4.)
d. Connect the center manifold hose to the inlet of the vacuum pump.
NOTE
Make sure the exhaust port on the vacuum pump is open to avoid damage to
the vacuum pump.
e.
Start the vacuum pump and open the low side manifold hand valve. Observe the compound, low
pressure gauge needle, it should show a slight vacuum.
f.
Continue to operate the vacuum pump until 26 to 28 inches of vacuum is attained on the low
pressure gauge, then extend the operation for another 25 minutes.
g. If the system cannot maintain 26 to 28 inches of vacuum, close both manifold hand valves and
observe the compound gauge.
h. Should the compound gauge show a loss of vacuum, there is a leak in the system which must be
repaired before continuing with evacuation.
i.
If no leaks are evident, reopen both manifold hand valves and continue the evacuation for another
30 minutes.
j.
Close both manifold hand valves, stop vacuum pump and disconnect center manifold hose from
the vacuum pump.
k. Proceed to charge the system in accordance with paragraph 14-14.
NOTE
The system should be charged as soon as it has been evacuated.
14-14. CHARGING THE SYSTEM. When the system is completely evacuated in accordance with instructions
given in paragraph 14-13, one of the following procedures should be used to charge the system.
14-15. WITH A CHARGING STAND. This is the preferred method of charging the system.
NOTE
The following instructions apply to Kent Moore, J23500 charging stand.
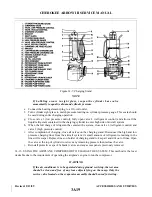
Refer to Figure 14-7.
a.
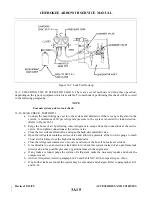
With the system discharged and evacuated, proceed to hook-up the charging stand. (Refer to
Figure 14-8.)
b. Fill the charging cylinder by opening the valve at the base of the charging cylinder and filling the
sight glass with two pounds of liquid refrigerant.
c.
As refrigerant stops filling the sight glass, open the valve at the top of the gauge neck assembly
intermittently to relieve head pressure and allow refrigerant to continue filling the sight glass to the
required amount.
d. When refrigerant reaches the required level in the sight glass, close both the valve at the base of
the cylinder and the valve at the bottom of refrigerant tank. Be sure the top valve is fully closed.
Revised: 2/13/89
3A18
CHEROKEE ARROW III SERVICE MANUAL
ACCESSORIES AND UTILITIES
Summary of Contents for ARROW III
Page 4: ...THIS PAGE INTENTIONALLY LEFT BLANK 1A4...
Page 12: ...THIS PAGE INTENTIONALLY LEFT BLANK 1A12...
Page 94: ...Figure 4 2 Wing Installation Revised 2 13 89 1D22 CHEROKEE ARROW III SERVICE MANUAL STRUCTURES...
Page 171: ...lH3 INTENTIONALLY LEFT BLANK...
Page 172: ...lH4 INTENTIONALLY LEFT BLANK...
Page 286: ...THIS PAGE INTENTIONALLY LEFT BLANK Revised 2 13 89 2A8...
Page 528: ...INTENTIONALLY LEFT BLANK 2K10 THRU 2L24 2K10...

