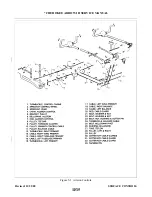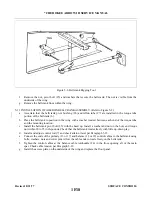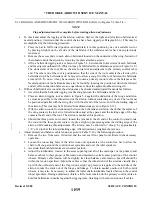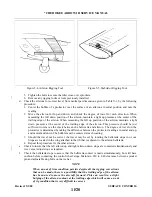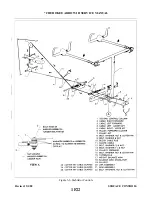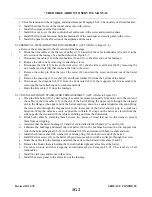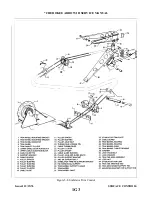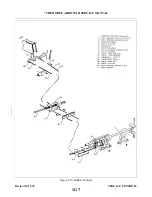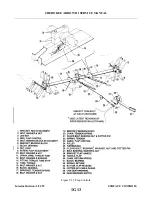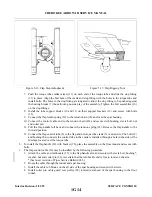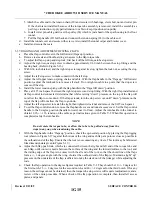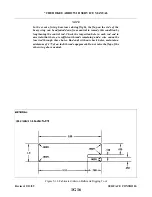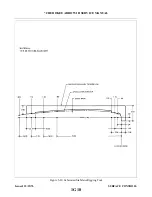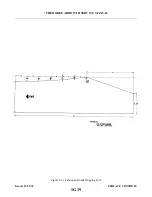
5-22. RIGGING AND ADJUSTMENT OF STA B I L ATOR TRIM. (Refer to Figure 5-8.)
a .
Level the airplane. (Refer to Leveling, Section II.)
control wheel several times to allow the cables to seat and recheck tension.
c .
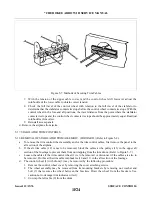
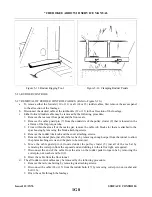
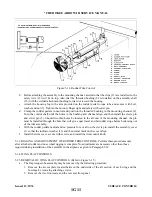
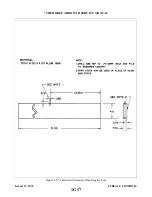
Secure the stabilator in neutral position. To find neutral, place a rigging tool on the upper surface of the
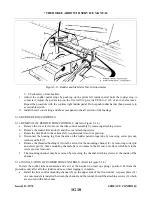
stabilator as shown in Figure 5-5. Zero a bubble protractor, set it on the rigging tool and tilt the stabilator
until the bubble is centered.
cable (8) is approximately two inches forward of the double pulleys (13) at the top of the rear bulkhead at
station 228.3.
e .
Check that the trim screw (23) is turned down until the cotter pin stop in the top of the screw is contacting
the plate (17) on the horizontal support rib (16) of the trim assembly. If the stop is not contacting the plate,
the links (25) between the screw (23) and the trim control arm (28) are not disconnected, disconnect the
two by removing the connecting nut, washers and bolt (24). With the turnbuckle still at the two inch
dimension from the pulley, turn the screw down until the pin contacts the plate.
f .
g . Connect the links to the trim screw and secure with bolt, washers and nut.
h .
Turn the trim control wheel until the trim tab streamlines with the neutral stabilator.
i .
Check the bubble of the protractor over the neutral tab and then check tab travels as given in Table V- I .
The degree of travel on the protractor is determined by taking the difference between the protractor
reading at neutral and up, and neutral and down. The bubble must be centered at each reading with the
airplane level.
j .
k . Secure the jam nut (27) on the actuating arm rod end.
1 .
Turn the trim wheel to full travel and check for pulley and turnbuckle clearance and location of tab
i n d i c a t o r.
m . Check total free play of trim tab, it should not exceed 0.06 inch.
5-23. RUDDER AND STEERING PEDAL ASSEMBLY.
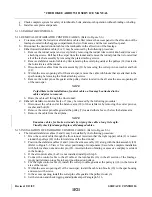
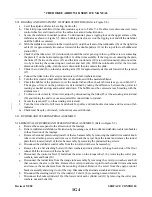
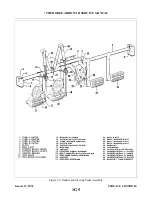
5-24. REMOVAL OF RUDDER AND STEERING PEDAL ASSEMBLY. (Refer to Figure 5-9.)
a .
Remove the access panel to the aft section of the fuselage.
b .
Relieve rudder and stabilator cable tension by loosening one of the rudder and stabilator cable turnbuckles
in the aft section of the fuselage.
c .
Remove the tunnel plate located just aft of the tee bar assembly by removing the rudder trim control knob,
trim cover attaching screws and trim cover. Roll back the carpet from the tunnel and remove the tunnel
plate that is located just aft of the tee bar assembly by removing the plate attaching screws.
d .
Disconnect the stabilator control cable from the lower end of the tee bar assembly.
e .
Remove the tee bar attaching bolts with their washers and nuts which are through each side of the floor
tunnel. Pull the lower end of the tee bar aft.
f .
g .
Disconnect the rudder trim from the torque tube assembly by removing the cotter pin, washers and bolt
that connects the arm to the trim. Remove the cotter pin and clevis pin from the rudder trim mechanism
and remove the mechanism from the mounting channel. Remove the screw from the engine control
bracket assembly and swing it out of the way. Disconnect the alternate air cable and move aside.
h .
Disconnect the steering rods (21) at the rudder (32 and 33) by removing nuts and bolts (24).
i .
Revised: 5/1/80
1G4
* CHEROKEE ARROW III SERVICE MANUAL
SURFACE CONTROLS
Summary of Contents for ARROW III
Page 4: ...THIS PAGE INTENTIONALLY LEFT BLANK 1A4...
Page 12: ...THIS PAGE INTENTIONALLY LEFT BLANK 1A12...
Page 94: ...Figure 4 2 Wing Installation Revised 2 13 89 1D22 CHEROKEE ARROW III SERVICE MANUAL STRUCTURES...
Page 171: ...lH3 INTENTIONALLY LEFT BLANK...
Page 172: ...lH4 INTENTIONALLY LEFT BLANK...
Page 286: ...THIS PAGE INTENTIONALLY LEFT BLANK Revised 2 13 89 2A8...
Page 528: ...INTENTIONALLY LEFT BLANK 2K10 THRU 2L24 2K10...

